On The Road Again – The Lubee Bat Conservancy
 *Disclaimer: This is a private blog with content developed solely by myself! The opinions expressed here belong solely to me and do not reflect the views of the Lubee Bat Conservancy it’s officers, employee’s, or volunteers..
The best precaution against rabies, is if you come across a bat in the wild or in your home,do not disturb, touch, or attempt to relocate the bat but to contact appropriate wildlife experts such as your local animal control! If you have been scratched or bitten by a bat, confine the bat if possible, so it can be captured for the appropriate tests. Seek medical care immediately, at the very least you may have to get a tetanus booster.
Okay enough from my battorney! On to the pre-ramble!
It is with a mix of joy and dread sitting down to write this blog! Joy because over the last 3 years I have developed such an adoration and interest in not only the most misunderstood mammals but the only mammal capable of powered flight! Fear because I do not feel even after blogging for 14 years that I have the skill to tackle this blog in such a way that it does itself and the Lubee Bat Conservancy justice. Once everything is said and done, I may have bitten off more than I can chew!
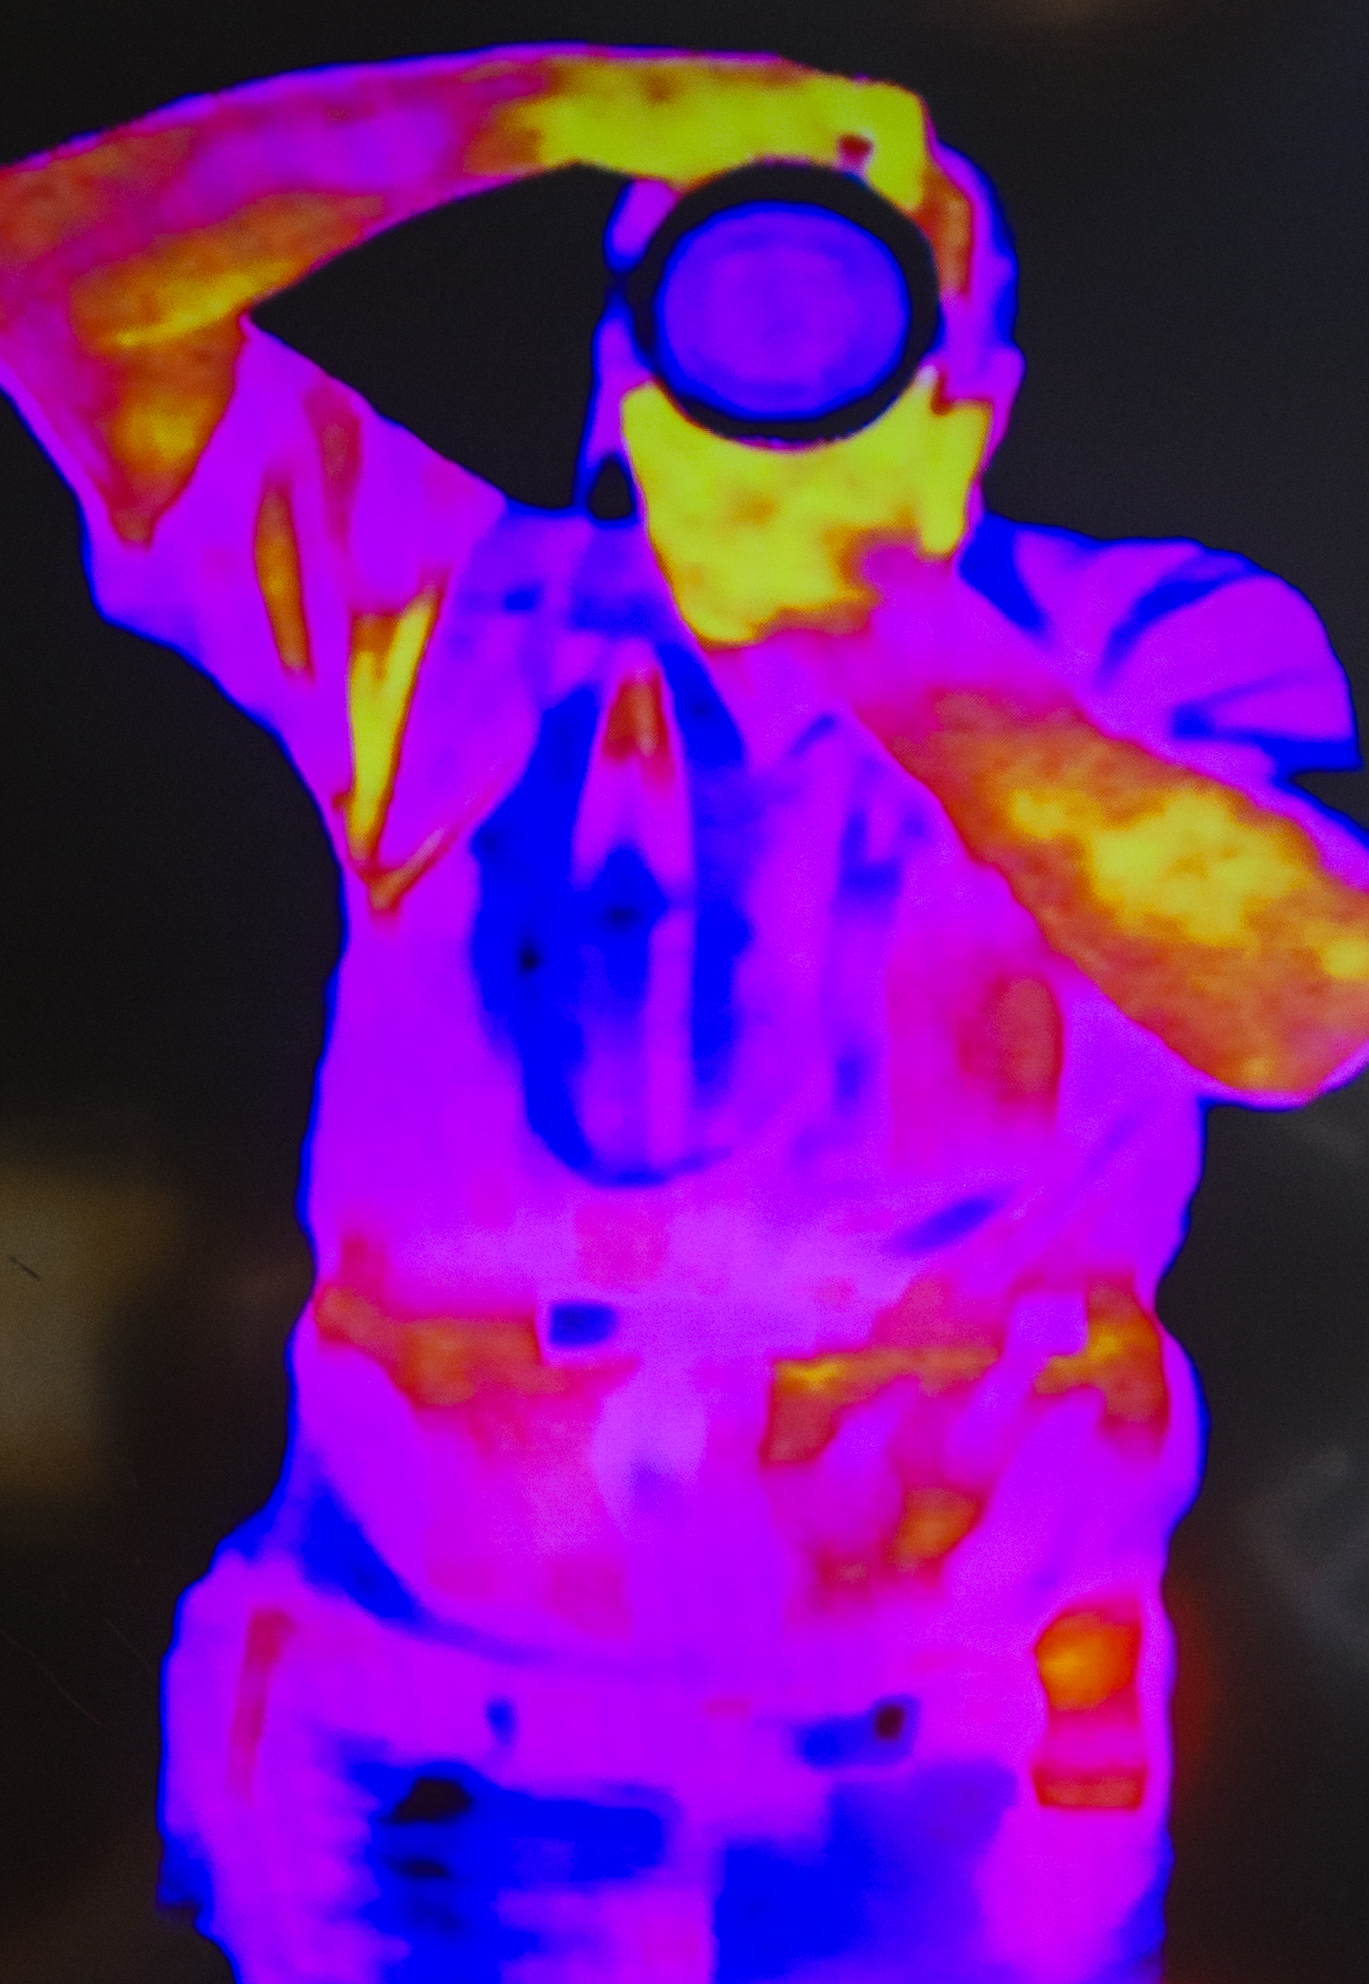
So, how did I get interested in bats? One day, I received a panicked call from Mi Jung, while I am used to receiving ‘urgent” or “panicked” calls about a myriad of computer problems that are stopping her from doing things like day trading. I was not prepared to for the picture of what the actual problem was
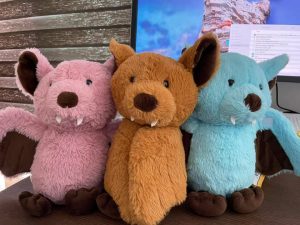
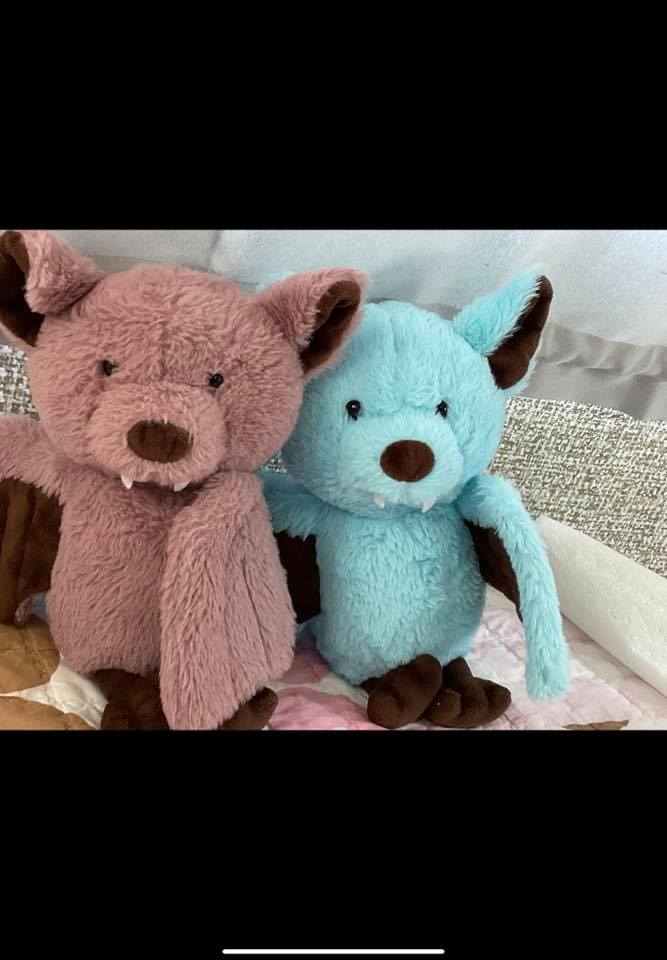
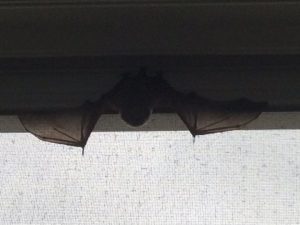 . “OK!! Yeah, you can panic about that, but there is nothing I can do, go ahead and call the apartment management and let them take care of it.” Being the kind and emotionally supportive boyfriend I am. I began looking for plush bats on Amazon as a reminder of this unique experience in Korea. Mi Jung did not like the bat, and I was constantly told that I am not a child, nobody likes bats, etc. Betty became a permeant member of the house, and it became a game of “elf on a shelf” and moving the bat to different locations of the apartment every morning and concocting life stories about the Batoogies.. Such as Betty being lonely and searching on www.batcupid .com and falling in love with Bruce who eventually came to live with us!

I find it a bit fun that even though the bats were made with the same style and method, subtle differences seem to give each their own personality. Bruce’s nephew Baxter (Who also happens to be a Battorney), seems shy and bashful. Betty and Bruce are teaching Baxter to fly. Baxter doesn’t look too sure of this flying thing..
While ordering more bats, and coming up with new stories for them, I began to learn more and more about real bats the crucial role they play ecologically and that most of what the average person knows about bats is founded in myth, lore, and superstition.
There is contradictory evidence regarding bats and zoonotic diseases. For Instance one veterinary medicine site lists bats as a main cause of rabies infections in the US, along with fox’s, racoons, and skunks. The CDC, while listing those animals completely omits bats. Though the article does list them as being a carrier.
The Bat World Sanctuary www.batworld.org references a study by the University of Calgary that “bats are not as disease ridden as the stigma suggests.” and that only 1/2 of 1% of ALL bats may contract the disease and those that do are not asymptomatic carriers. Other animals that humans are more likely to come in contact with are a more likely source.
It is a current belief that bats are the source of the SARS Covid-19 outbreak from a “wet” food market in Wuhan China. However, this has not been proven with 100% certainty. While other theories include the virus was already present in the bat population, but had not undergone the mutation to infect humans but was then passed to the Pangolin where the mutation took place and it was a pangolin that infected patient zero. It could have also being genetically modified during enhancement of function experiments at the Viral Institute of Wuhan and accidently released.
Even if bats are a disease vector for specific and rare zoonotic illnesses, for the insectivore population of bats, which make of 70% of all bats, each bat can eat up to 1,200 mosquitos every hour and up to 6,000 to 8,000 insects a night! Mosquitoes are the primary carriers of Malaria which kills upwards of 608,000 people a year, and Japanese Encephalitis which kill anywhere from 30,000 to 50,000 a year! So, while bats can spread disease they by and large play a bigger role in preventing it.
Myth: Bats are blind or have terrible eyesight and rely completely on echolocation to find food and make their way in the world.
Well, one of these statements is true, but which one?
While bat’s do have smaller eyes as compared to other mammals, they do have sensitive eyes that are capable of seeing in low light! They do not have sharp color vision because more of the surface area of their retina is made up of cones, vs rods. It is the rods that give us color vision, but it is the rods that allow us to see in low light. Next time you are in a dark room, notice how you are unable to discern color!
Around 1000 species of bats use a form of echolocation to hunt for food (both insects and fruit), they will send sounds in the Low Frequency Range (9kHz – 200kHz). Human hearing range is between 20 Hz – 20kHz). That most of these sounds mostly occur beyond the range of human hearing is why they are usually referred to as being “ultra sonic” but I am referring to them here in their place in the electromagnetic spectrum and thus low frequency.
The lower the frequency the larger the object bats will be able to detect, and at a longer range. Like radio waves, the lower the frequency it takes a larger object to reflect the “signal” as the wavelengths will just move around smaller objects such as insects. The higher frequency waves travel a shorter distance, are reflected by small objects such as insects and travel faster, so a bat will “see” an object” sooner.
Bats transmit the signals through their mouth or nose, and receive them through their ears. An interesting fact that also relates to other manuals including humans, is a muscle in their ears called the Stapedius Muscle that restricts the bones in the middle ear that detect sound from moving when they “speak”. Humans have a similar response when we are speaking or in loud environments.
Still with me? We have more myth vs. reality to cover, then we can move on to what I really want to blog about my private tour of the Lubee Bat Conservancy!
Myth: Bat’s are evil creatures, have supernatural powers, and drink human blood!
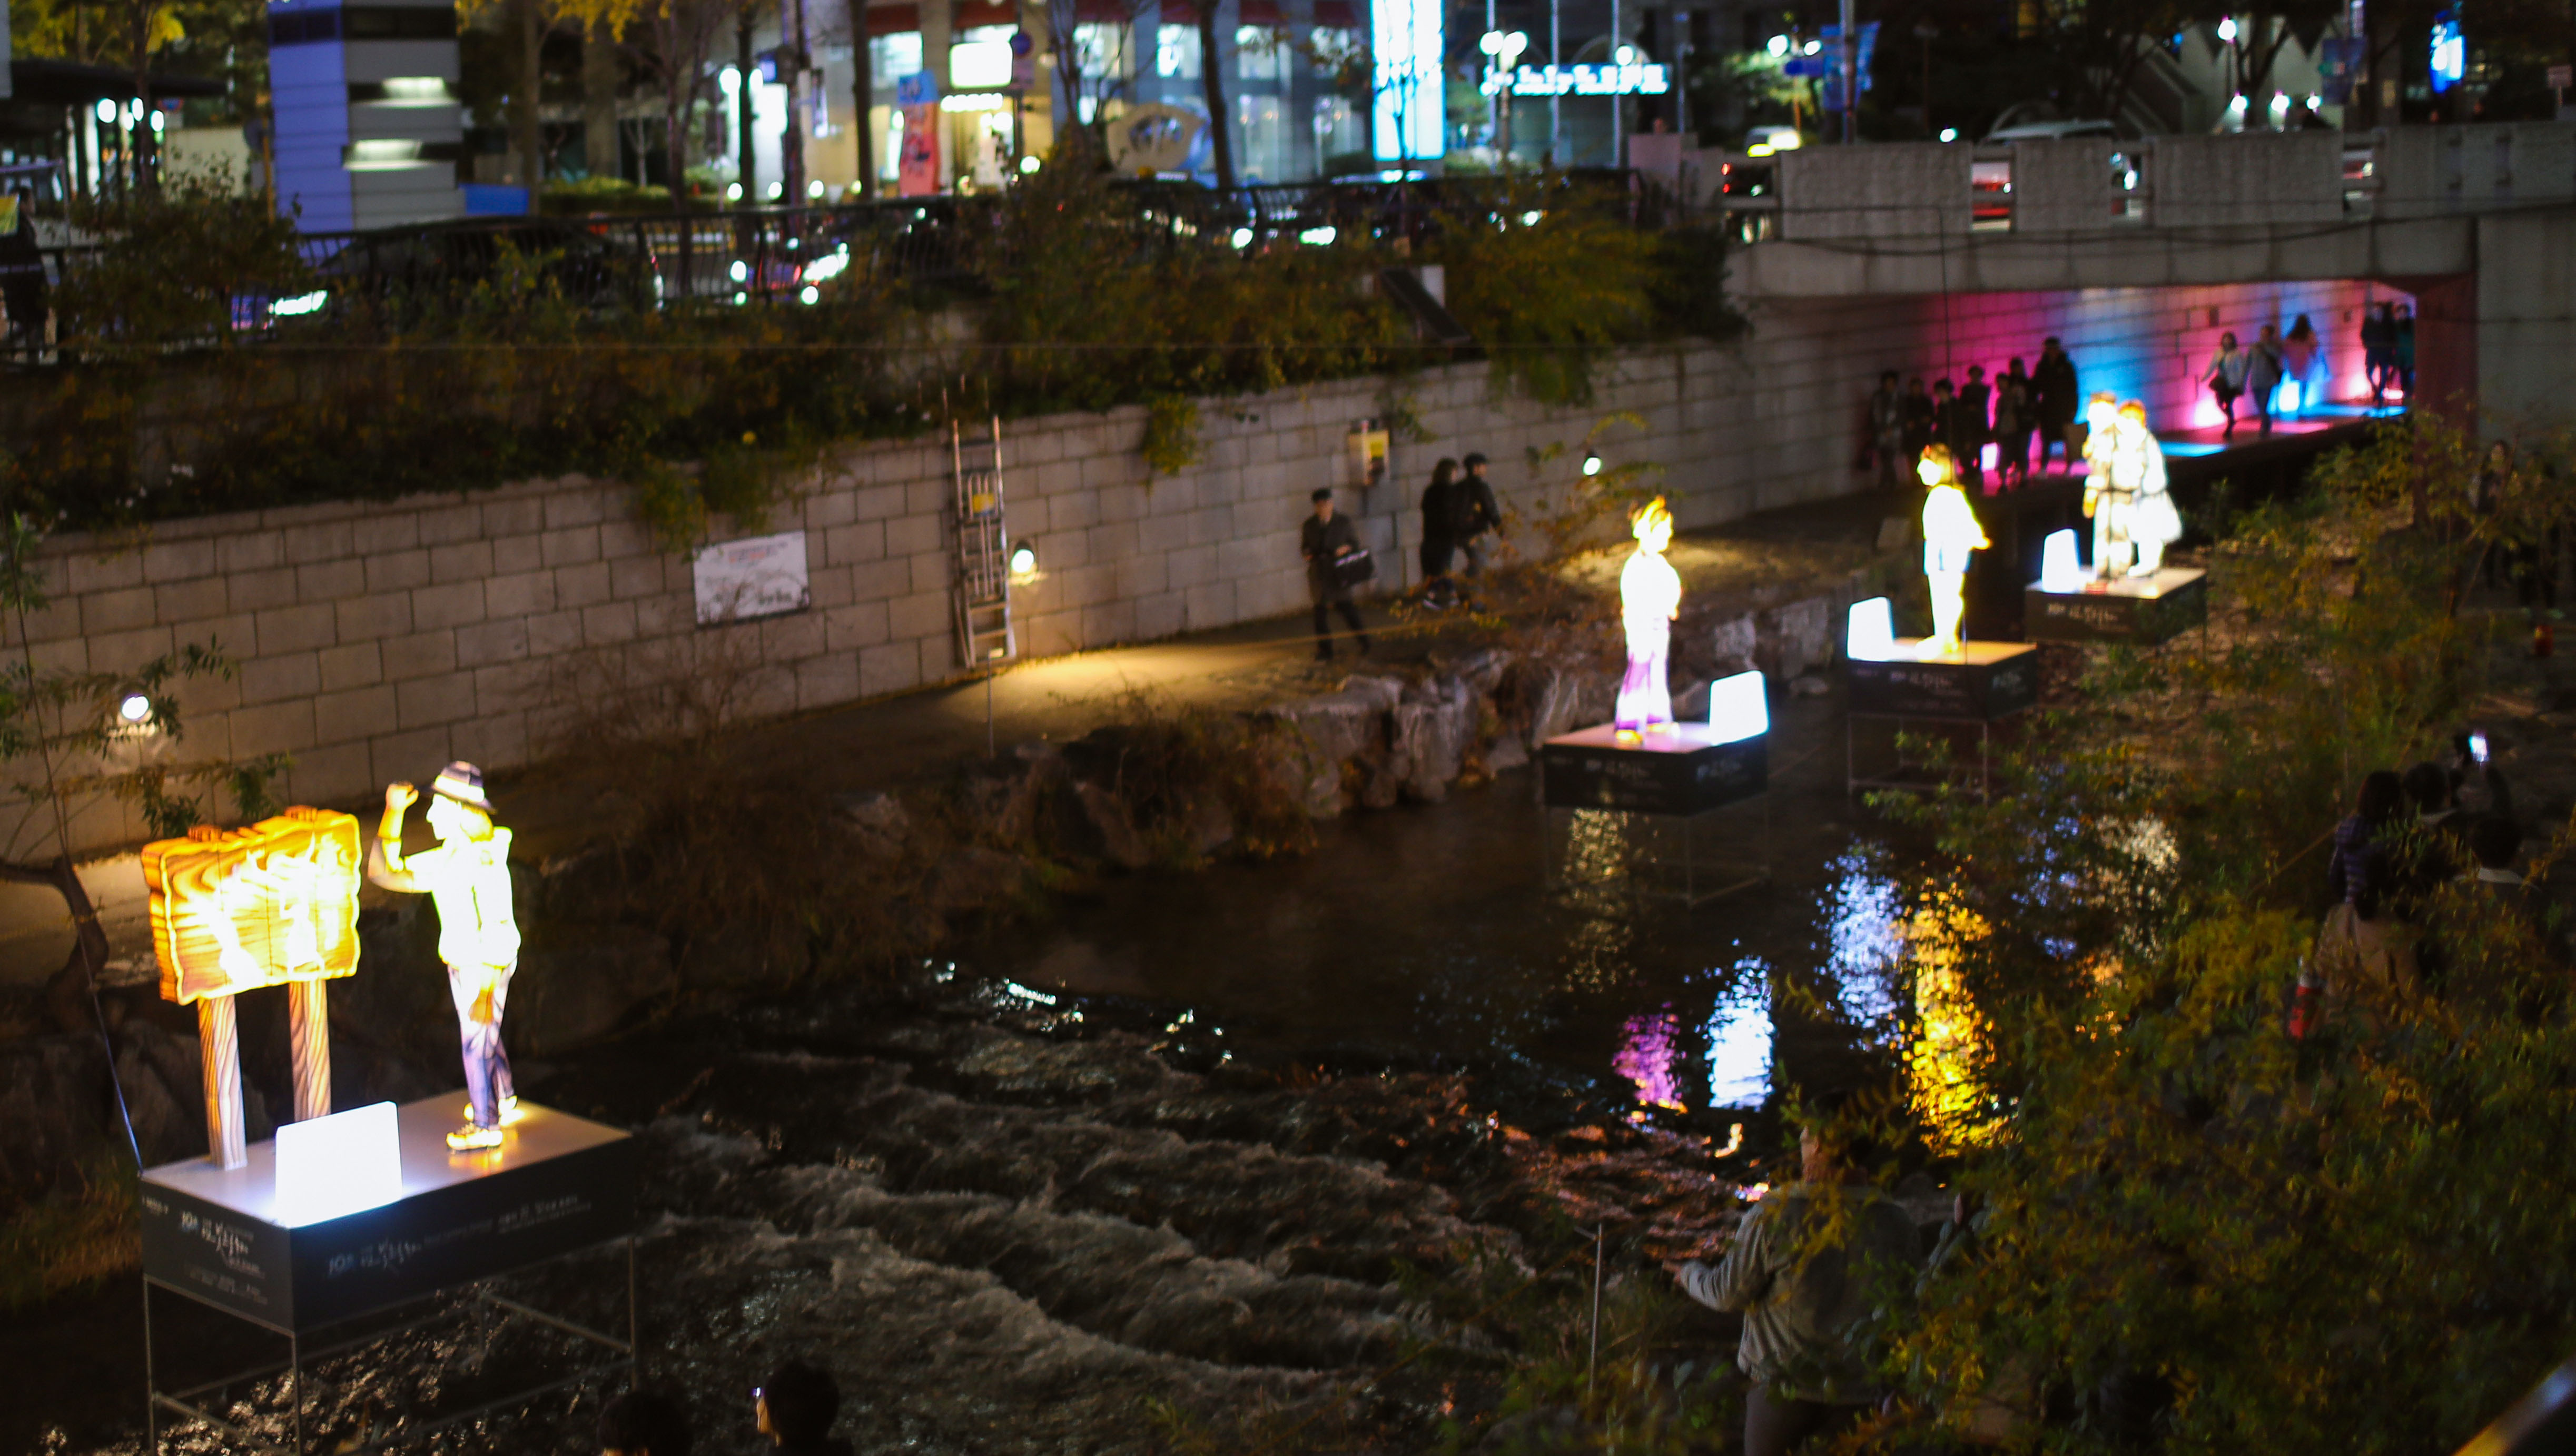
The tour guild of the Dark Side Of Seoul Tour quoted an unnamed psychologist saying, “We create ghost stories to voice our darkest fears.” Chief of those fears is of what happens to our soul after we die, and the battle between good and evil spirits. Another reason for myth and legend is to give explanation to something that we lack an explanation for. Interesting is that in the legends in Asia while Vampires exist (Gon Shi) in China and Korea. They have nothing to do with bats but are their own demon spirit possession that hop on still legs and are more akin to a Zombie. Bats are not evil creatures at all, but a harbinger and sign of luck,and (unfortunately) fertility as concoctions using parts of bats, or soups made from bats are use as an aphrodisiac, a cure for infertility, or impotence.
Western Vampire legends that involve bats were made popular in England by Brom Stroker, and contains elements of early medical / metaphysical science, pharmacology, and Eastern European folk lore! I was surprise when I read the novel that this may have been one of the earliest medical thrillers (For those of you that like Robin Cook or Michael Creighton.). Stories of Vampires and Zombie may have started circulating as a way of explaining graves dug up for the purposes of grave robbing either to steal jewelry left on the bodies, or bodies being taken for medical research, which was prevalent at that time.
While there are bats that feed on the blood of livestock, and very rarely human blood. Bats feeding on humans is really not a thing!
Therefore there is no reason that we should be afraid of bats, or want to prophylactically eradicate them as they play a vital role in the ecosystem!
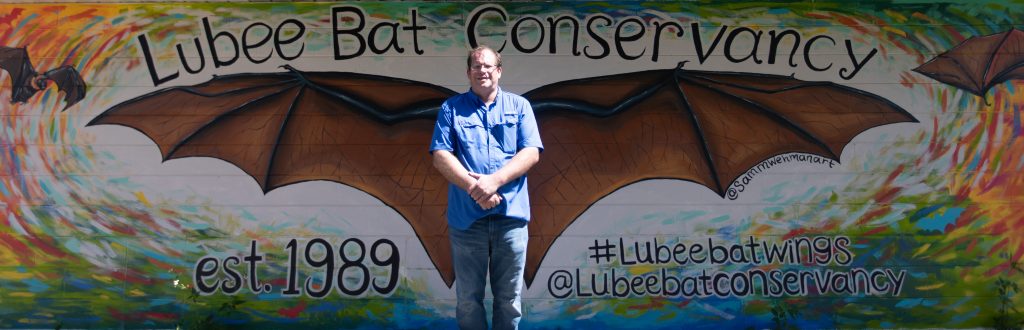
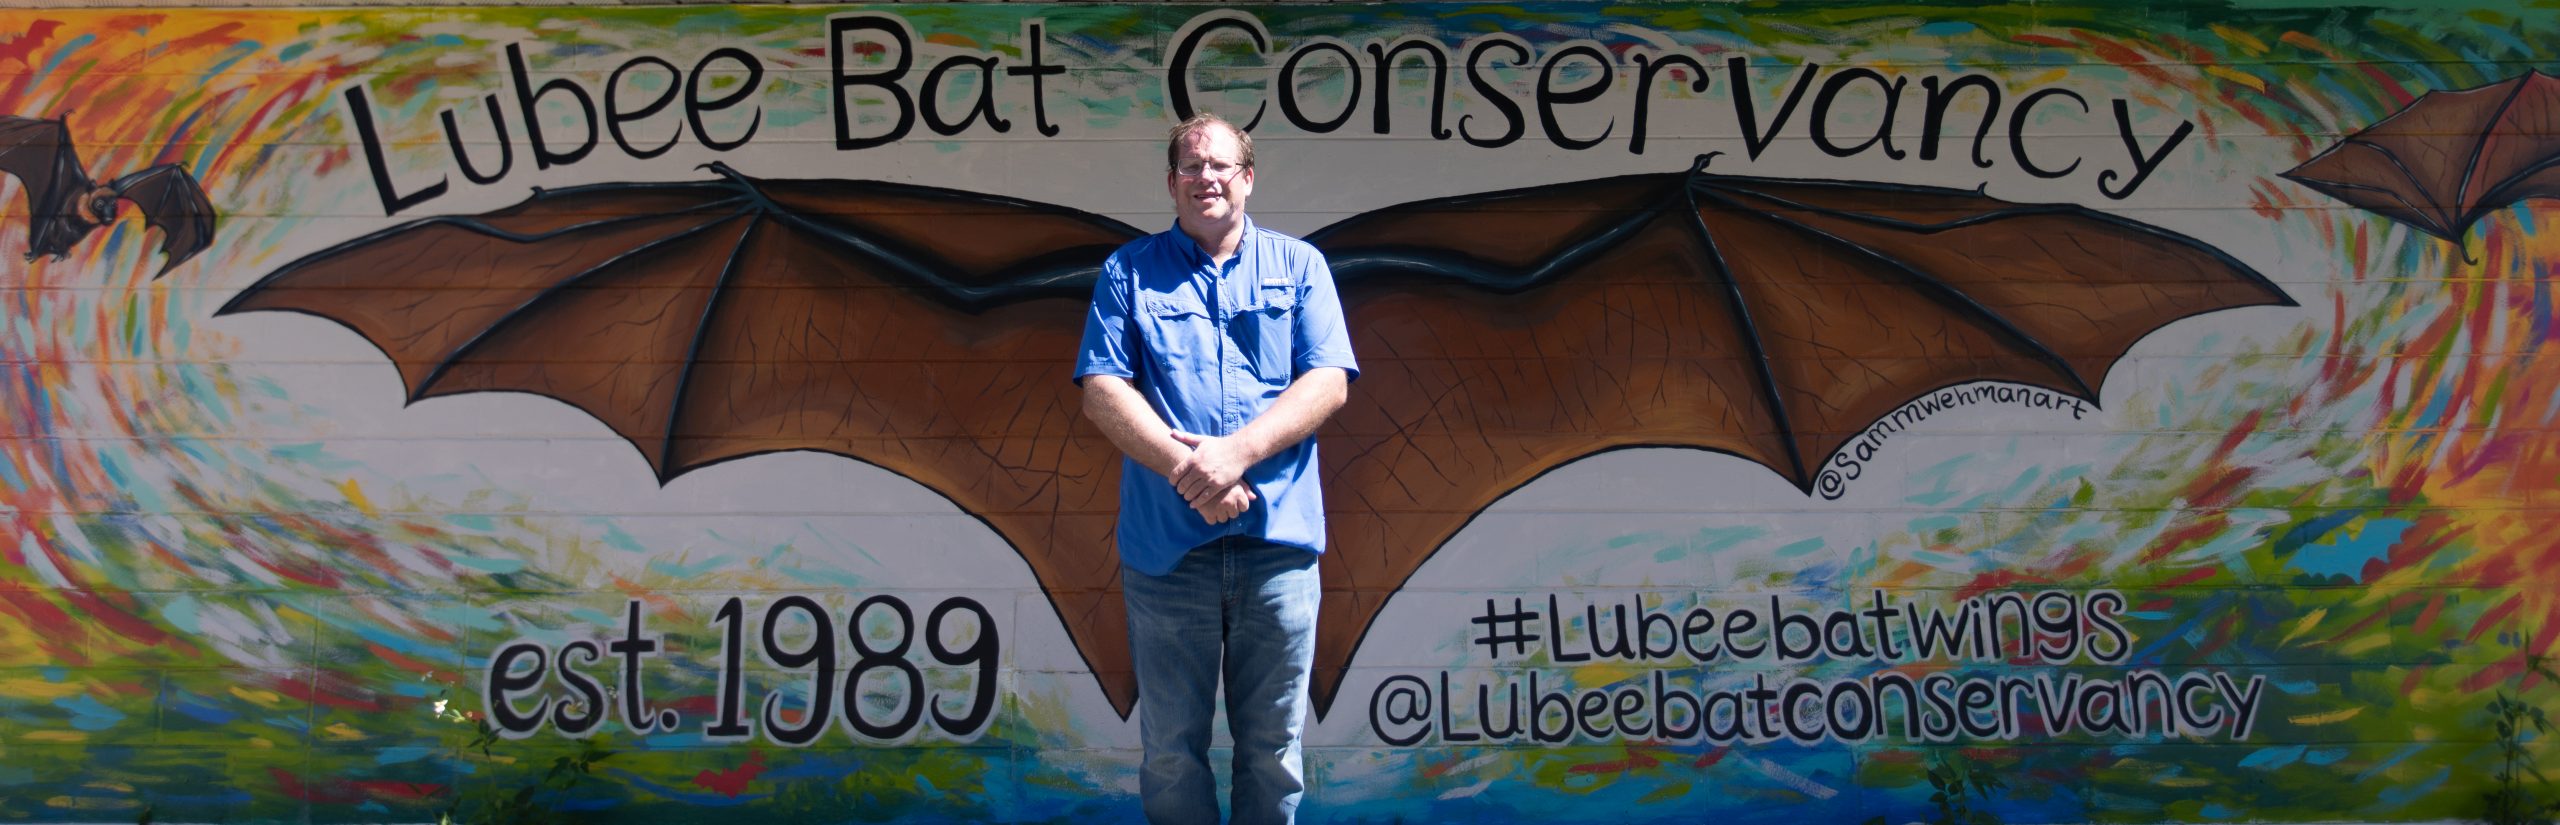
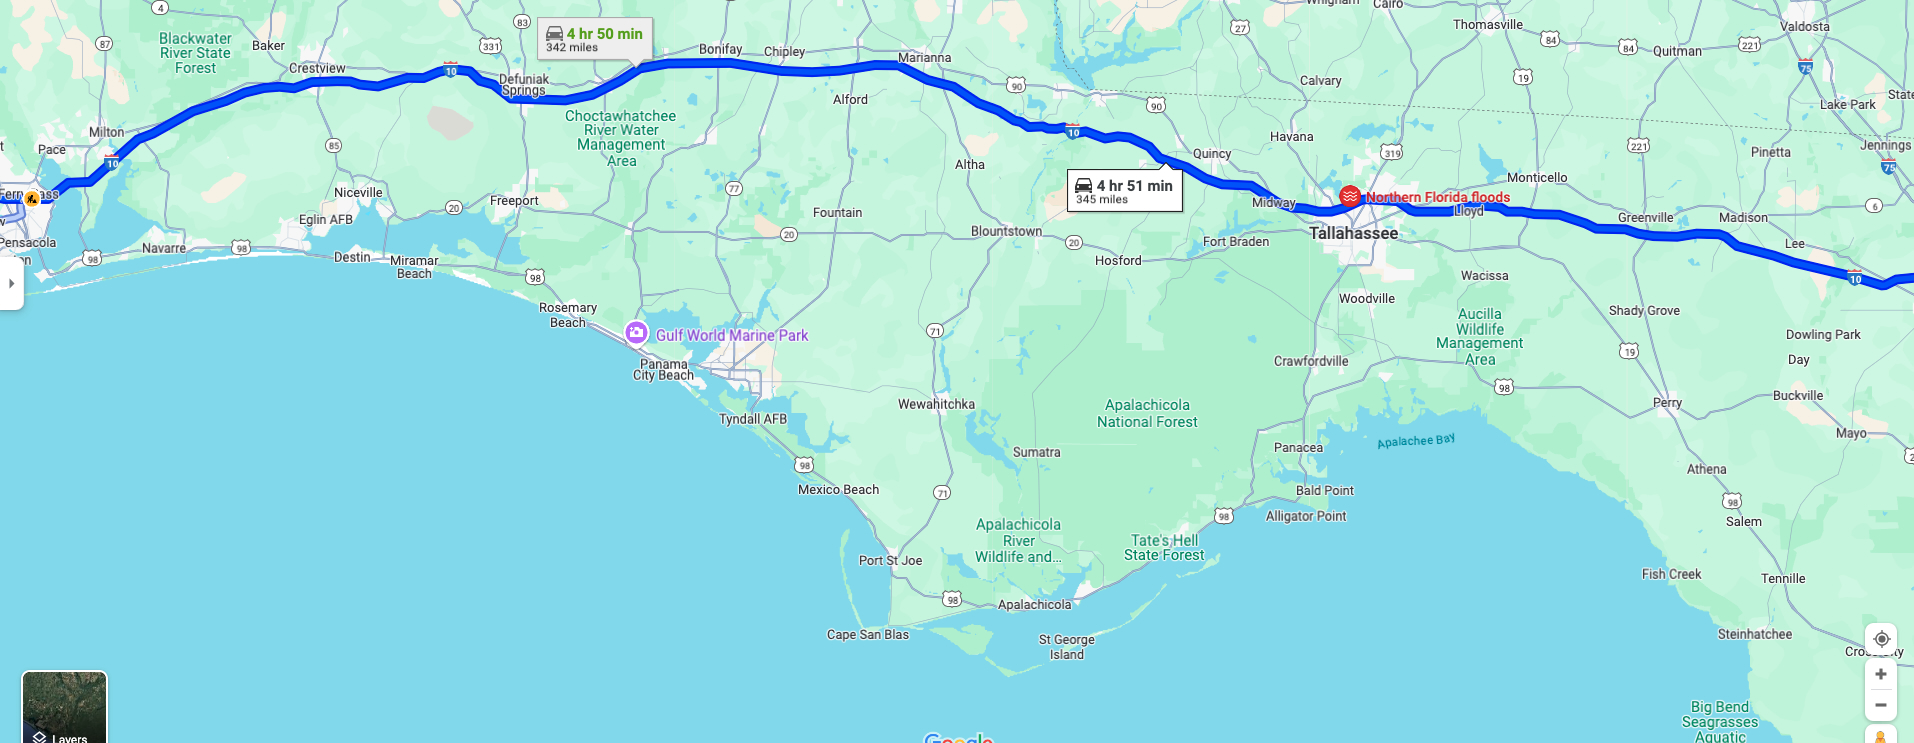
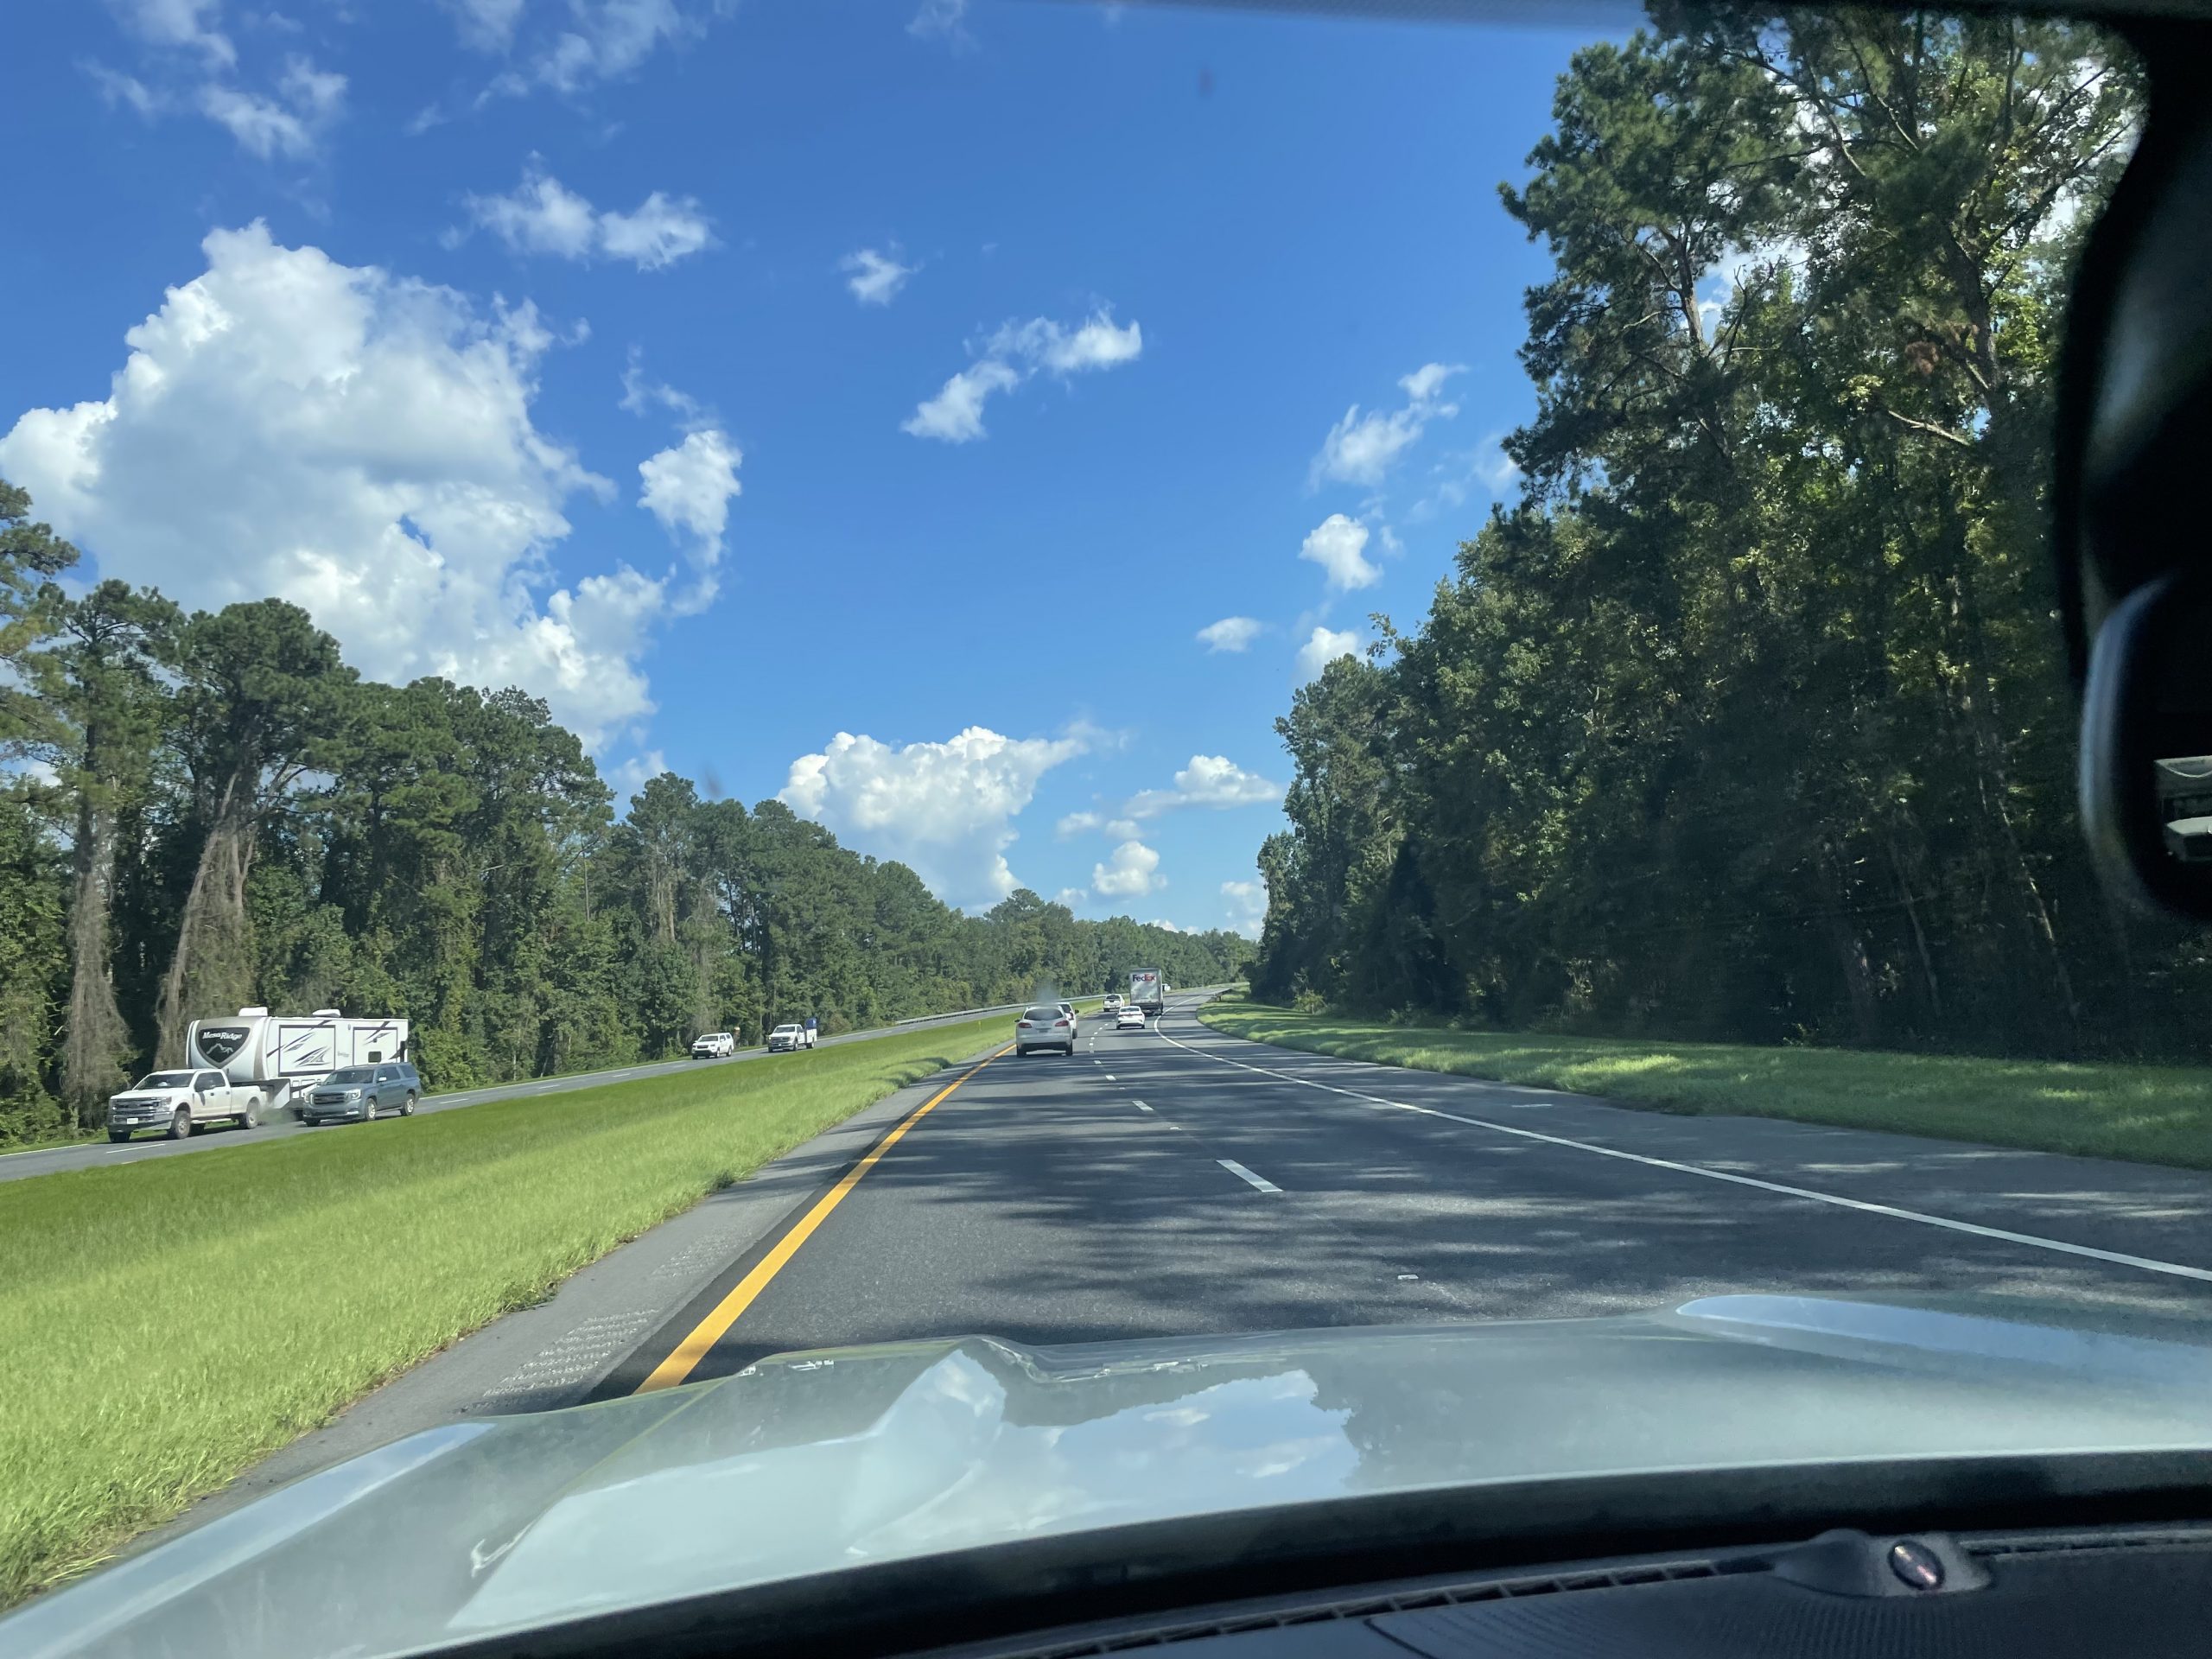
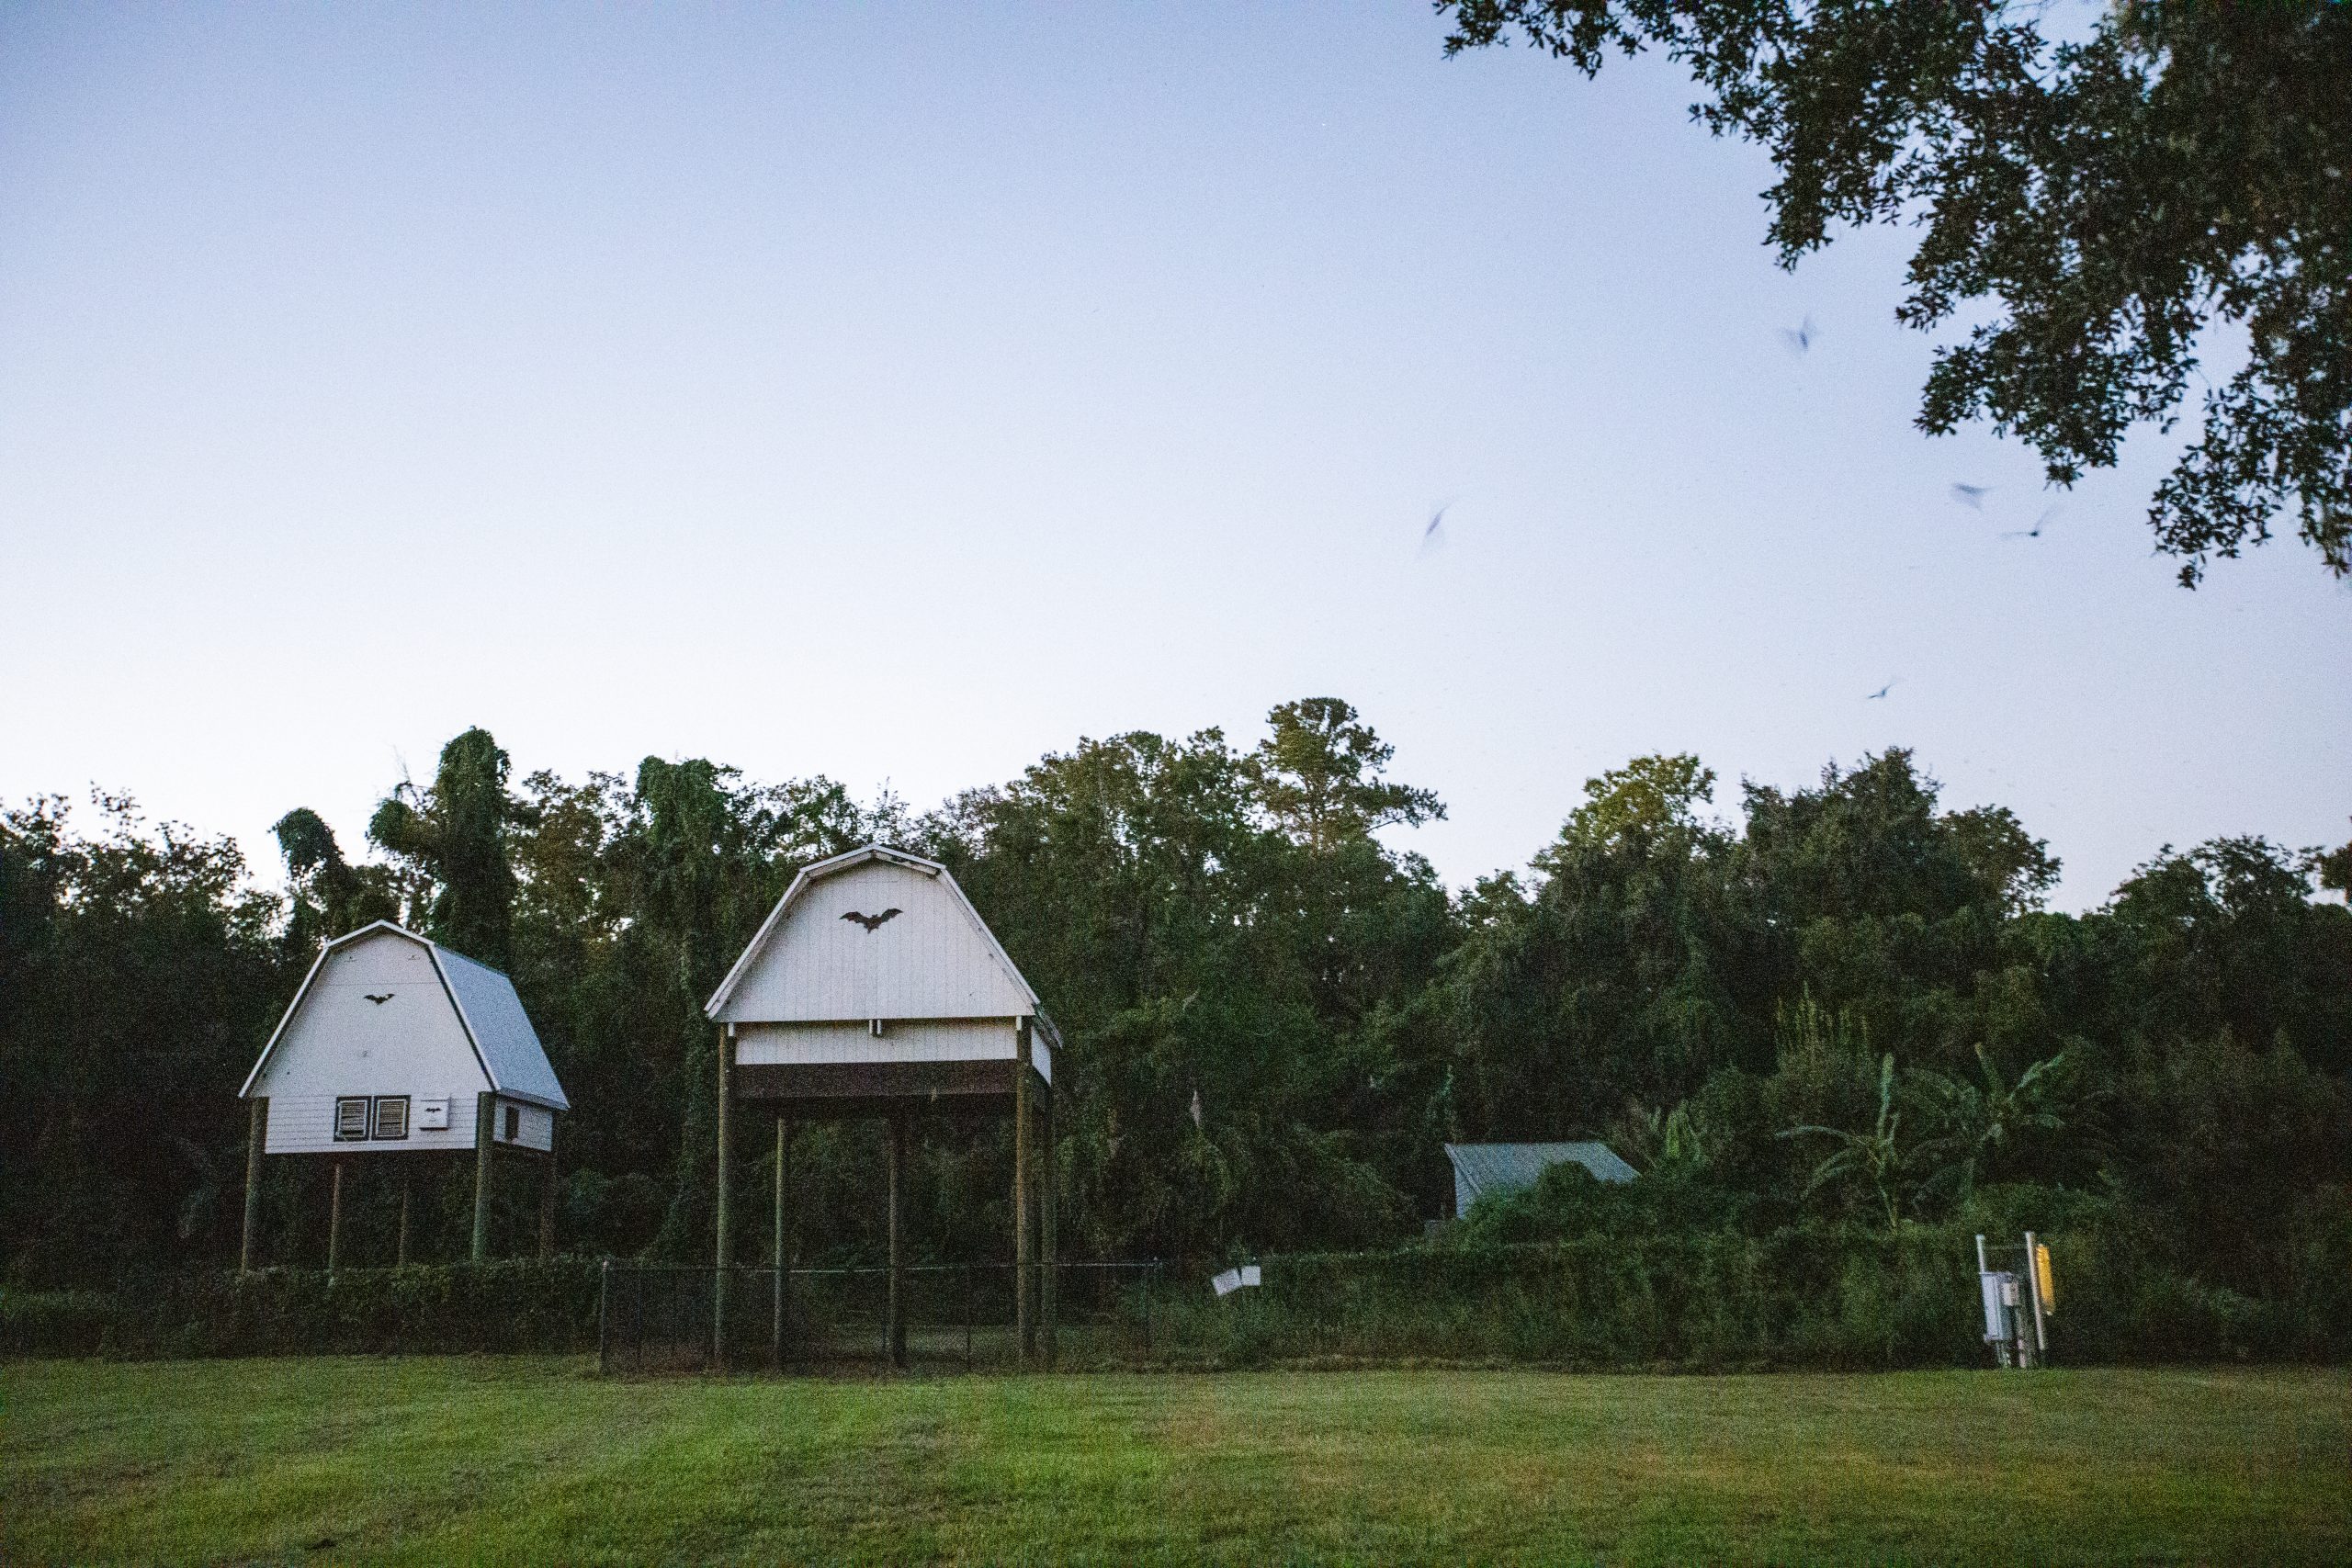
I had been anxiously awaiting this tour for months! It almost did not happen for reasons I will not go into here, but Sep 22 Finally arrived. So after waking up, and a quick shower, it was off to Depot Park to kill a few hours. I walked around the park for a couple hours taking some selfies and listening to the East Coast Reflector. Then off we went to the Lubee Bat Conservancy. It was a nice drive out into the country, and the driveway was easy to find using Apple Maps.
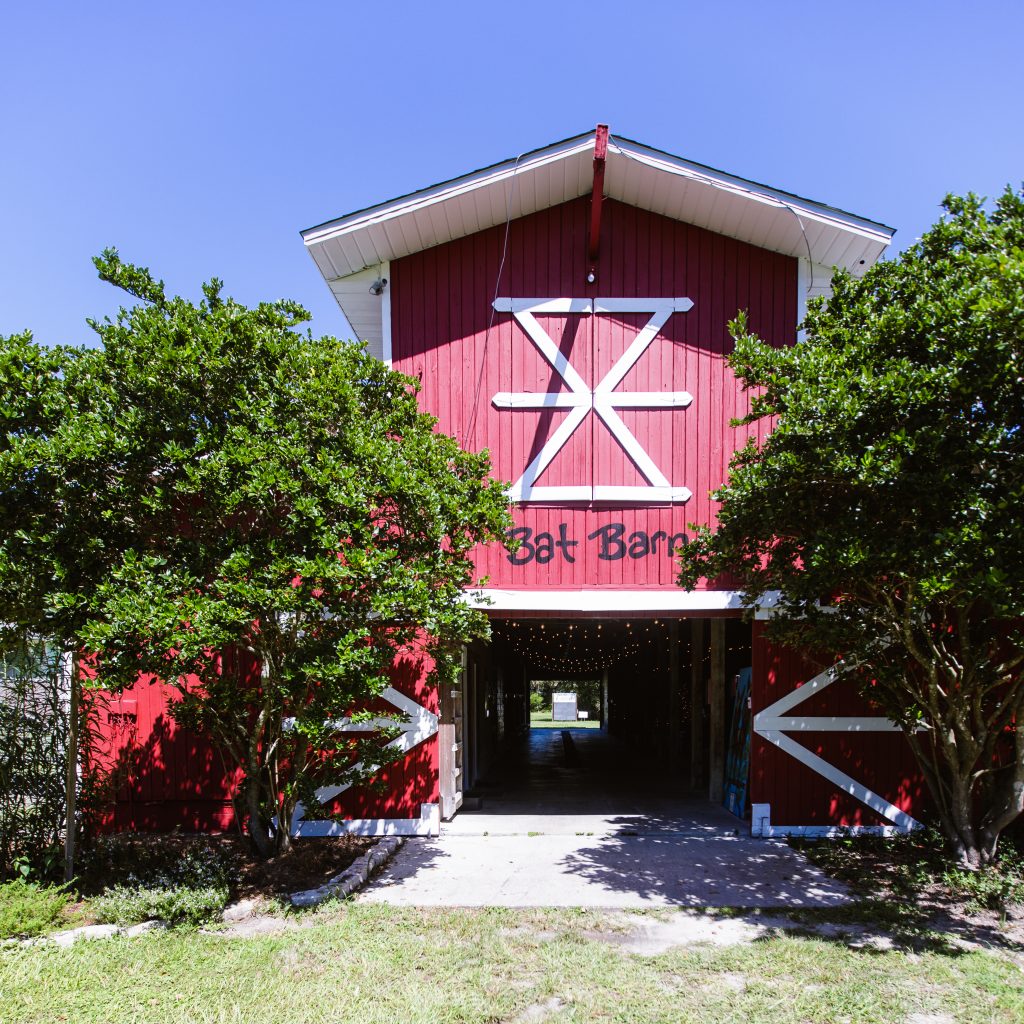
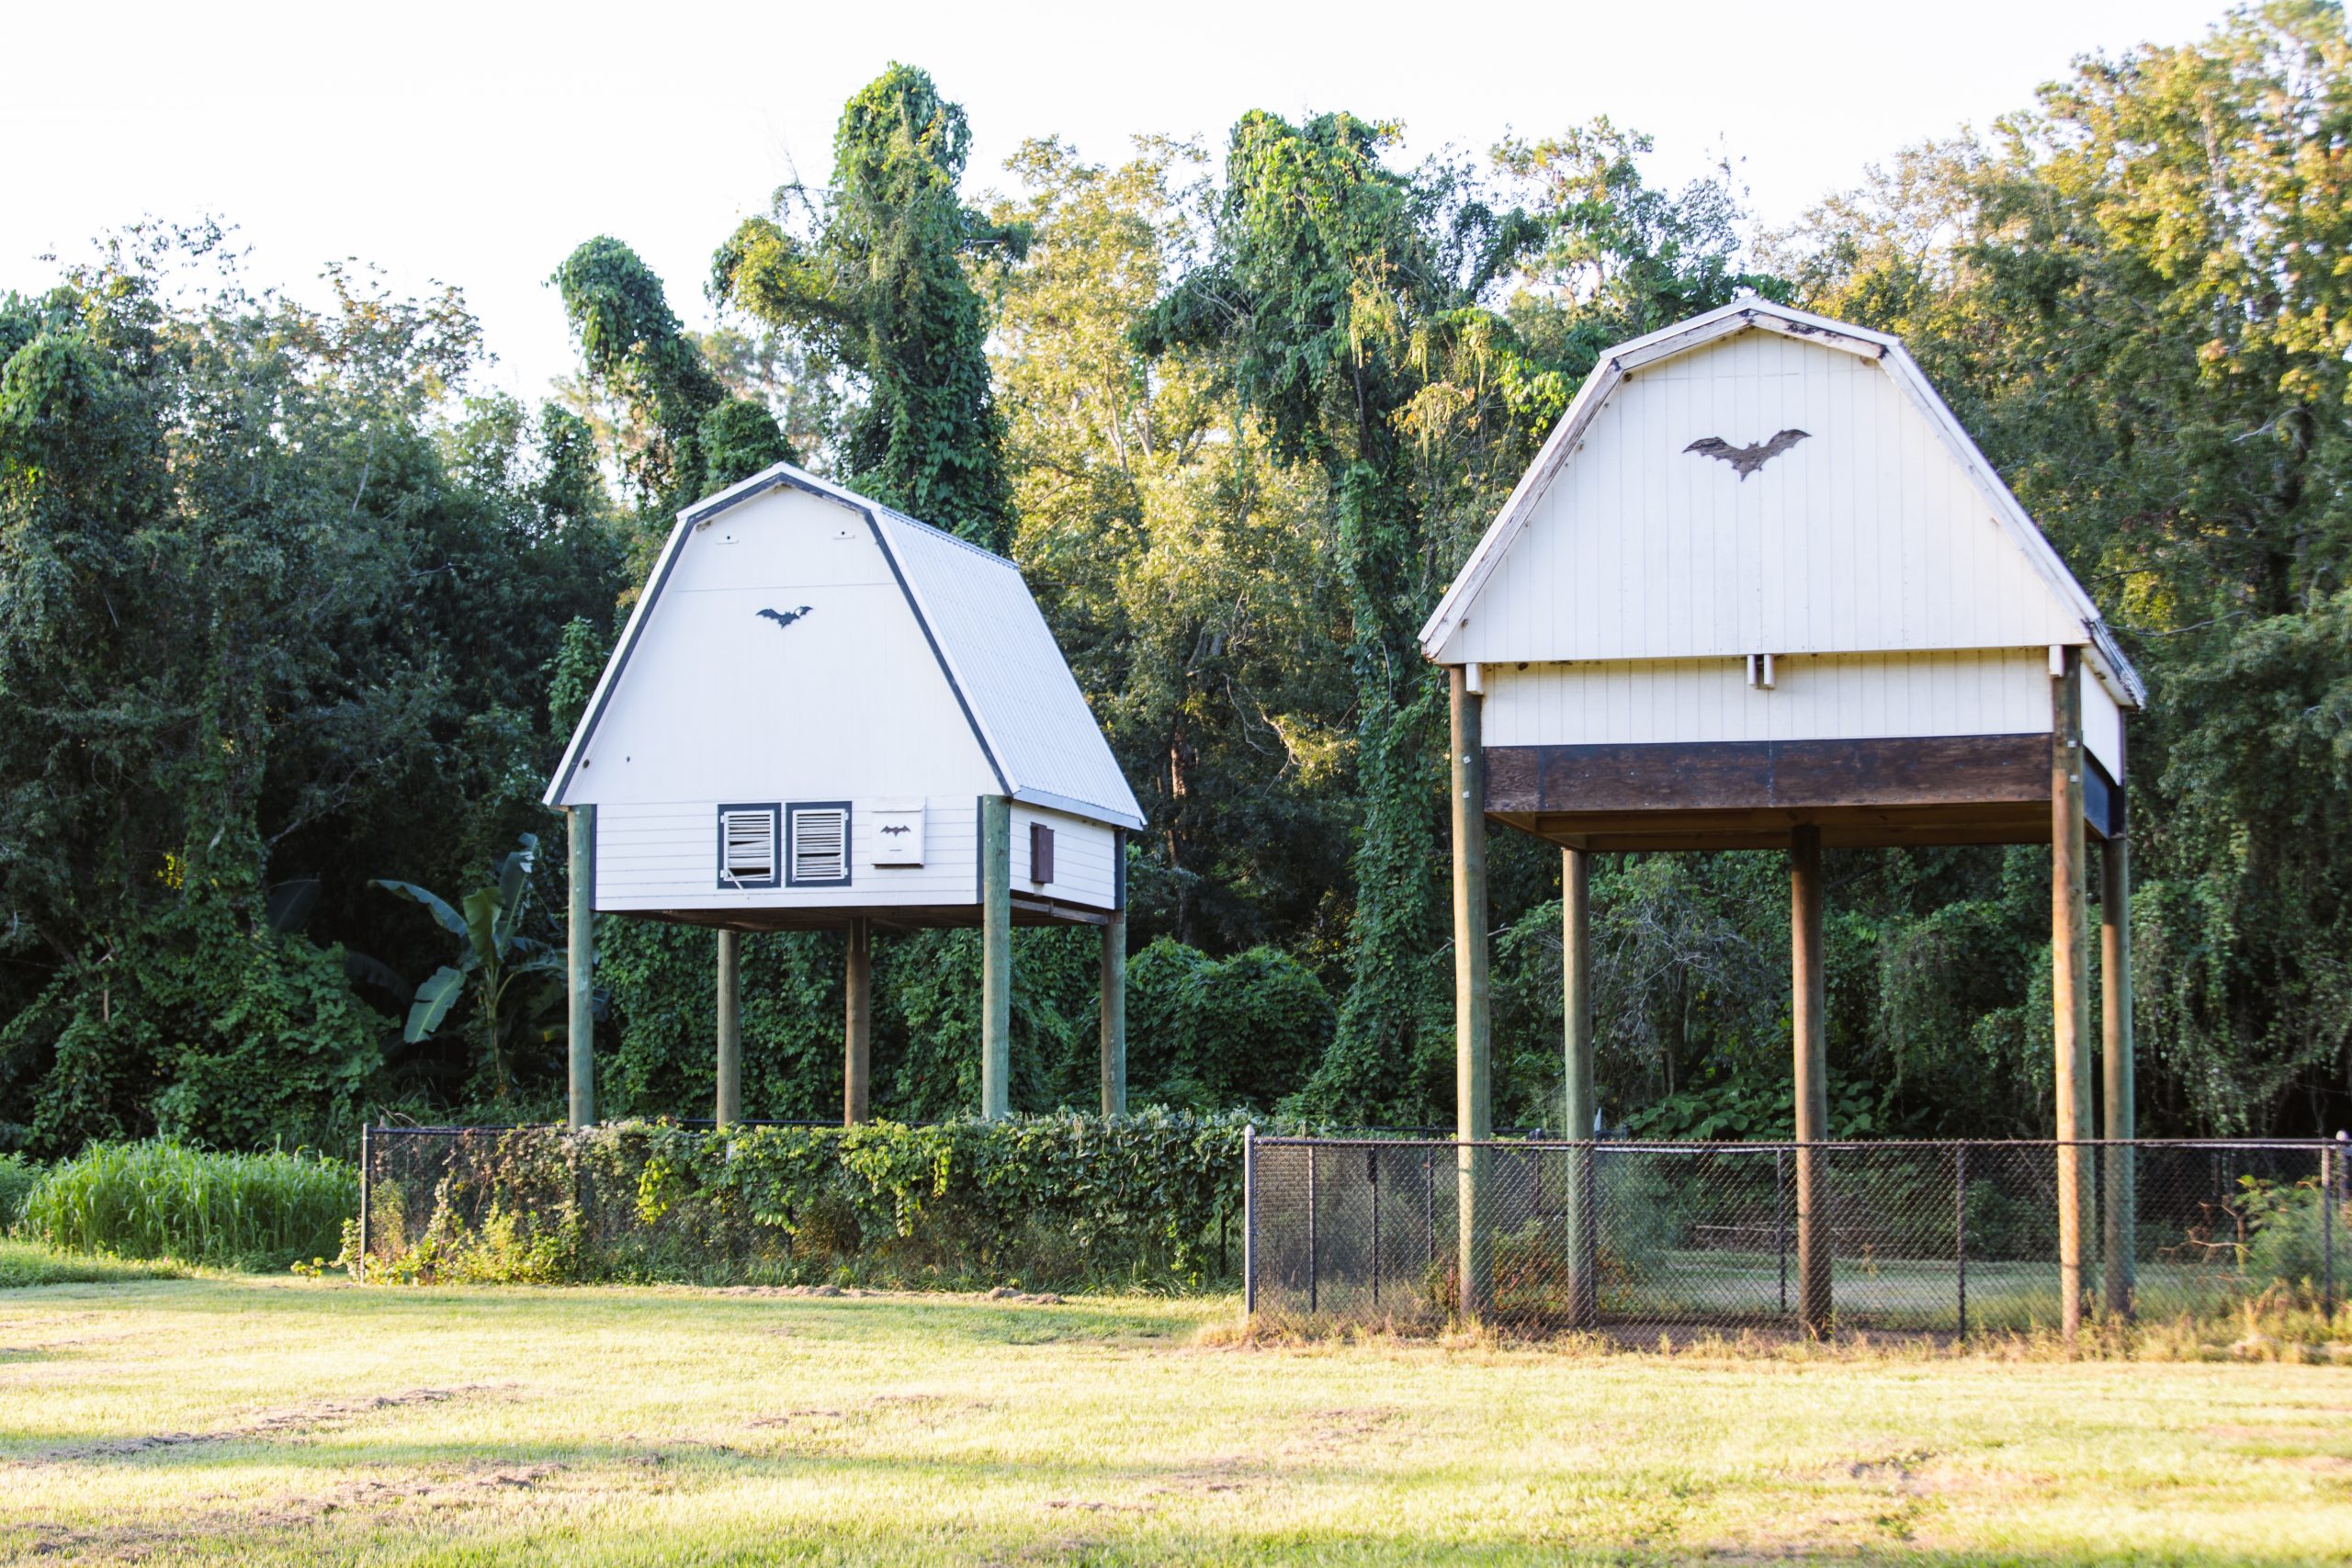
Here is my first regret as a photographer, as I will have to see if I can get a picture of their main gate when I go back at the end of the month for the Florida Bat Festival. The large metal gate, and large red sign warning you to not proceed further unless you have a scheduled appointment gave a slight Jurassic Park vibe. Warning duly noted, but we had a scheduled tour so on we went! We saw the large red barn that was noted in the directions on our confirmation, labeled The Bat Barn.. There were no signs indicating were we should park, so I just parked behind some cars that were already there and figured I would be asked to move if it was in the wrong spot.
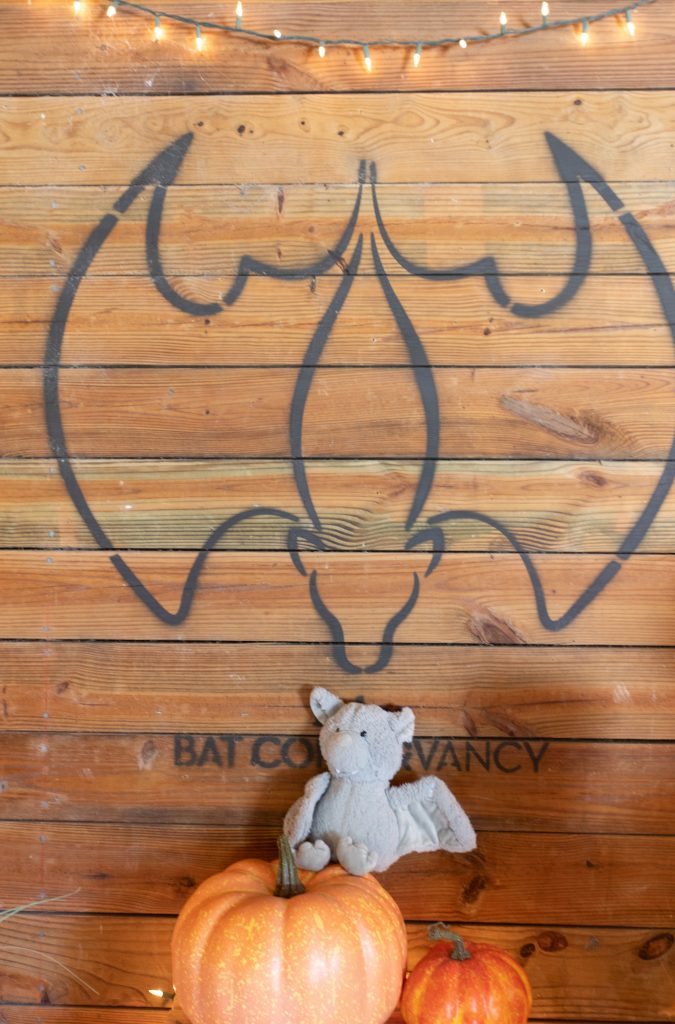
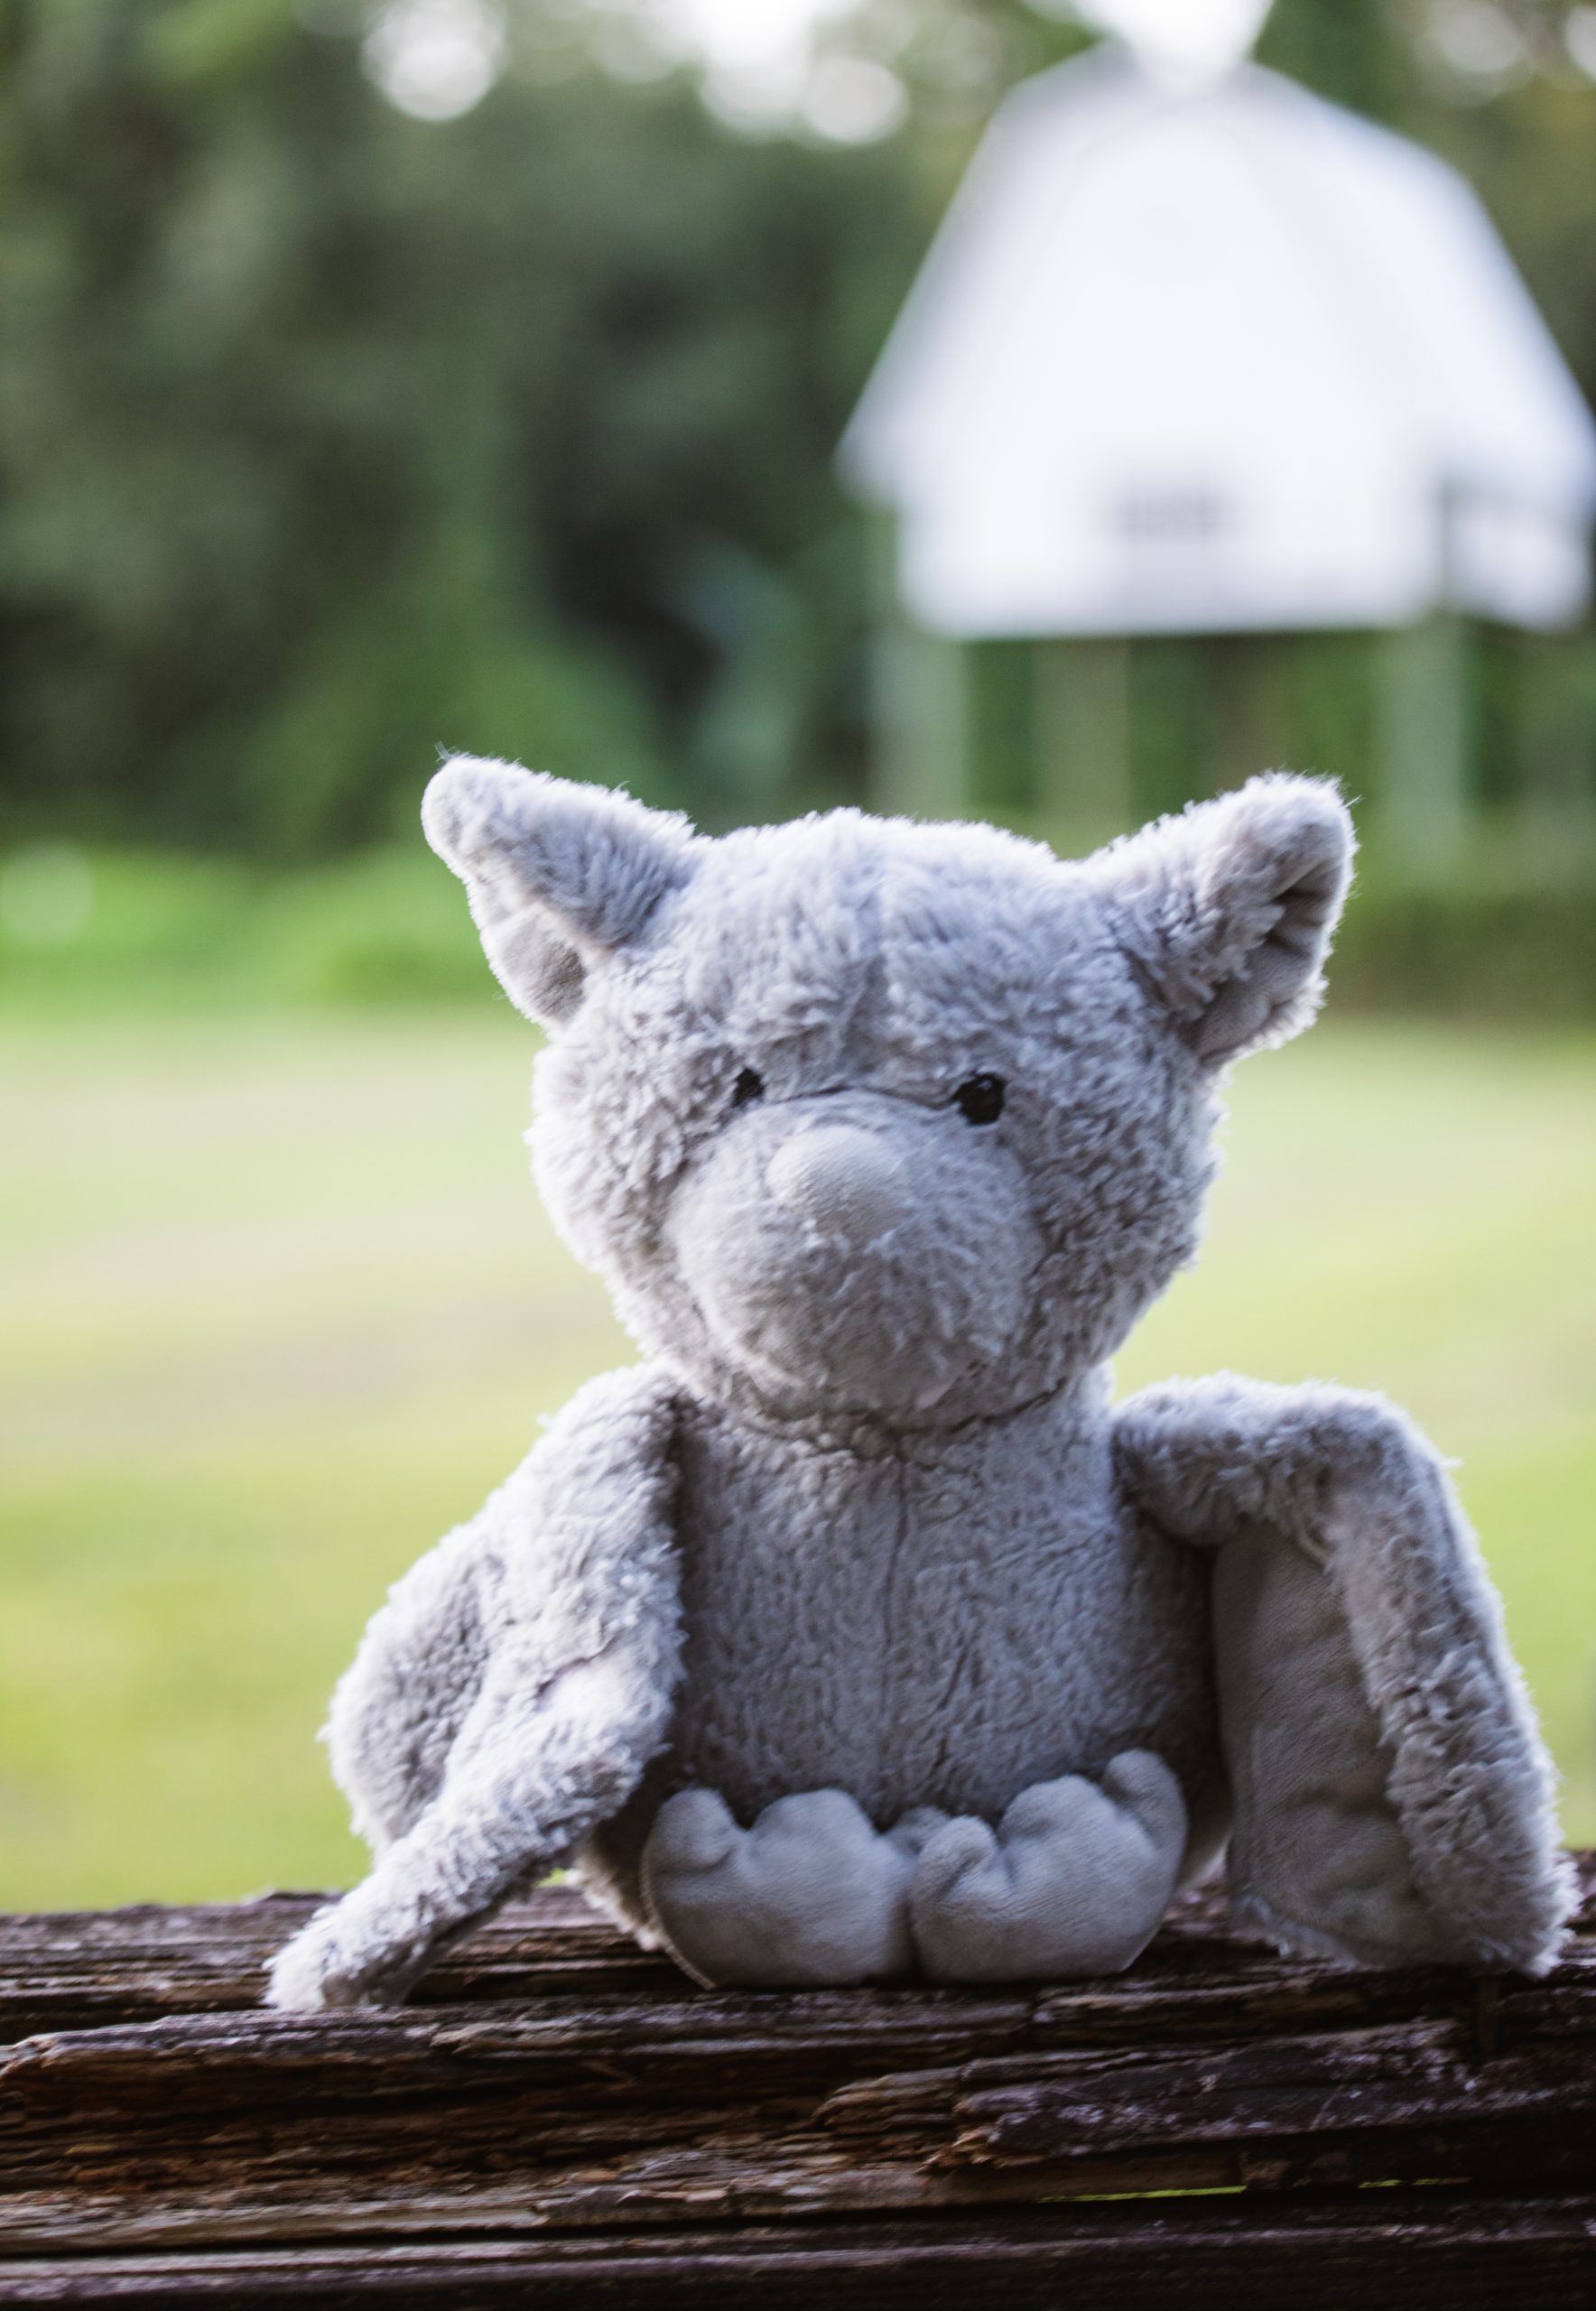
I grabbed Old Man Bat, as a comic relief photo stand-in. Rose and Drac were left in the car and to their own devices. They decided to go on their own *driving tour. Drac was pretty nervous asking Rose if he thought this was such a good idea (What if they mistake us for escapee’s?!).. Rose told Drac not to be silly, they know they don’t teach their bats to drive!

* There is no driving tour, just thought you needed a laugh after the preramble!
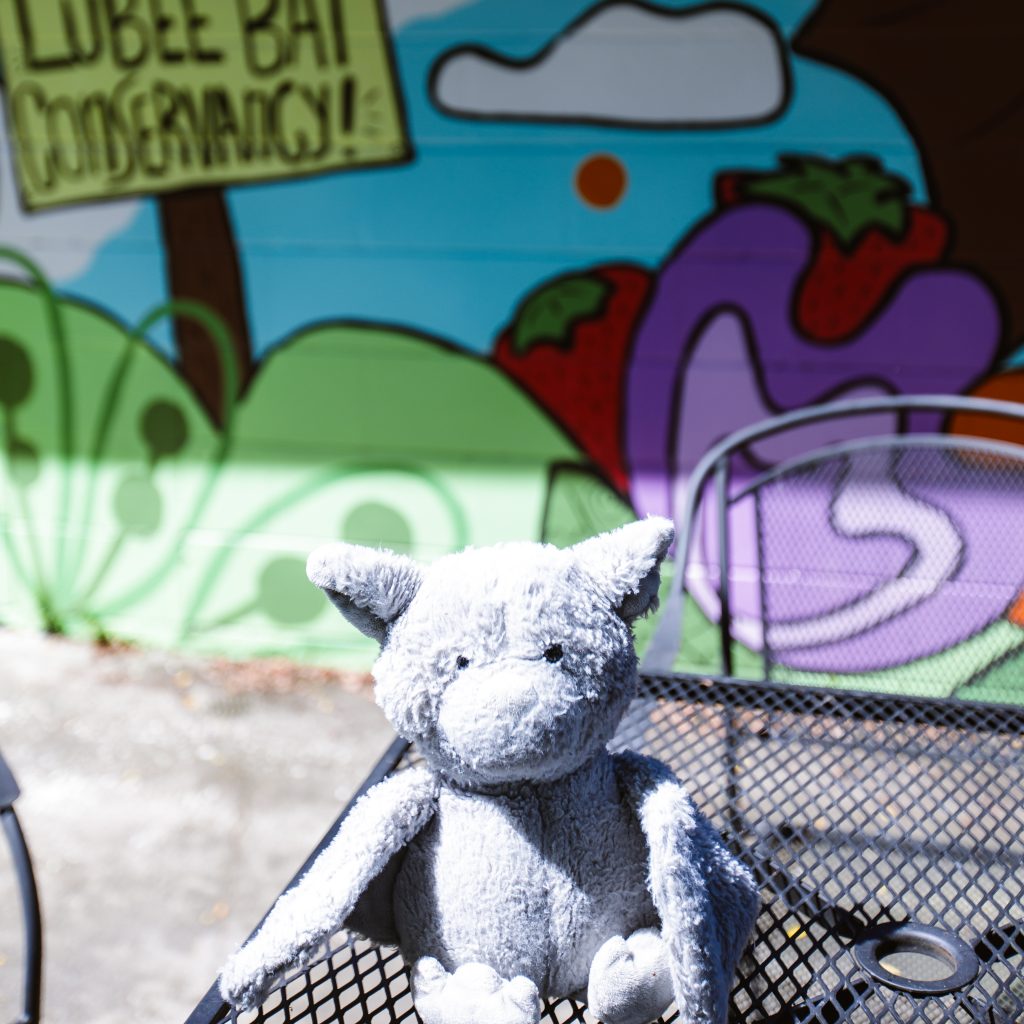
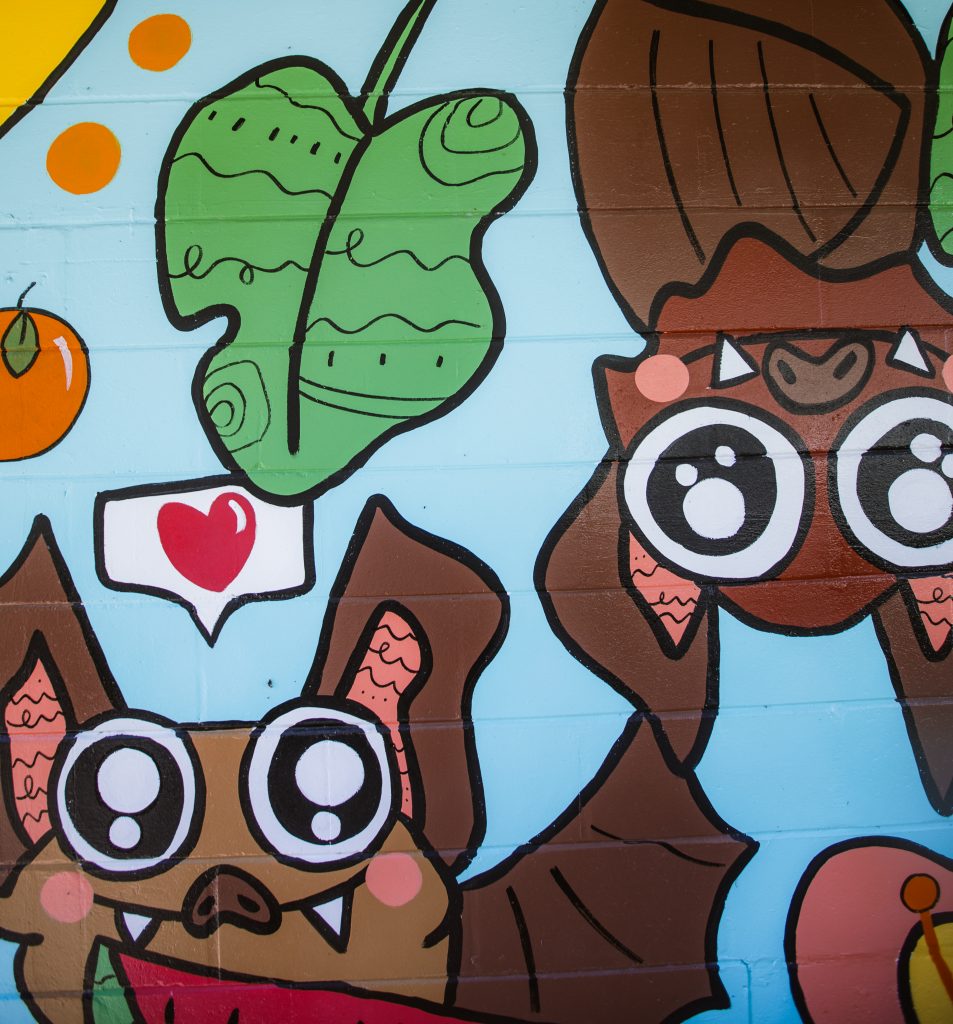
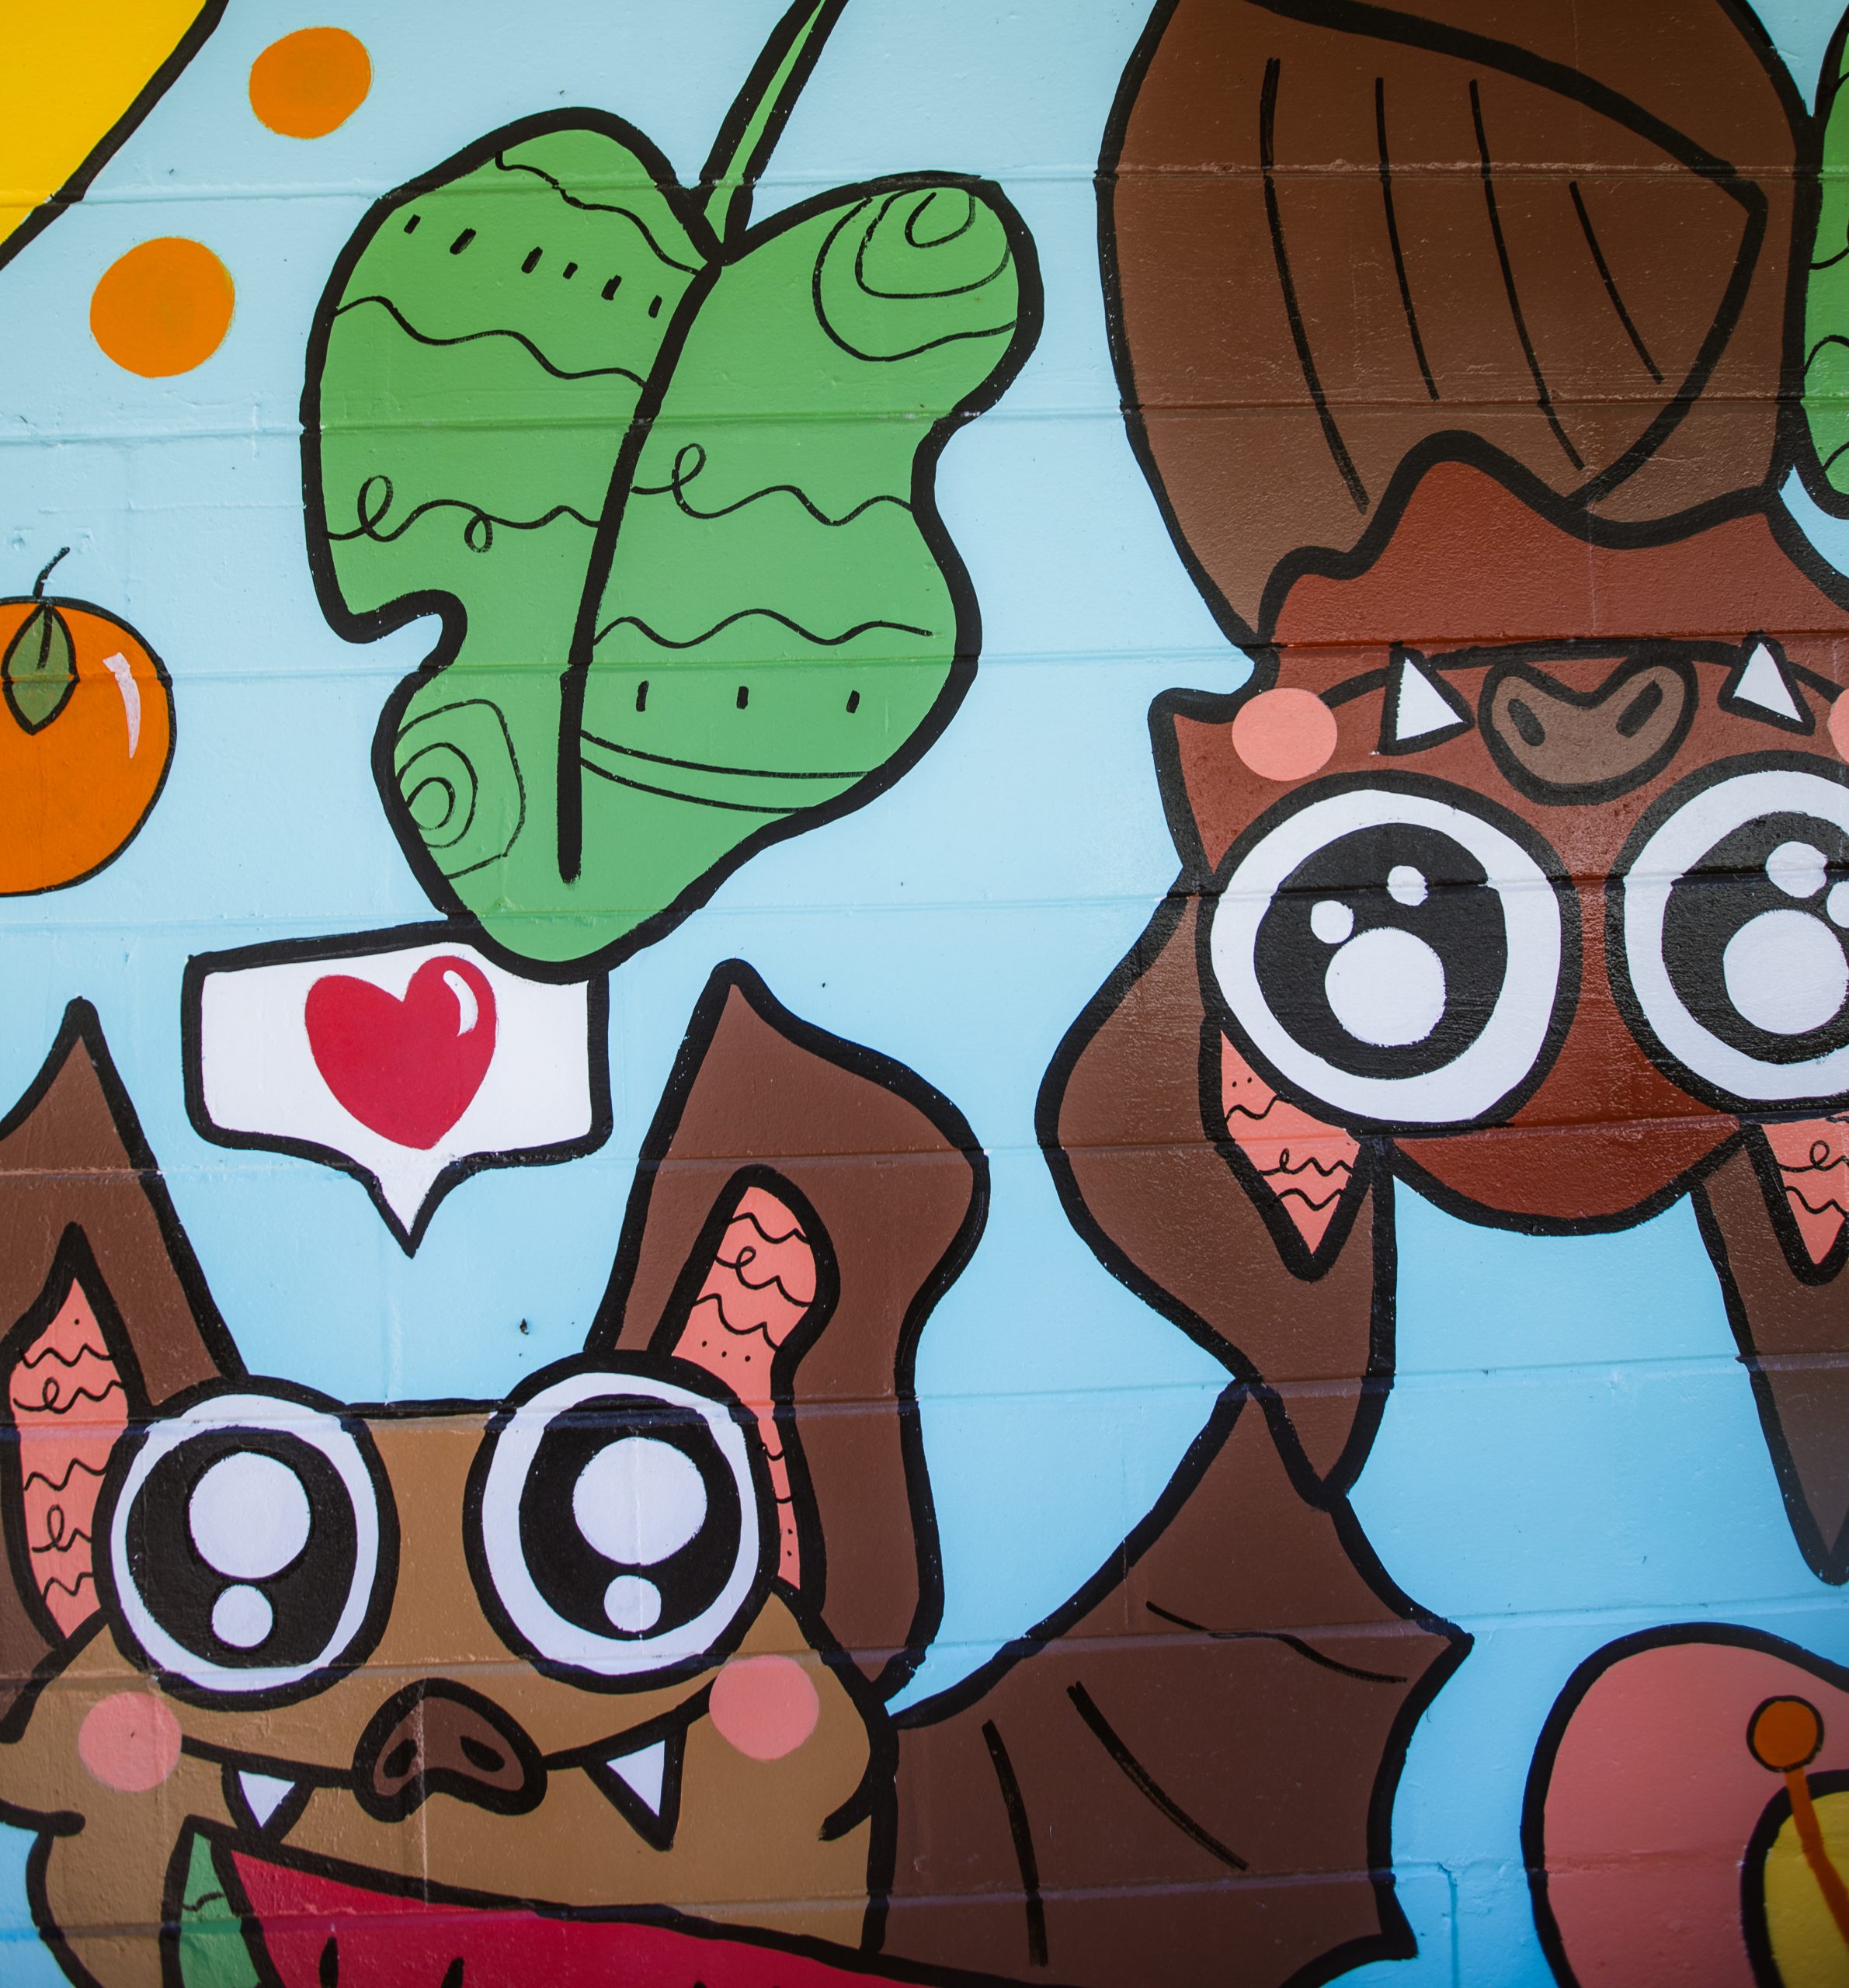
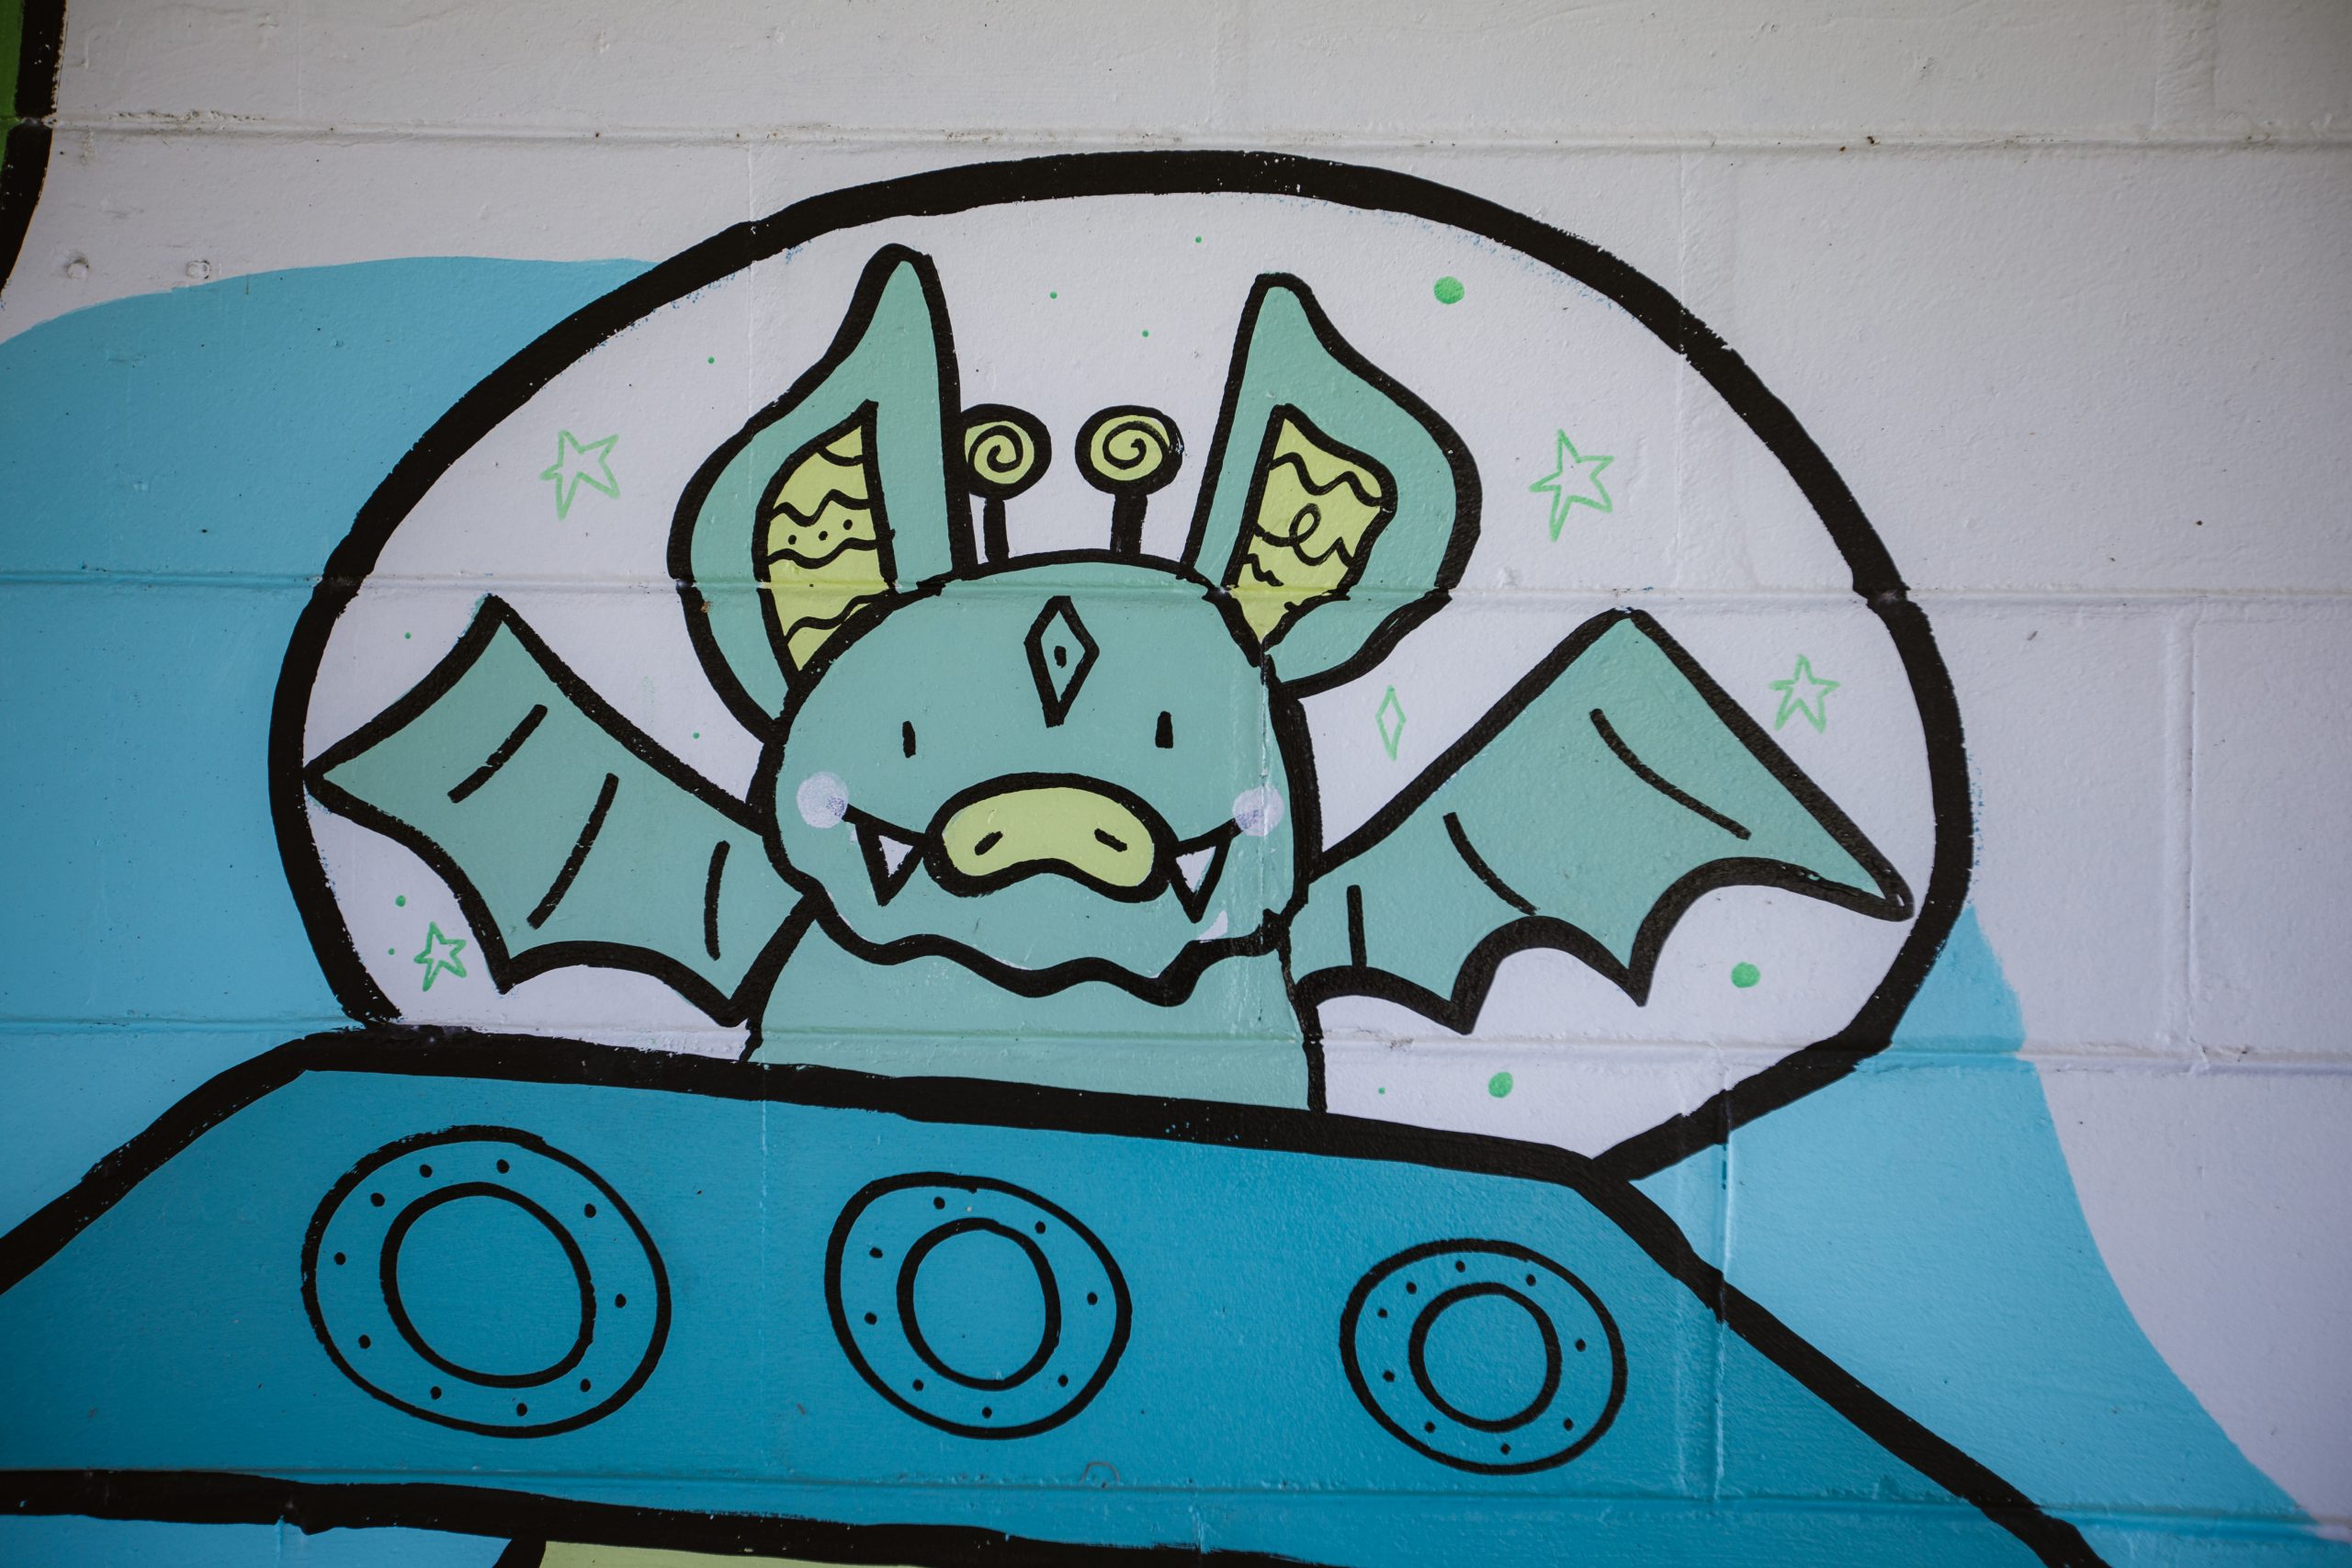
There is great and fun artwork by the parking area.

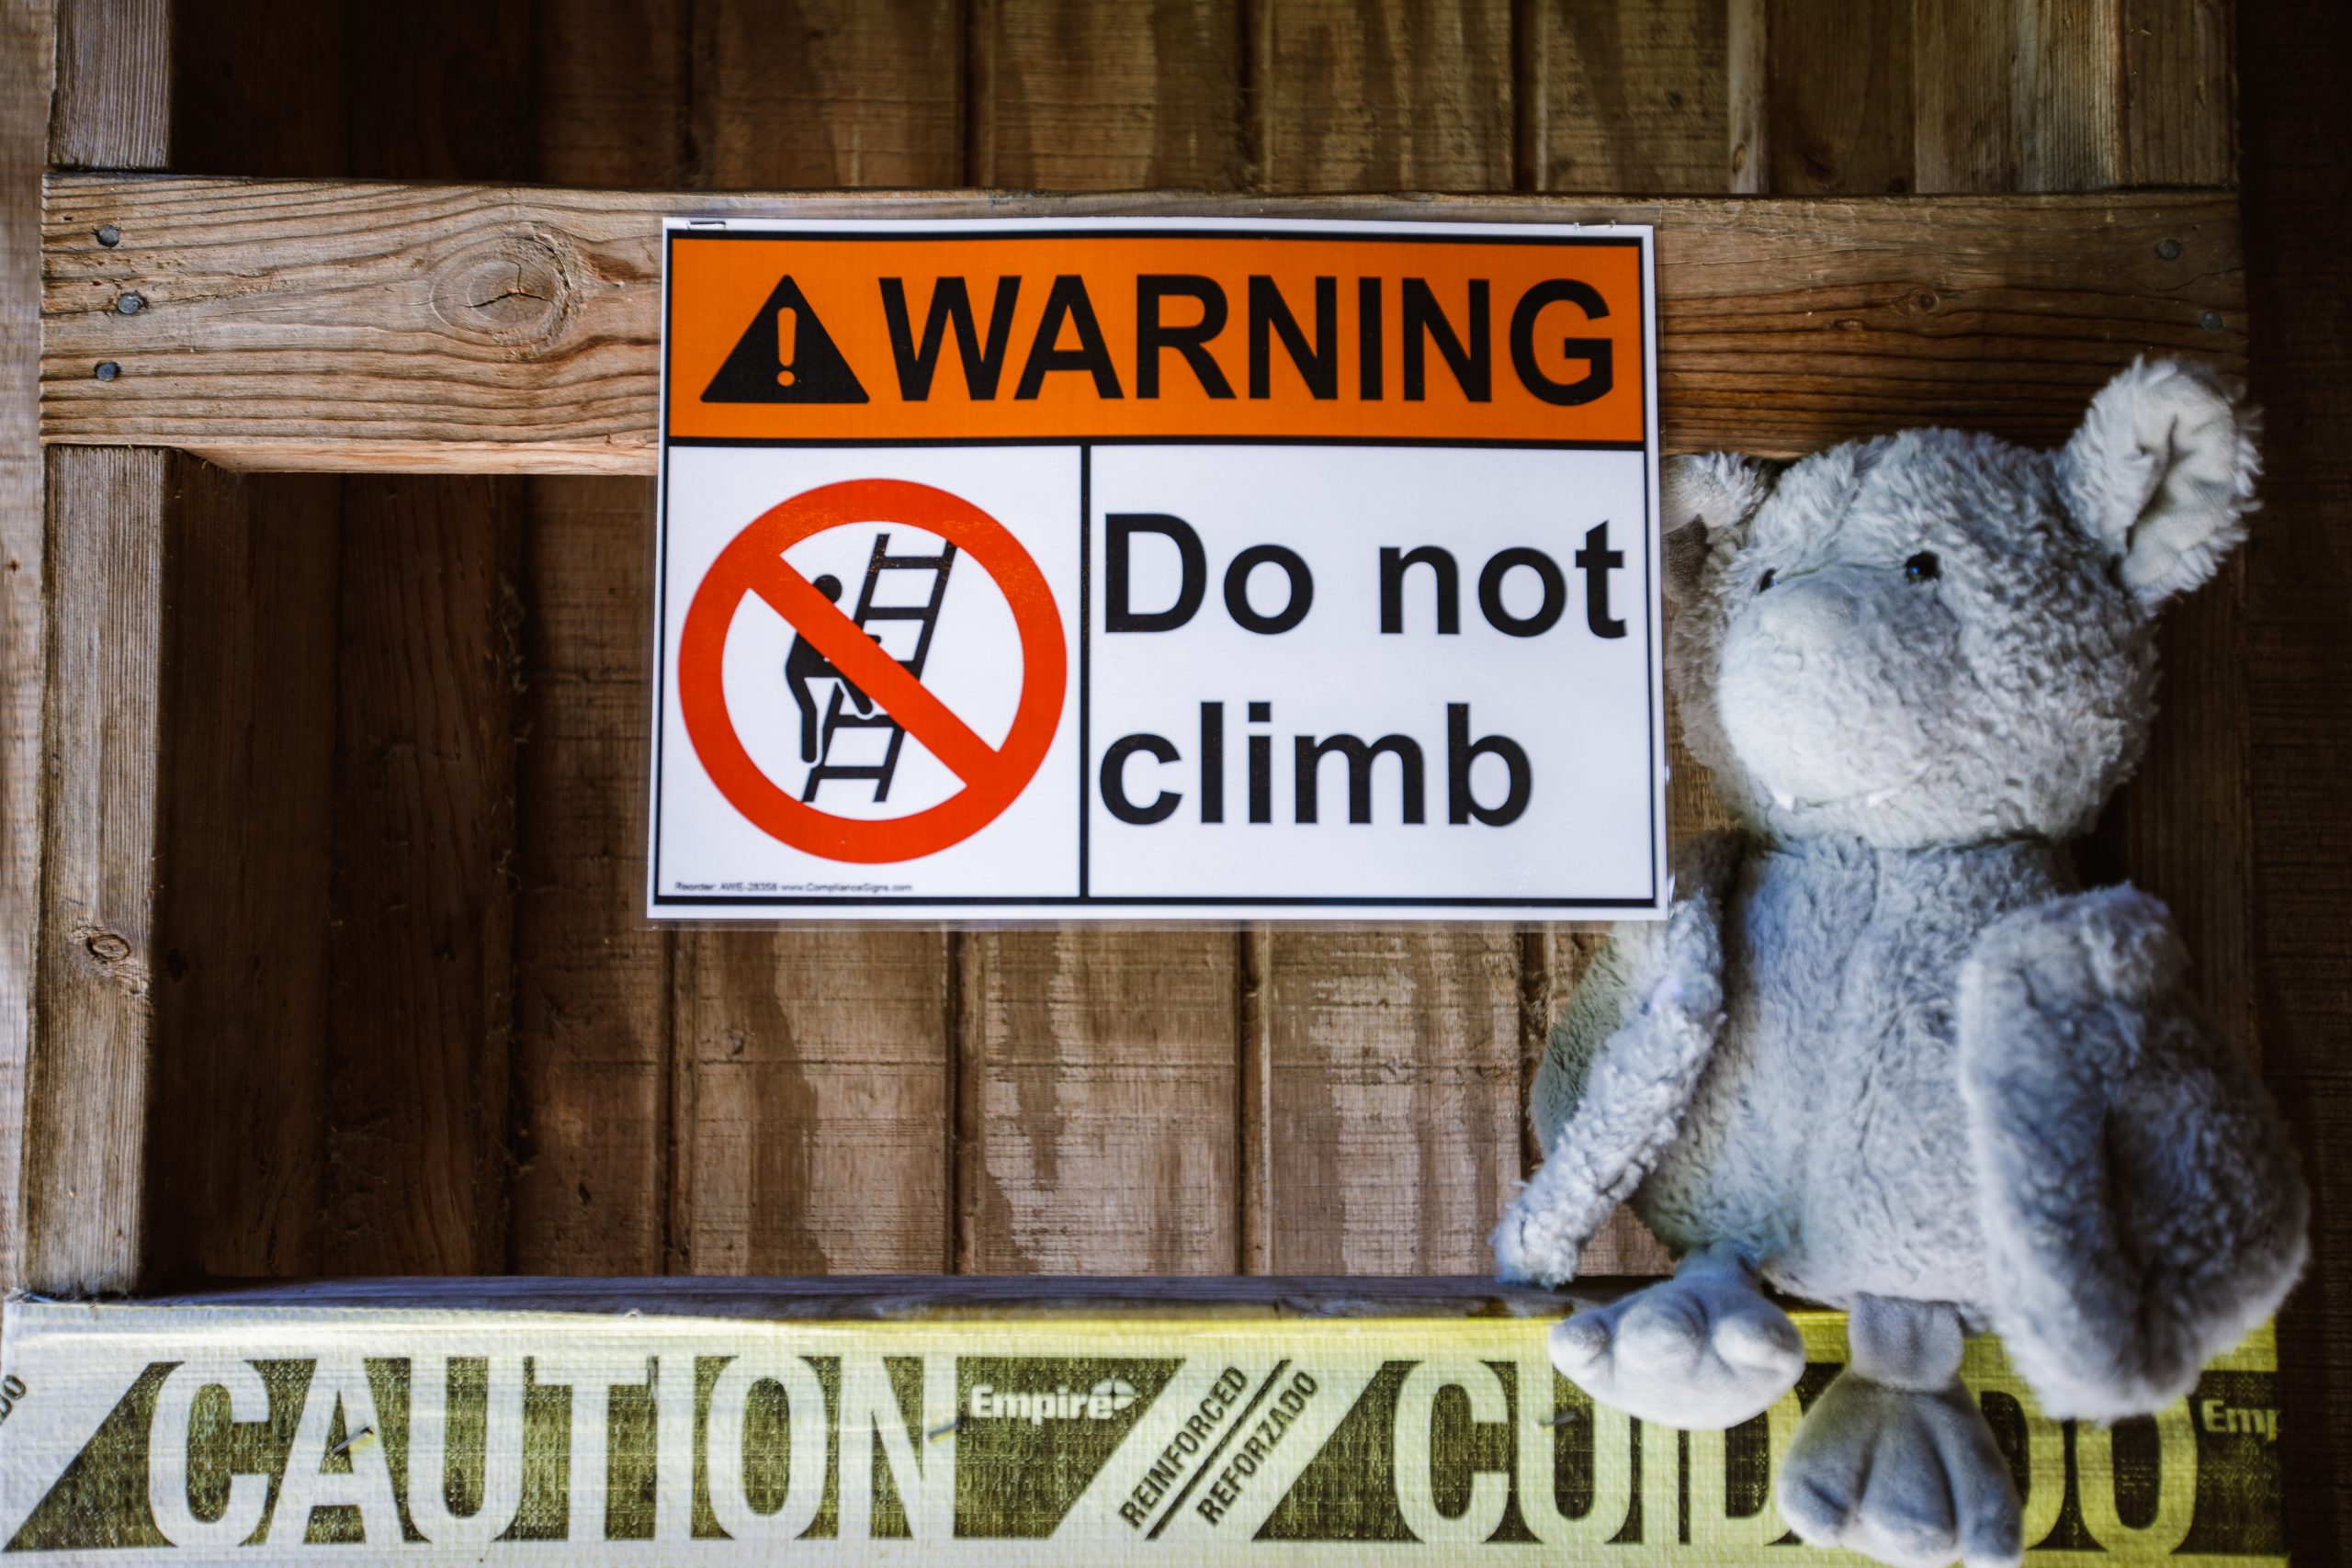
Once finished with our selfies, we moved on to the Bat Barn, where Old Man Bat started being defiant right off the bat (sigh, yes that was a bad pun.)…. Old man bat takes after me, because when I told him to get down, he replied “I didn’t climb! I flew!”

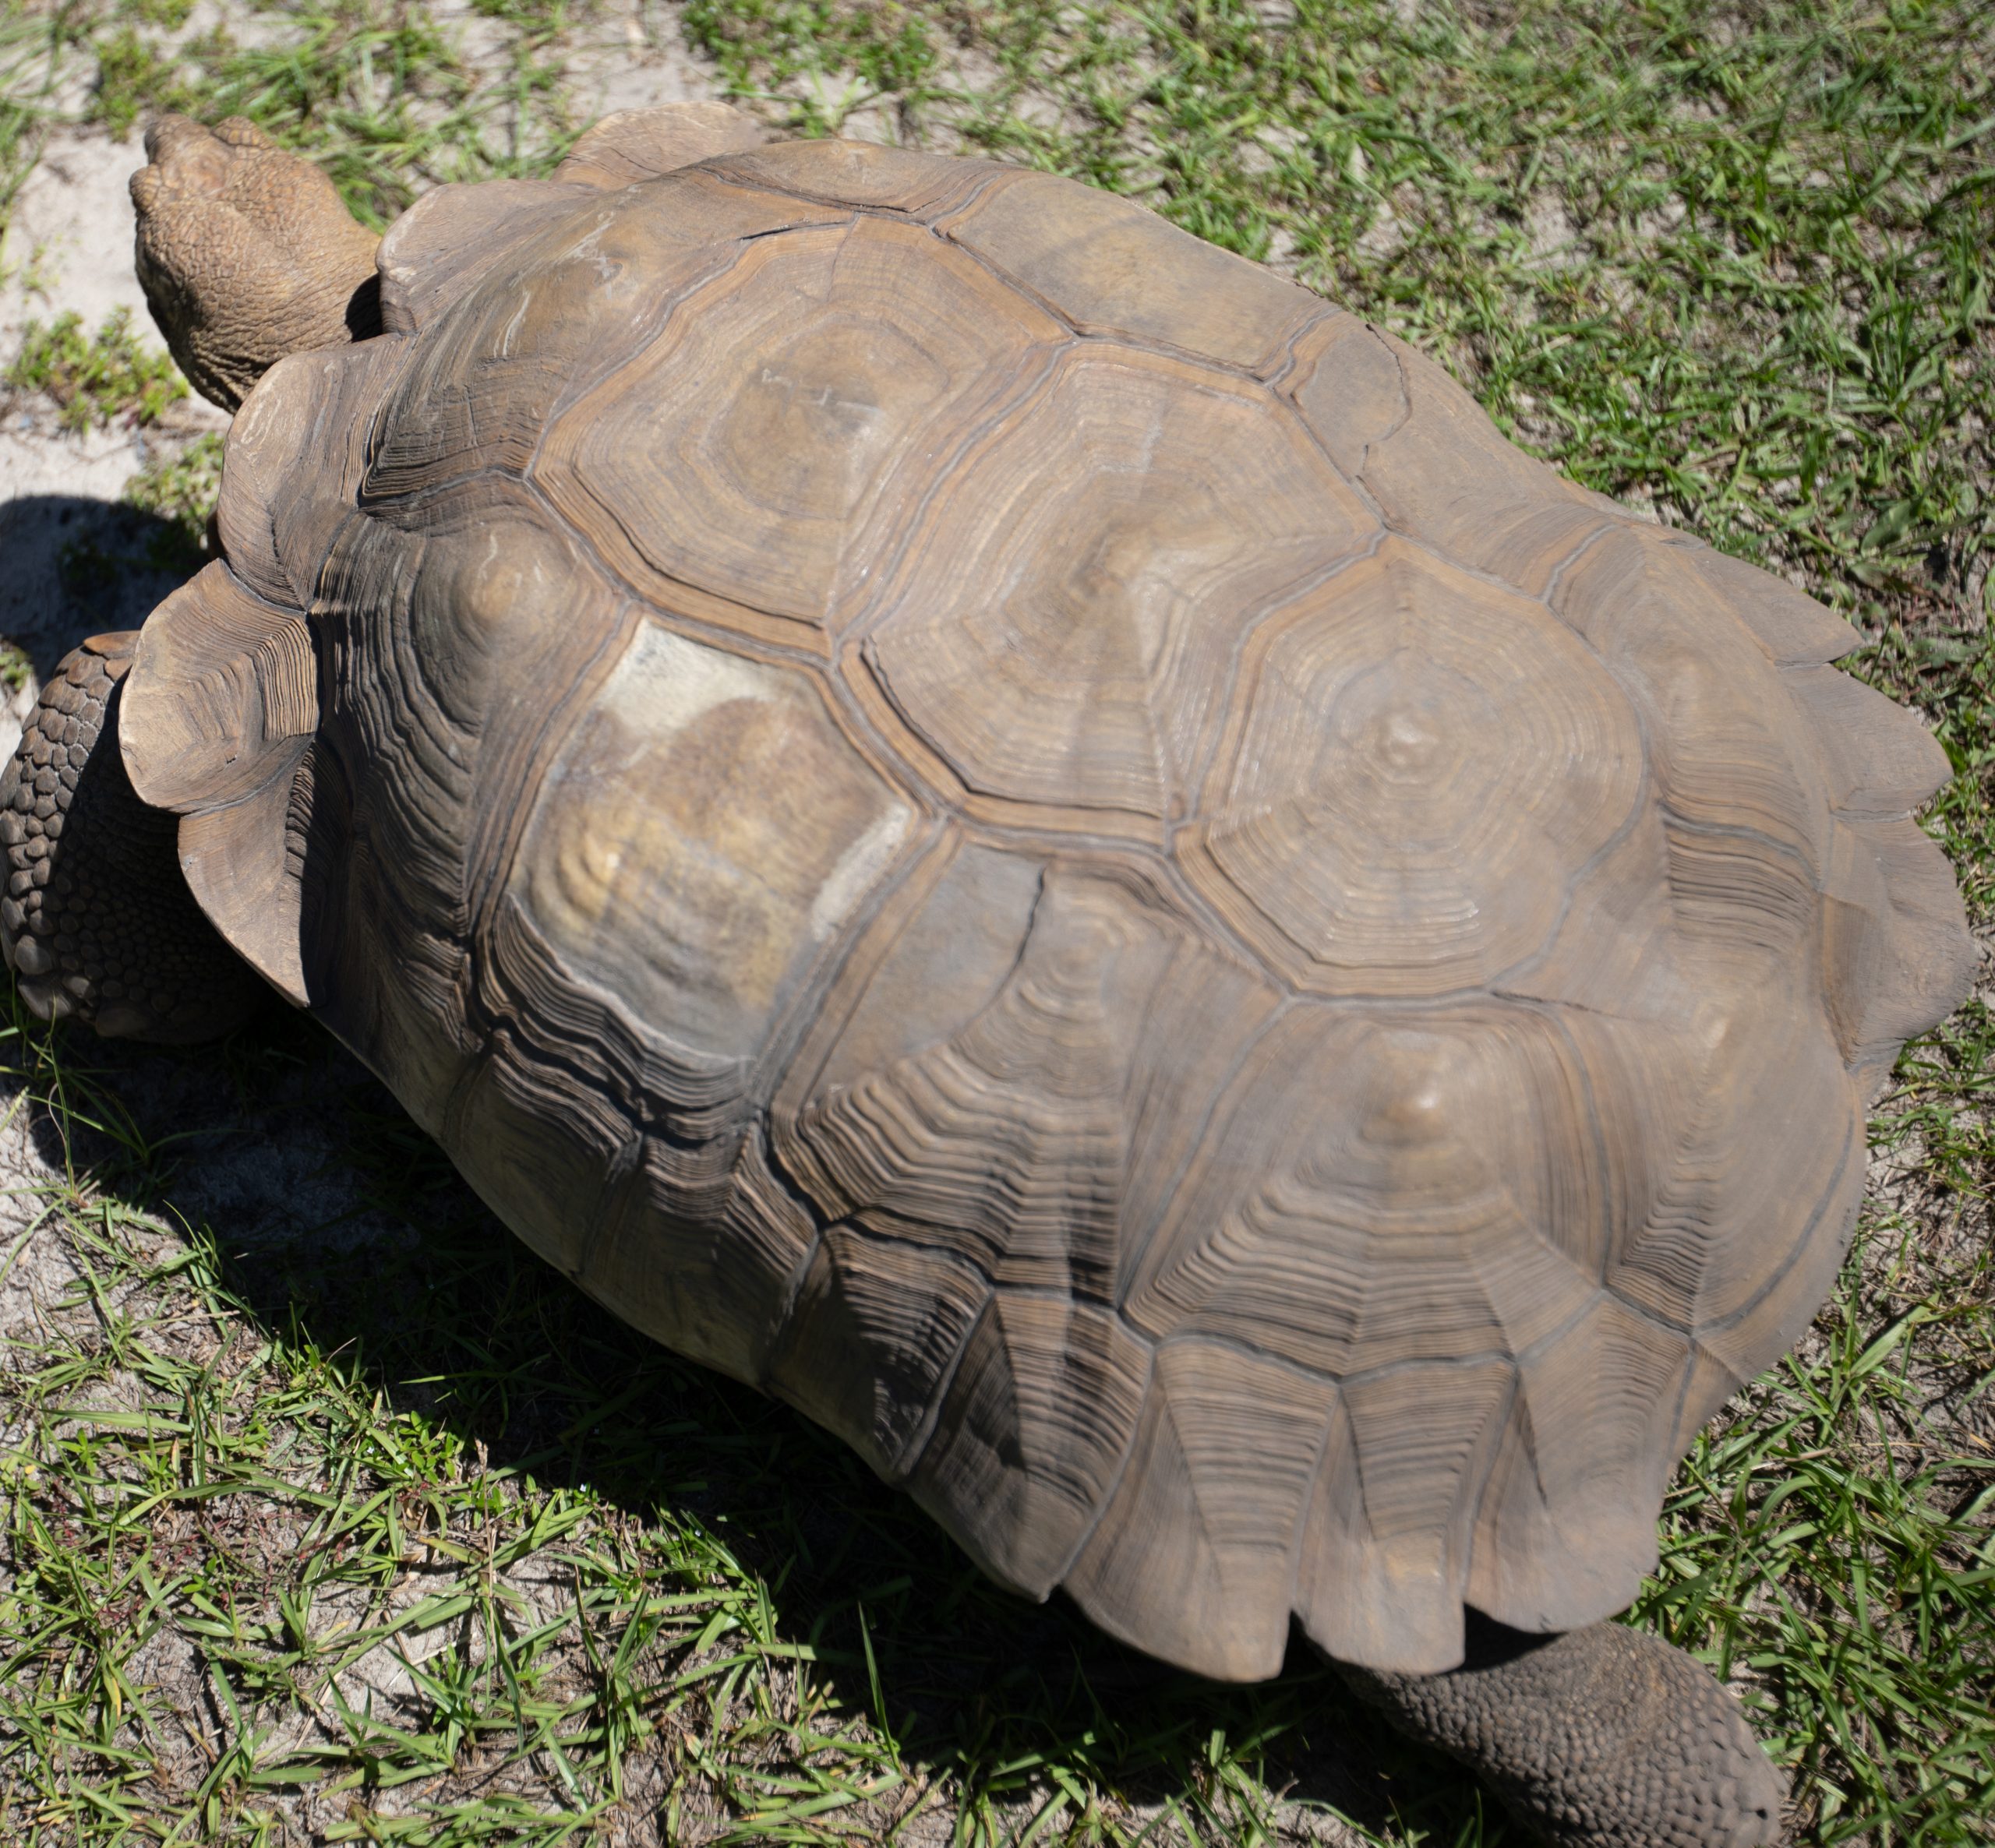
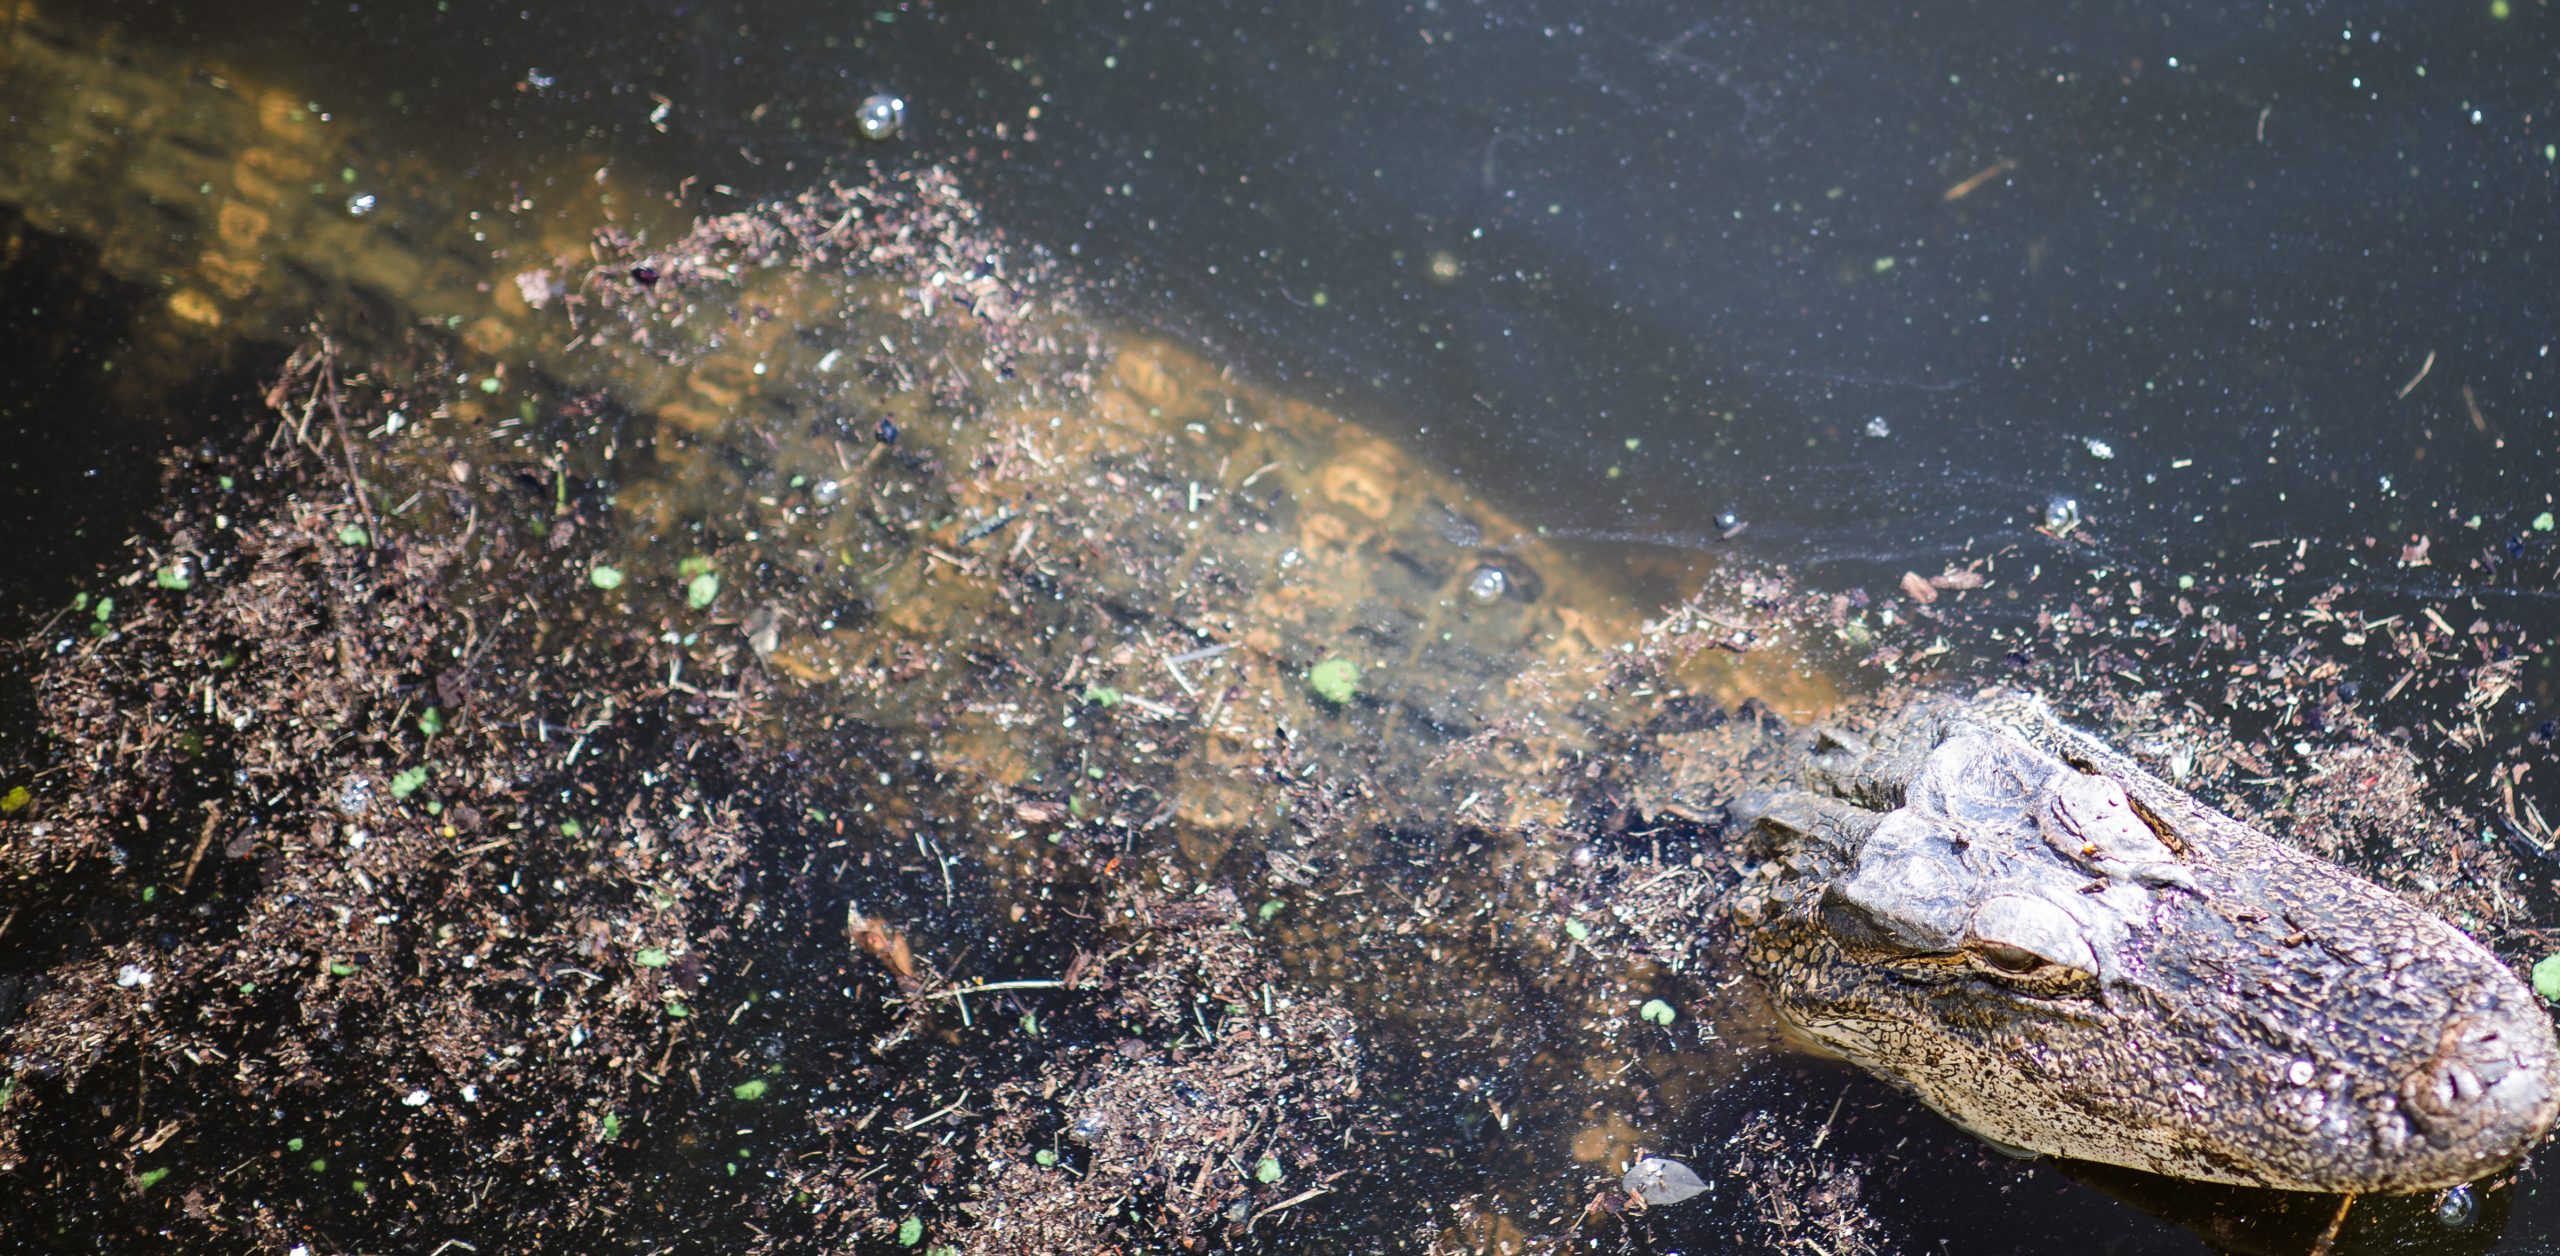
I soon met up with Brittany, my tour guide for the afternoon, and before going into the bat enclosures, I was shown a couple of baby bats and then one of the two Lubee Bat Conservancy Tortoises. I thought Brittany was pulling my leg when she warned me that we had to enter the tortoises pen quickly and close the gate or the tortoise would try to exit the pen (The tortoise is allowed to roam free when there is not a tour scheduled). Everyone knows tortoises are slow.. right? RIGHT?!!! WRONG…. That tortoise could MOVE!!!
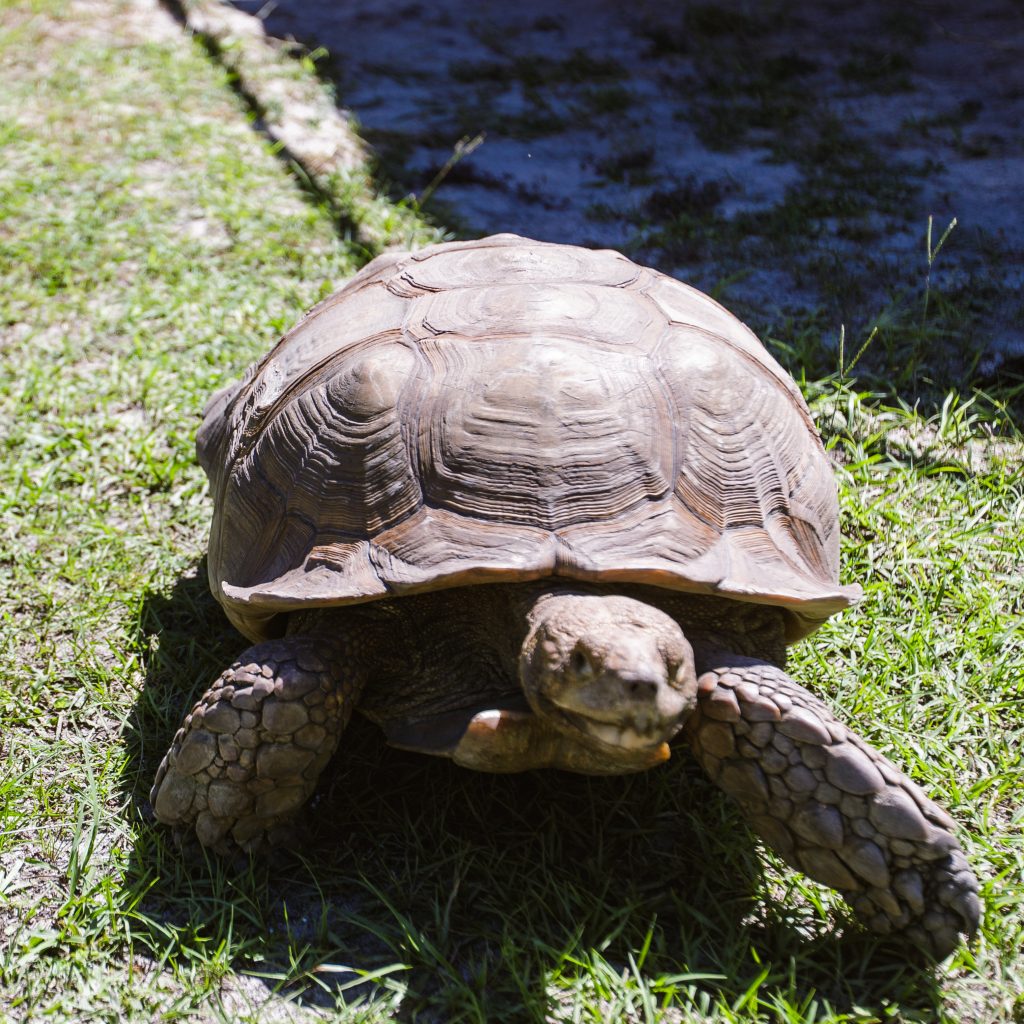
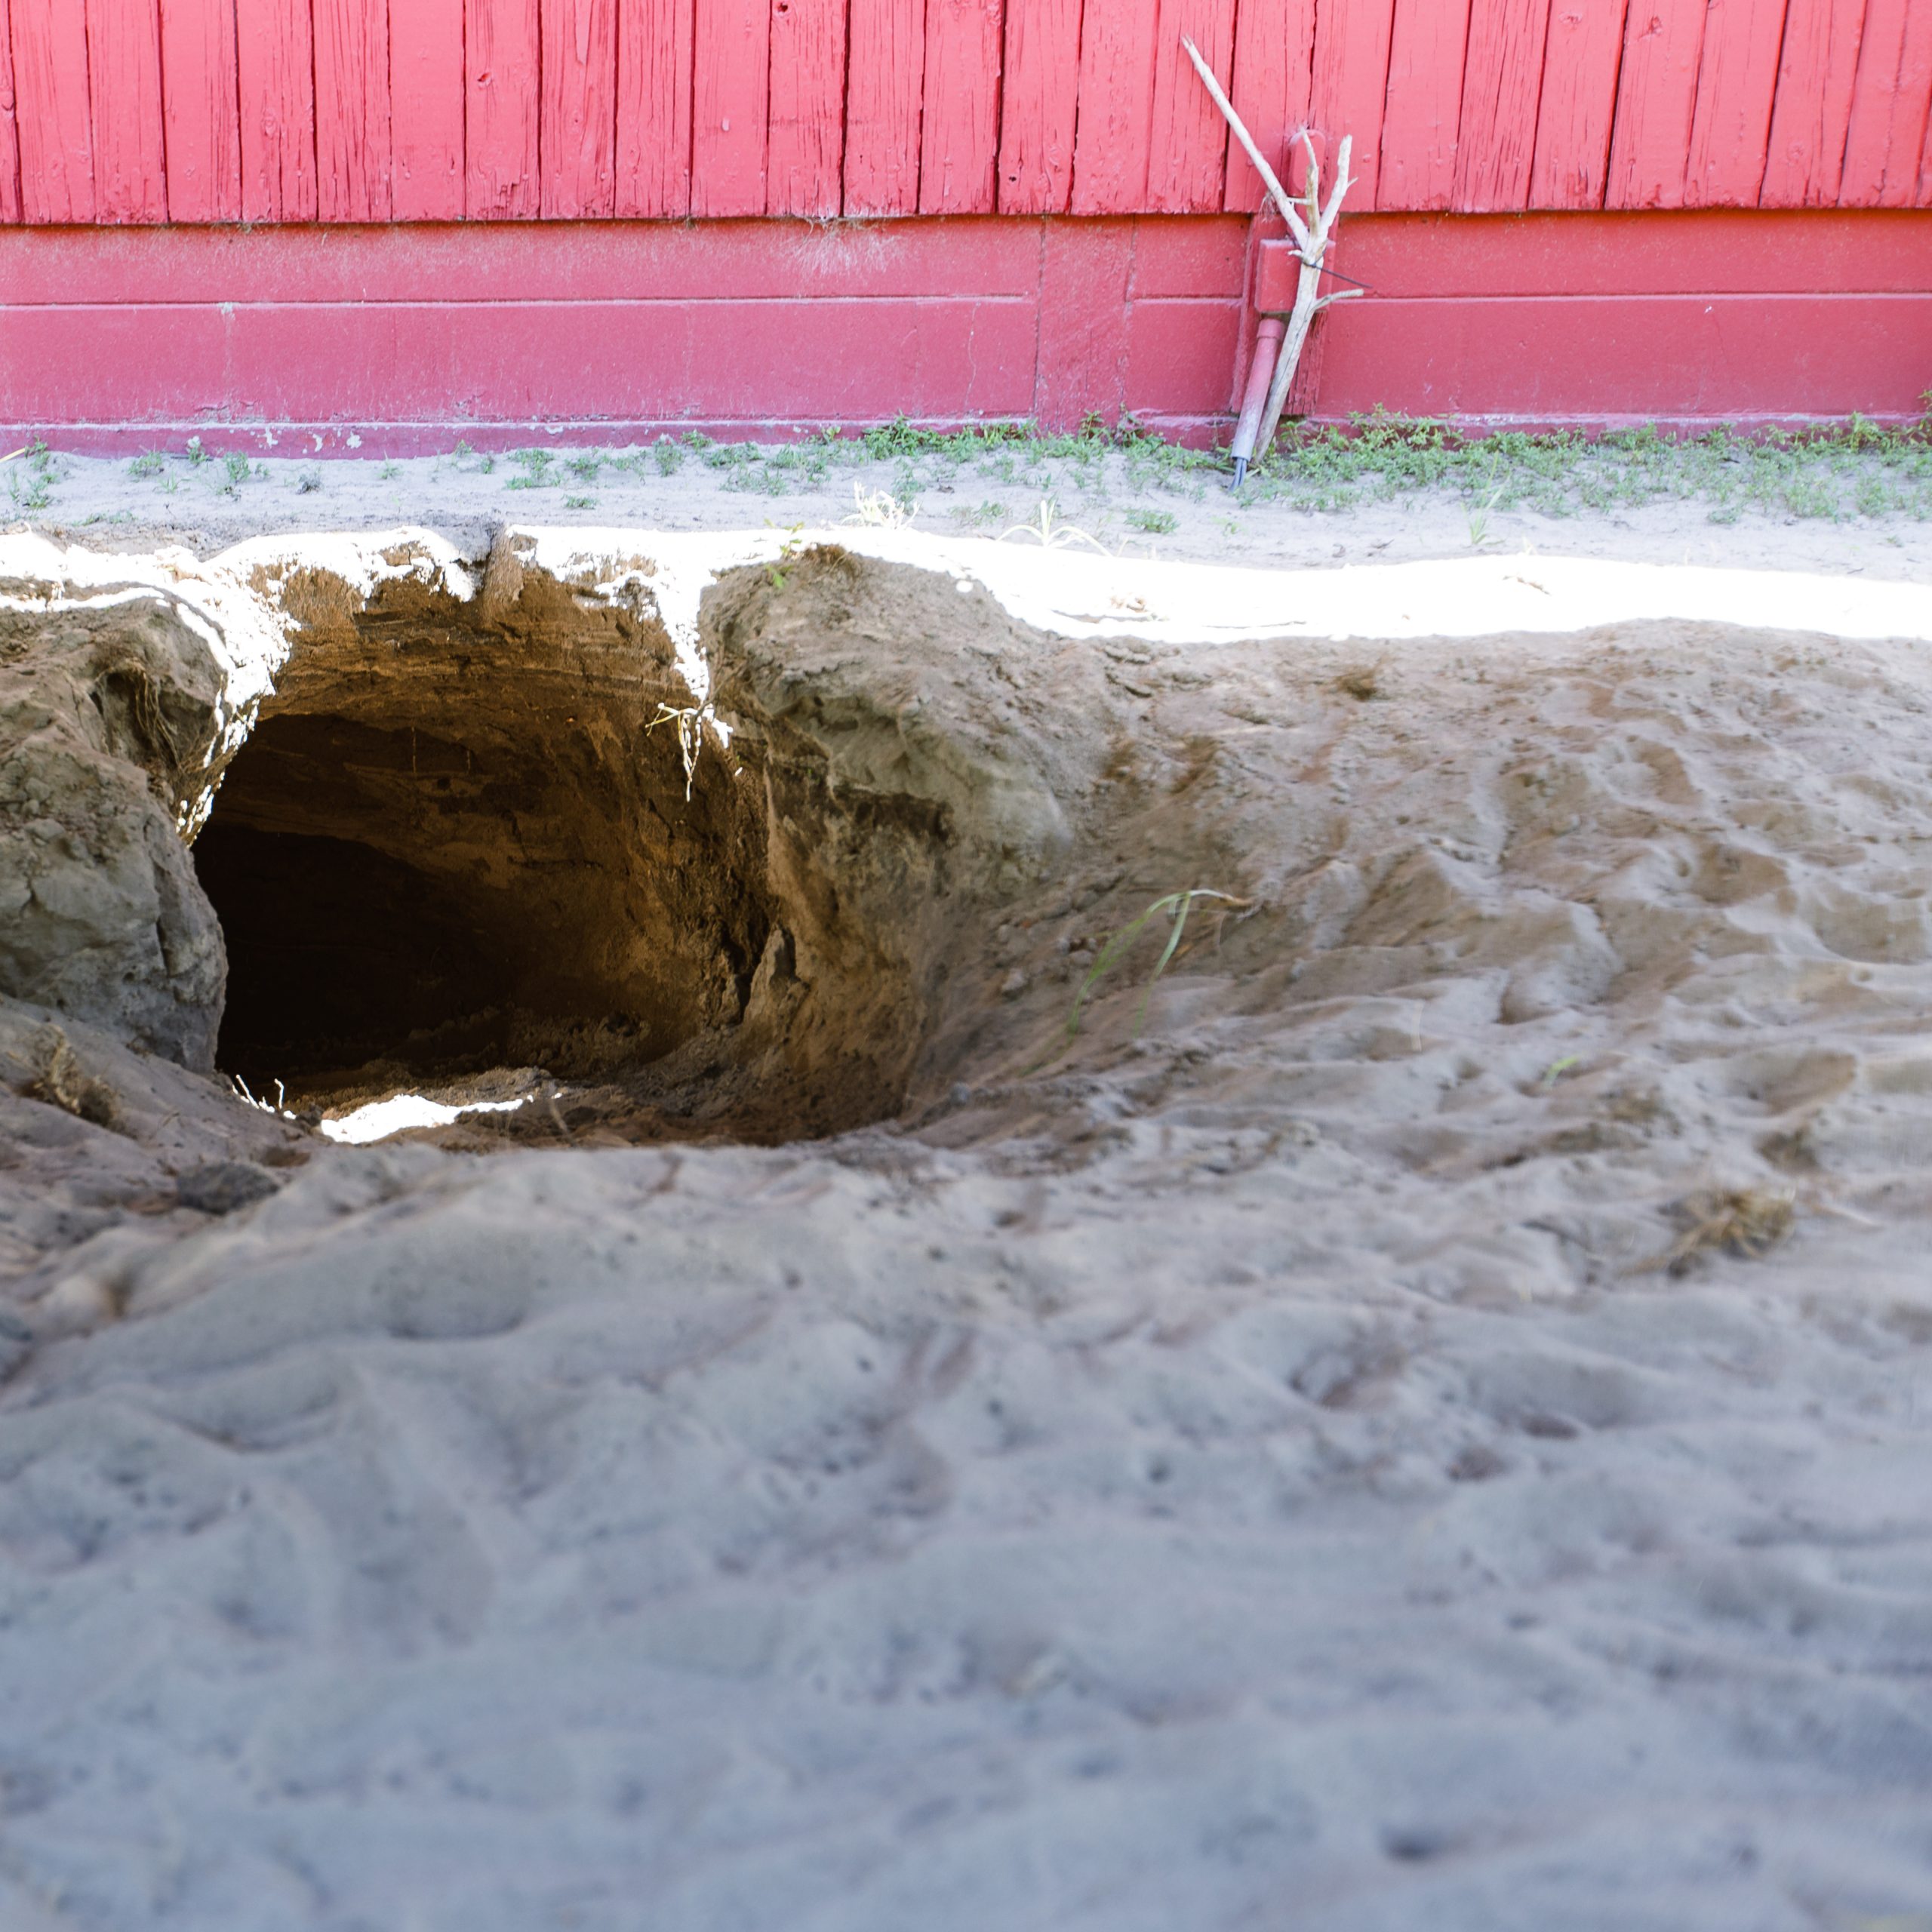
Notice the worn spots on the tortoise’s shell?

These are actually areas that were filed down due to a fungal infection and once the fungus was filed off, normal over the counter Athletes foot cream was applied. We also checked out it’s burrow which the tortoise uses for shelter from the heat and if in the wild protection from predators.

They had to be very careful about ants because the tortoise has no ability to fed off the ants once they attack, and they can infest the shell. I completely emphasized with the poor guy, before I got control of the ants at my house, they made mince meat out of my hands and feet!
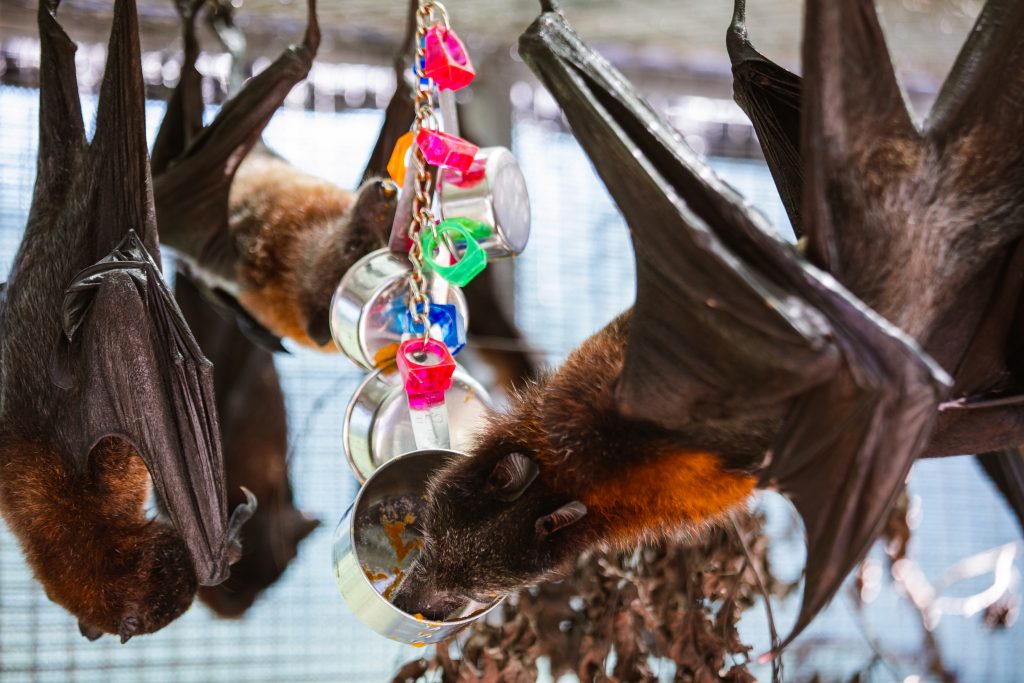
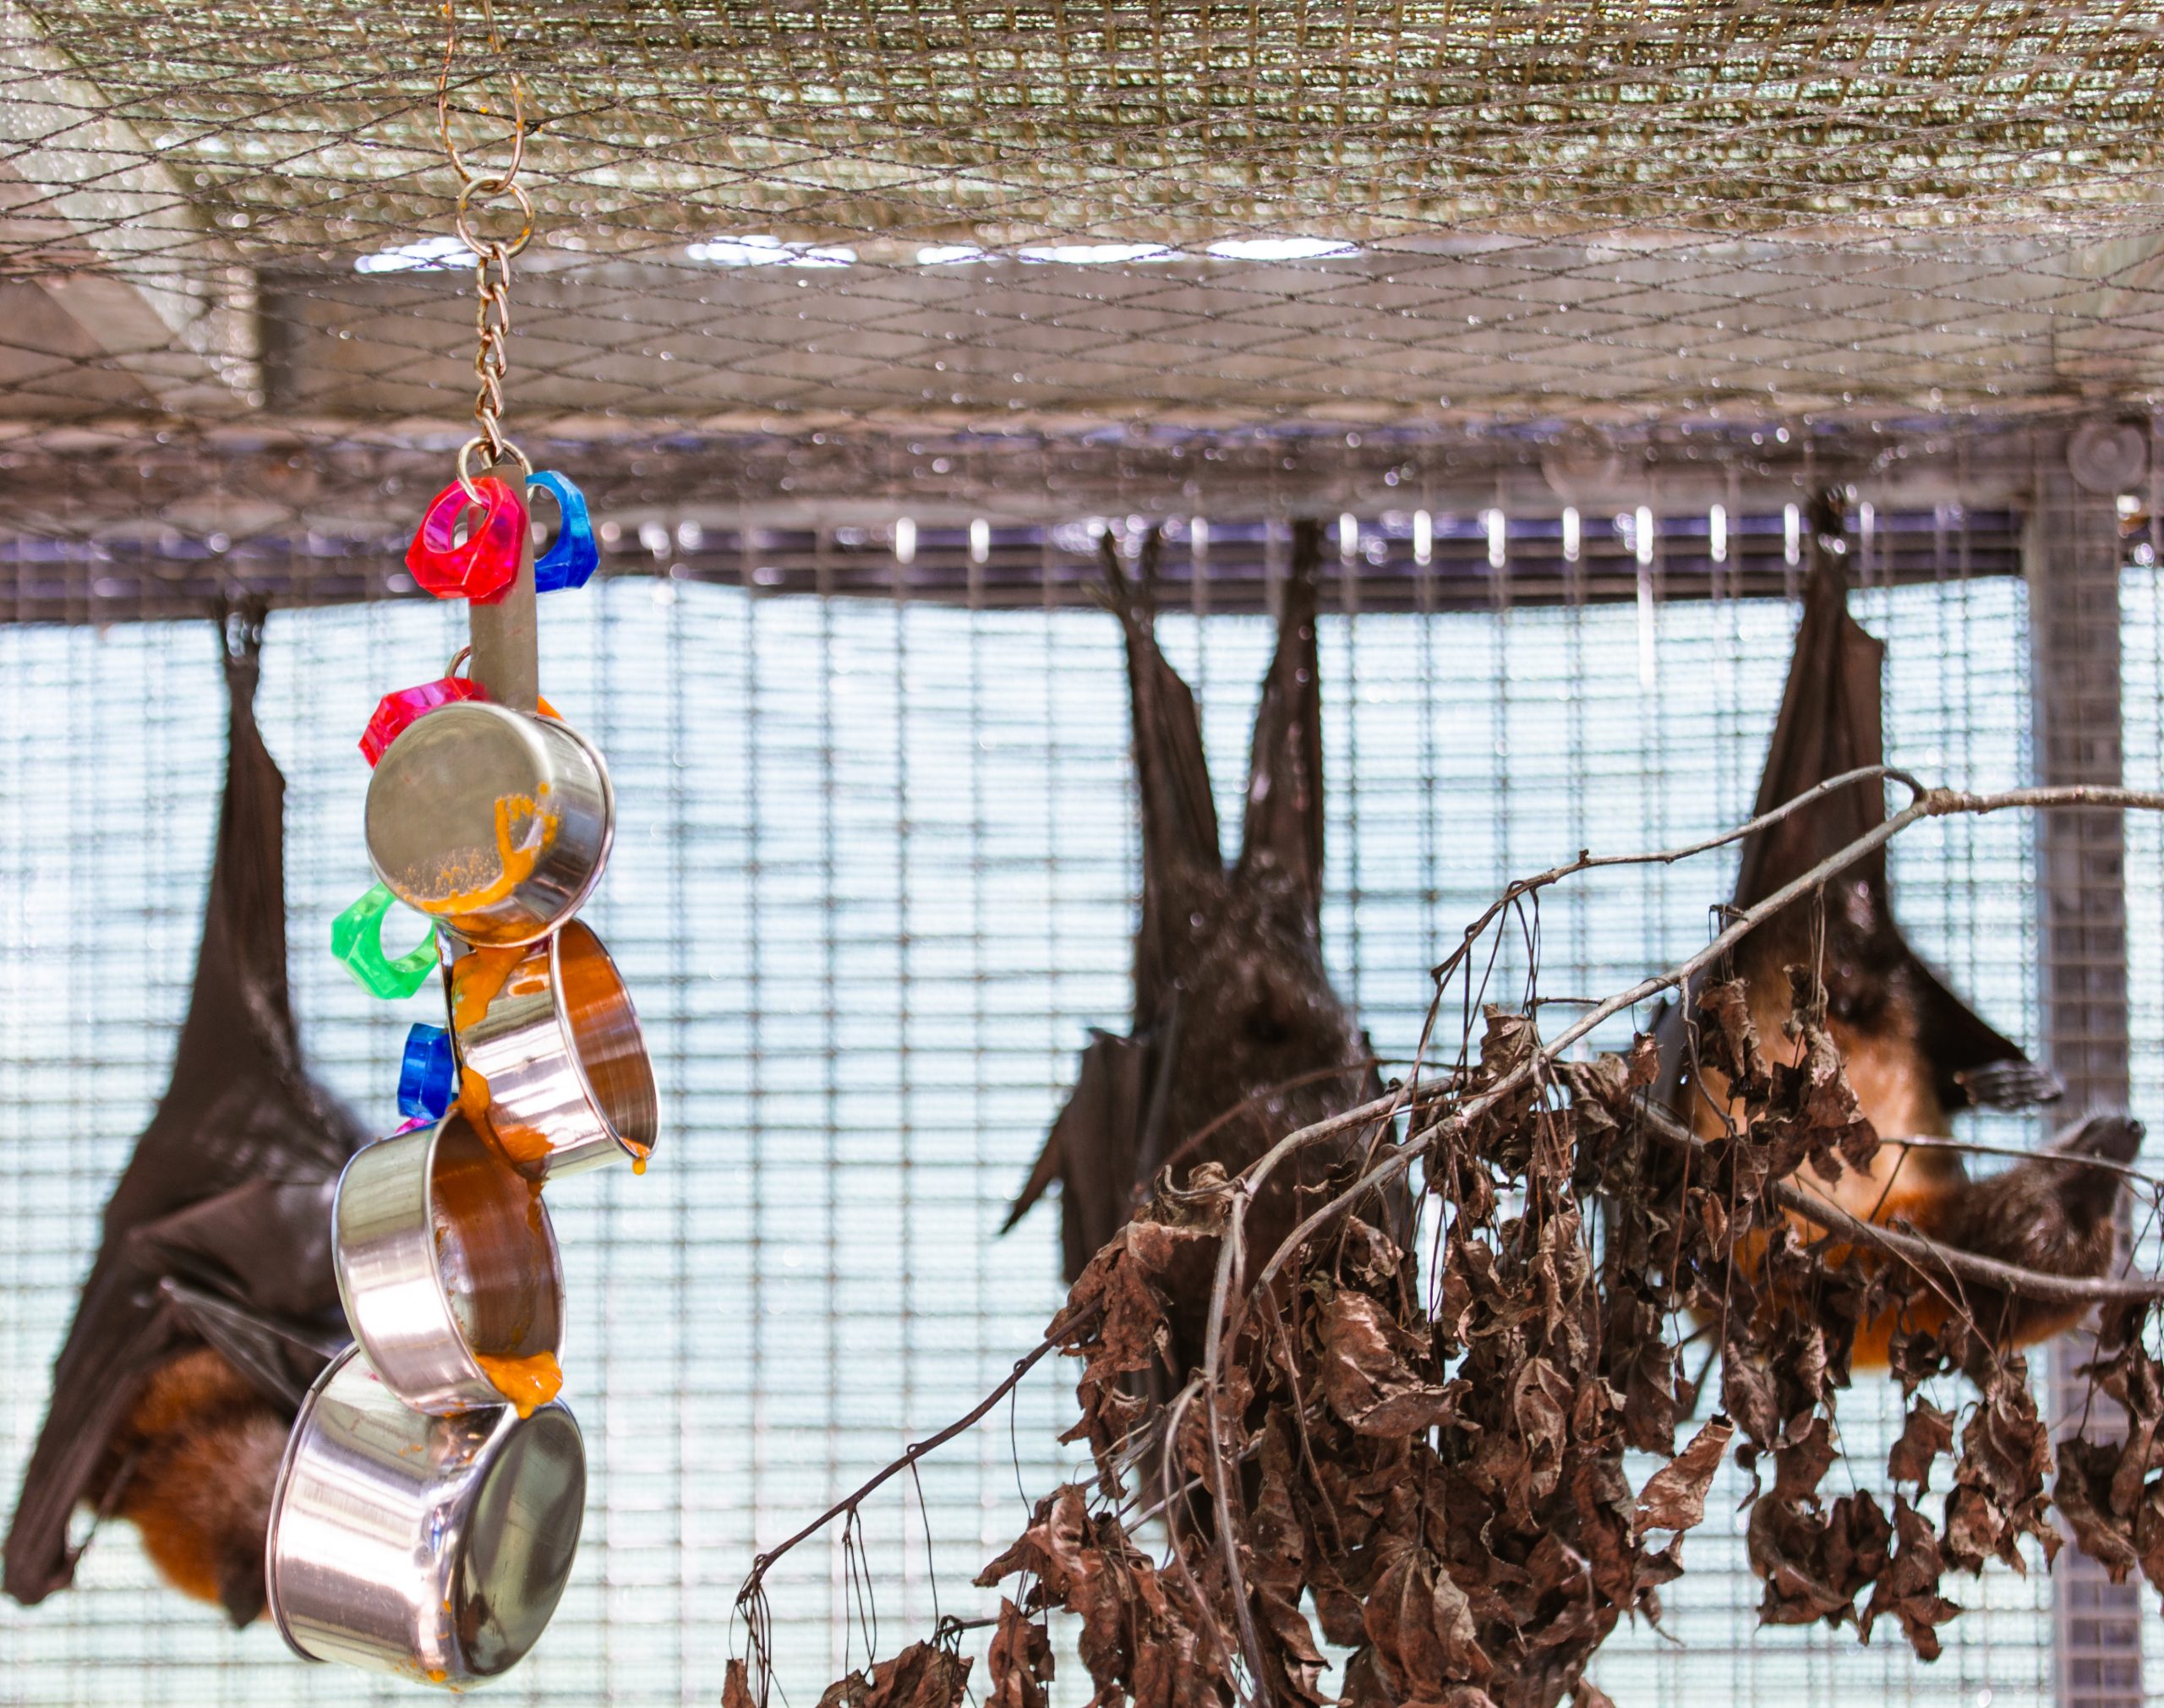
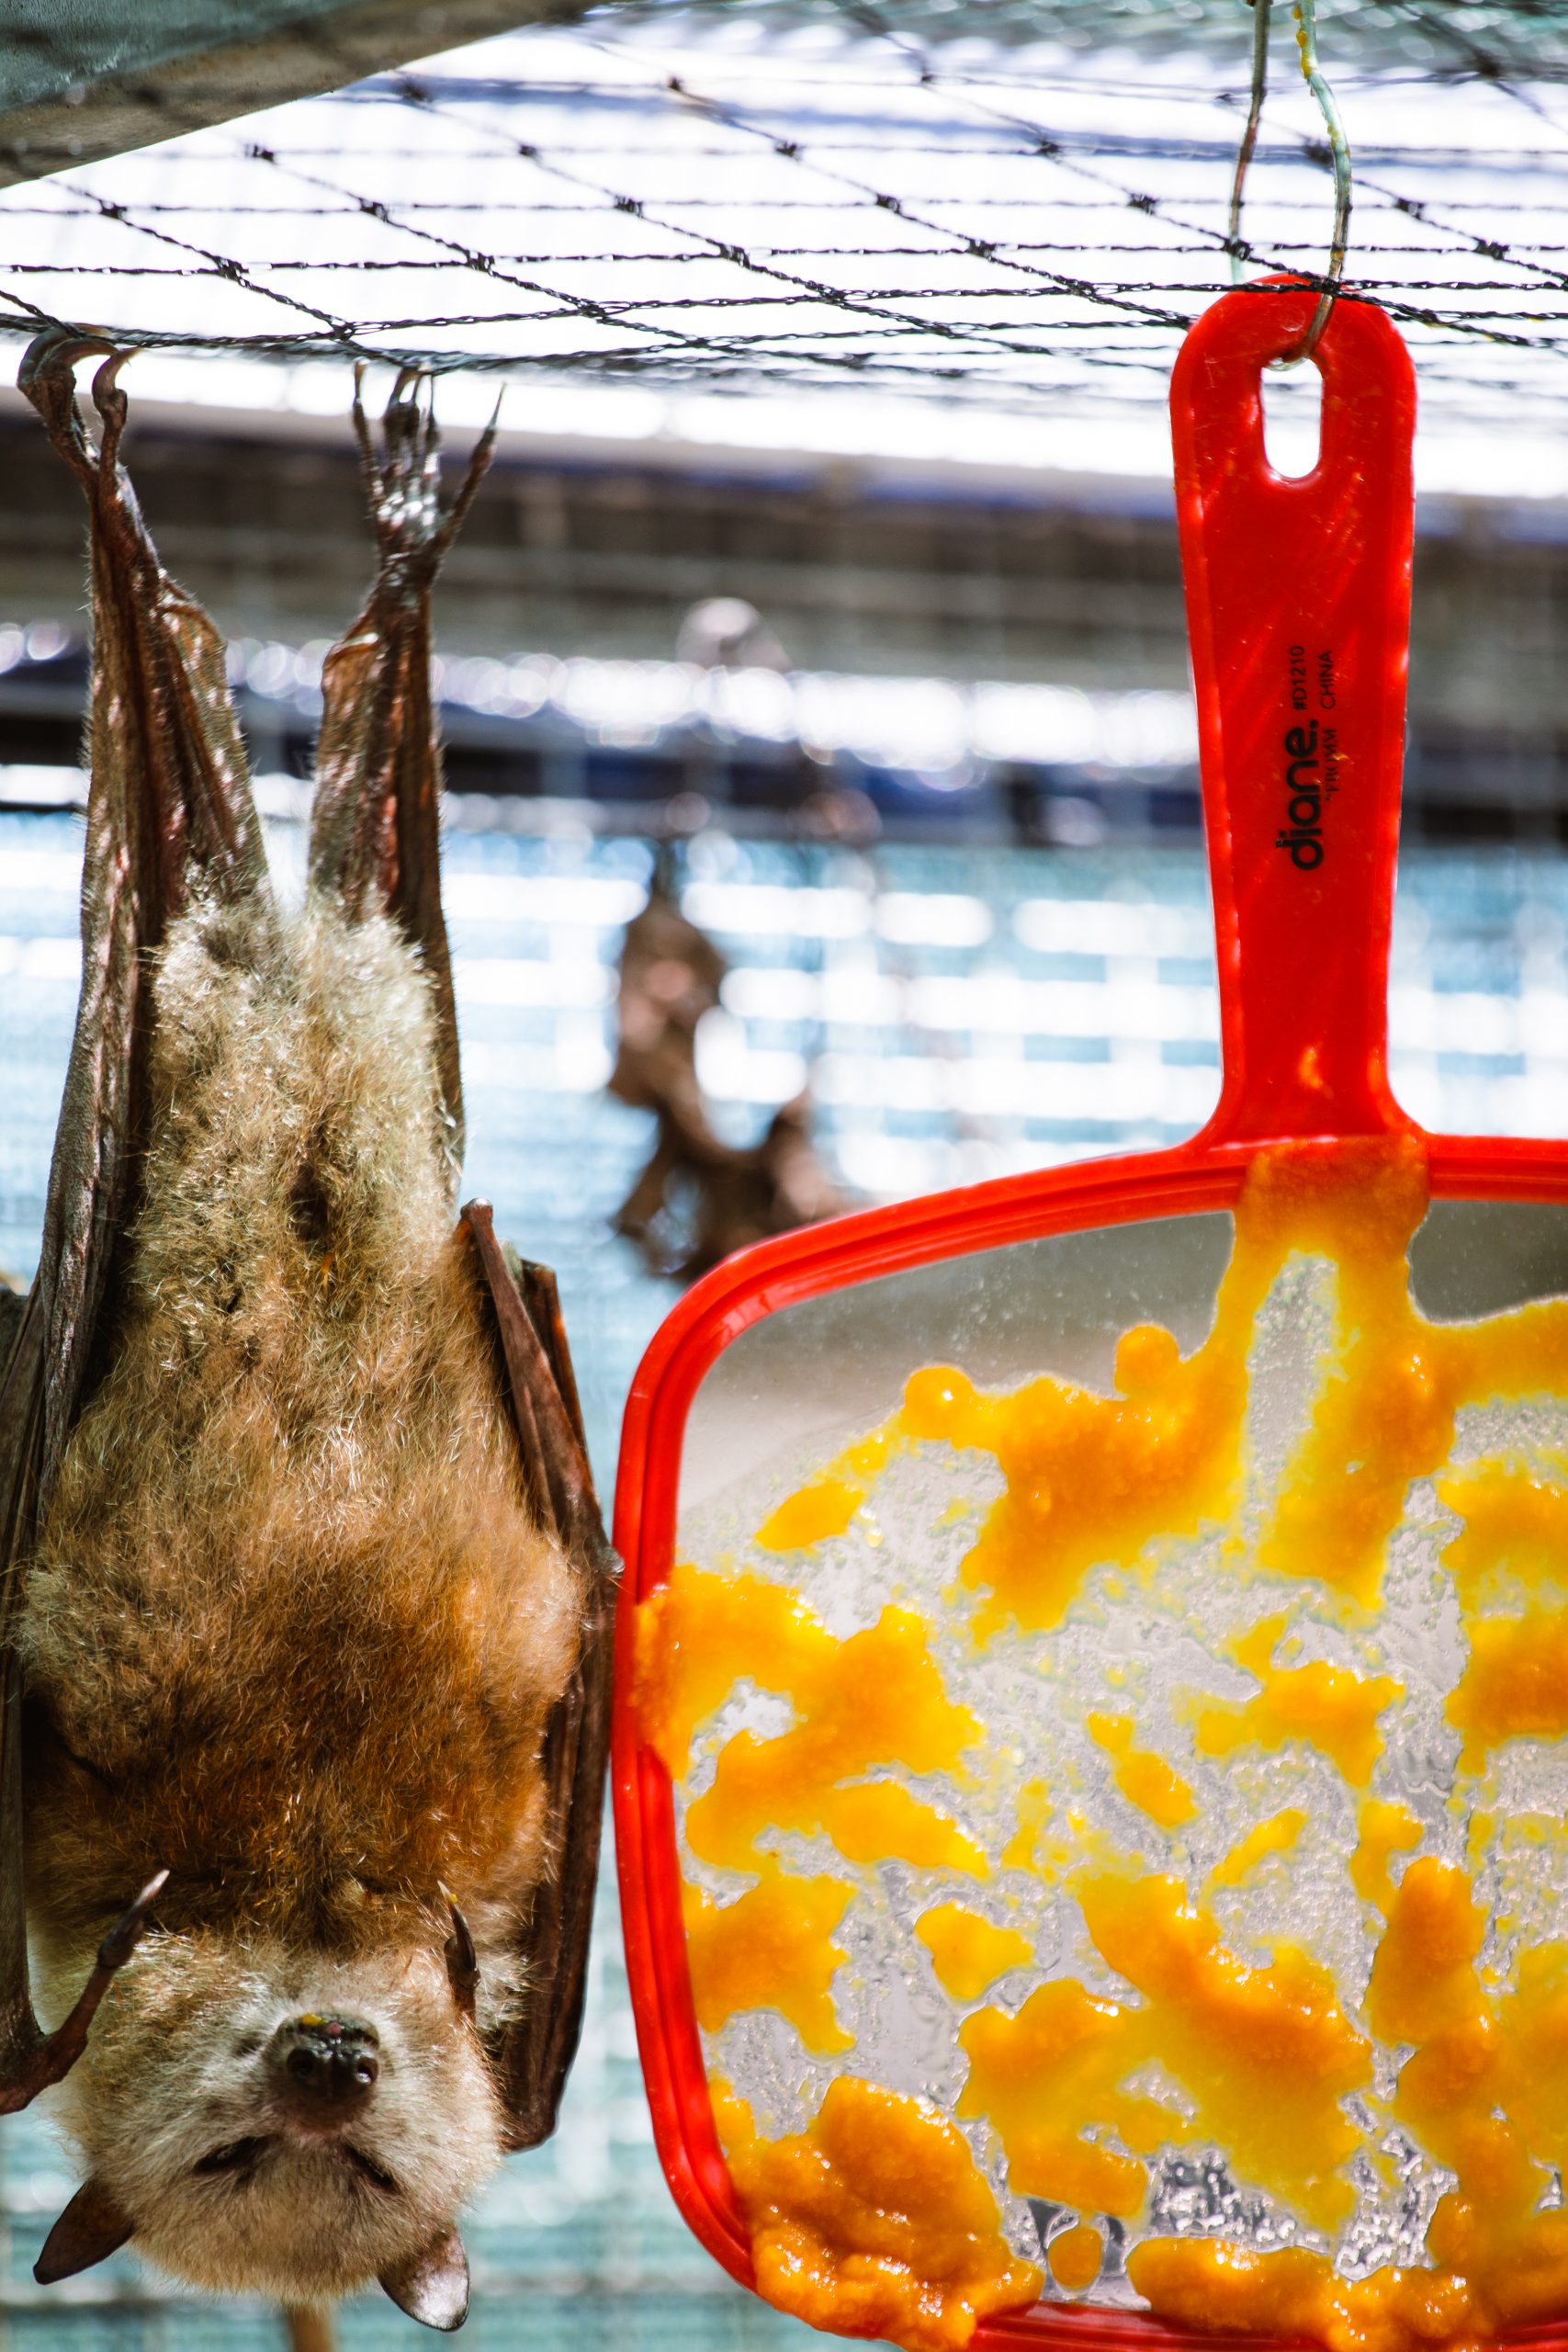
Before going inside the enclosure and going over the ground rules for the tour (You will be provided a copy send to your email when your tour is confied). I could post them here, but to save space I will just emphasize the main one! There is NO touching the bats in any shape or form! Oh, and… There are live webcams in the enclosures so you might be broadcast on the internet. I had a chuckle over that, because well, I am a blogger and a big supporter of the right to photograph anyone in public, you will also hear me say a lot. “Turn about is fair play..”. Brittany asked me to pick 3 “enrichments” (These are either off the shelf or hand made toys to elicit responses that bats in the wild need in the wild that would otherwise be suppressed in the enclosures.. Such as being able to retrieve nectar out of a flower,.

 or have a response to a startling stimulus, as seen here. I had to pick the measuring cups being a baker!

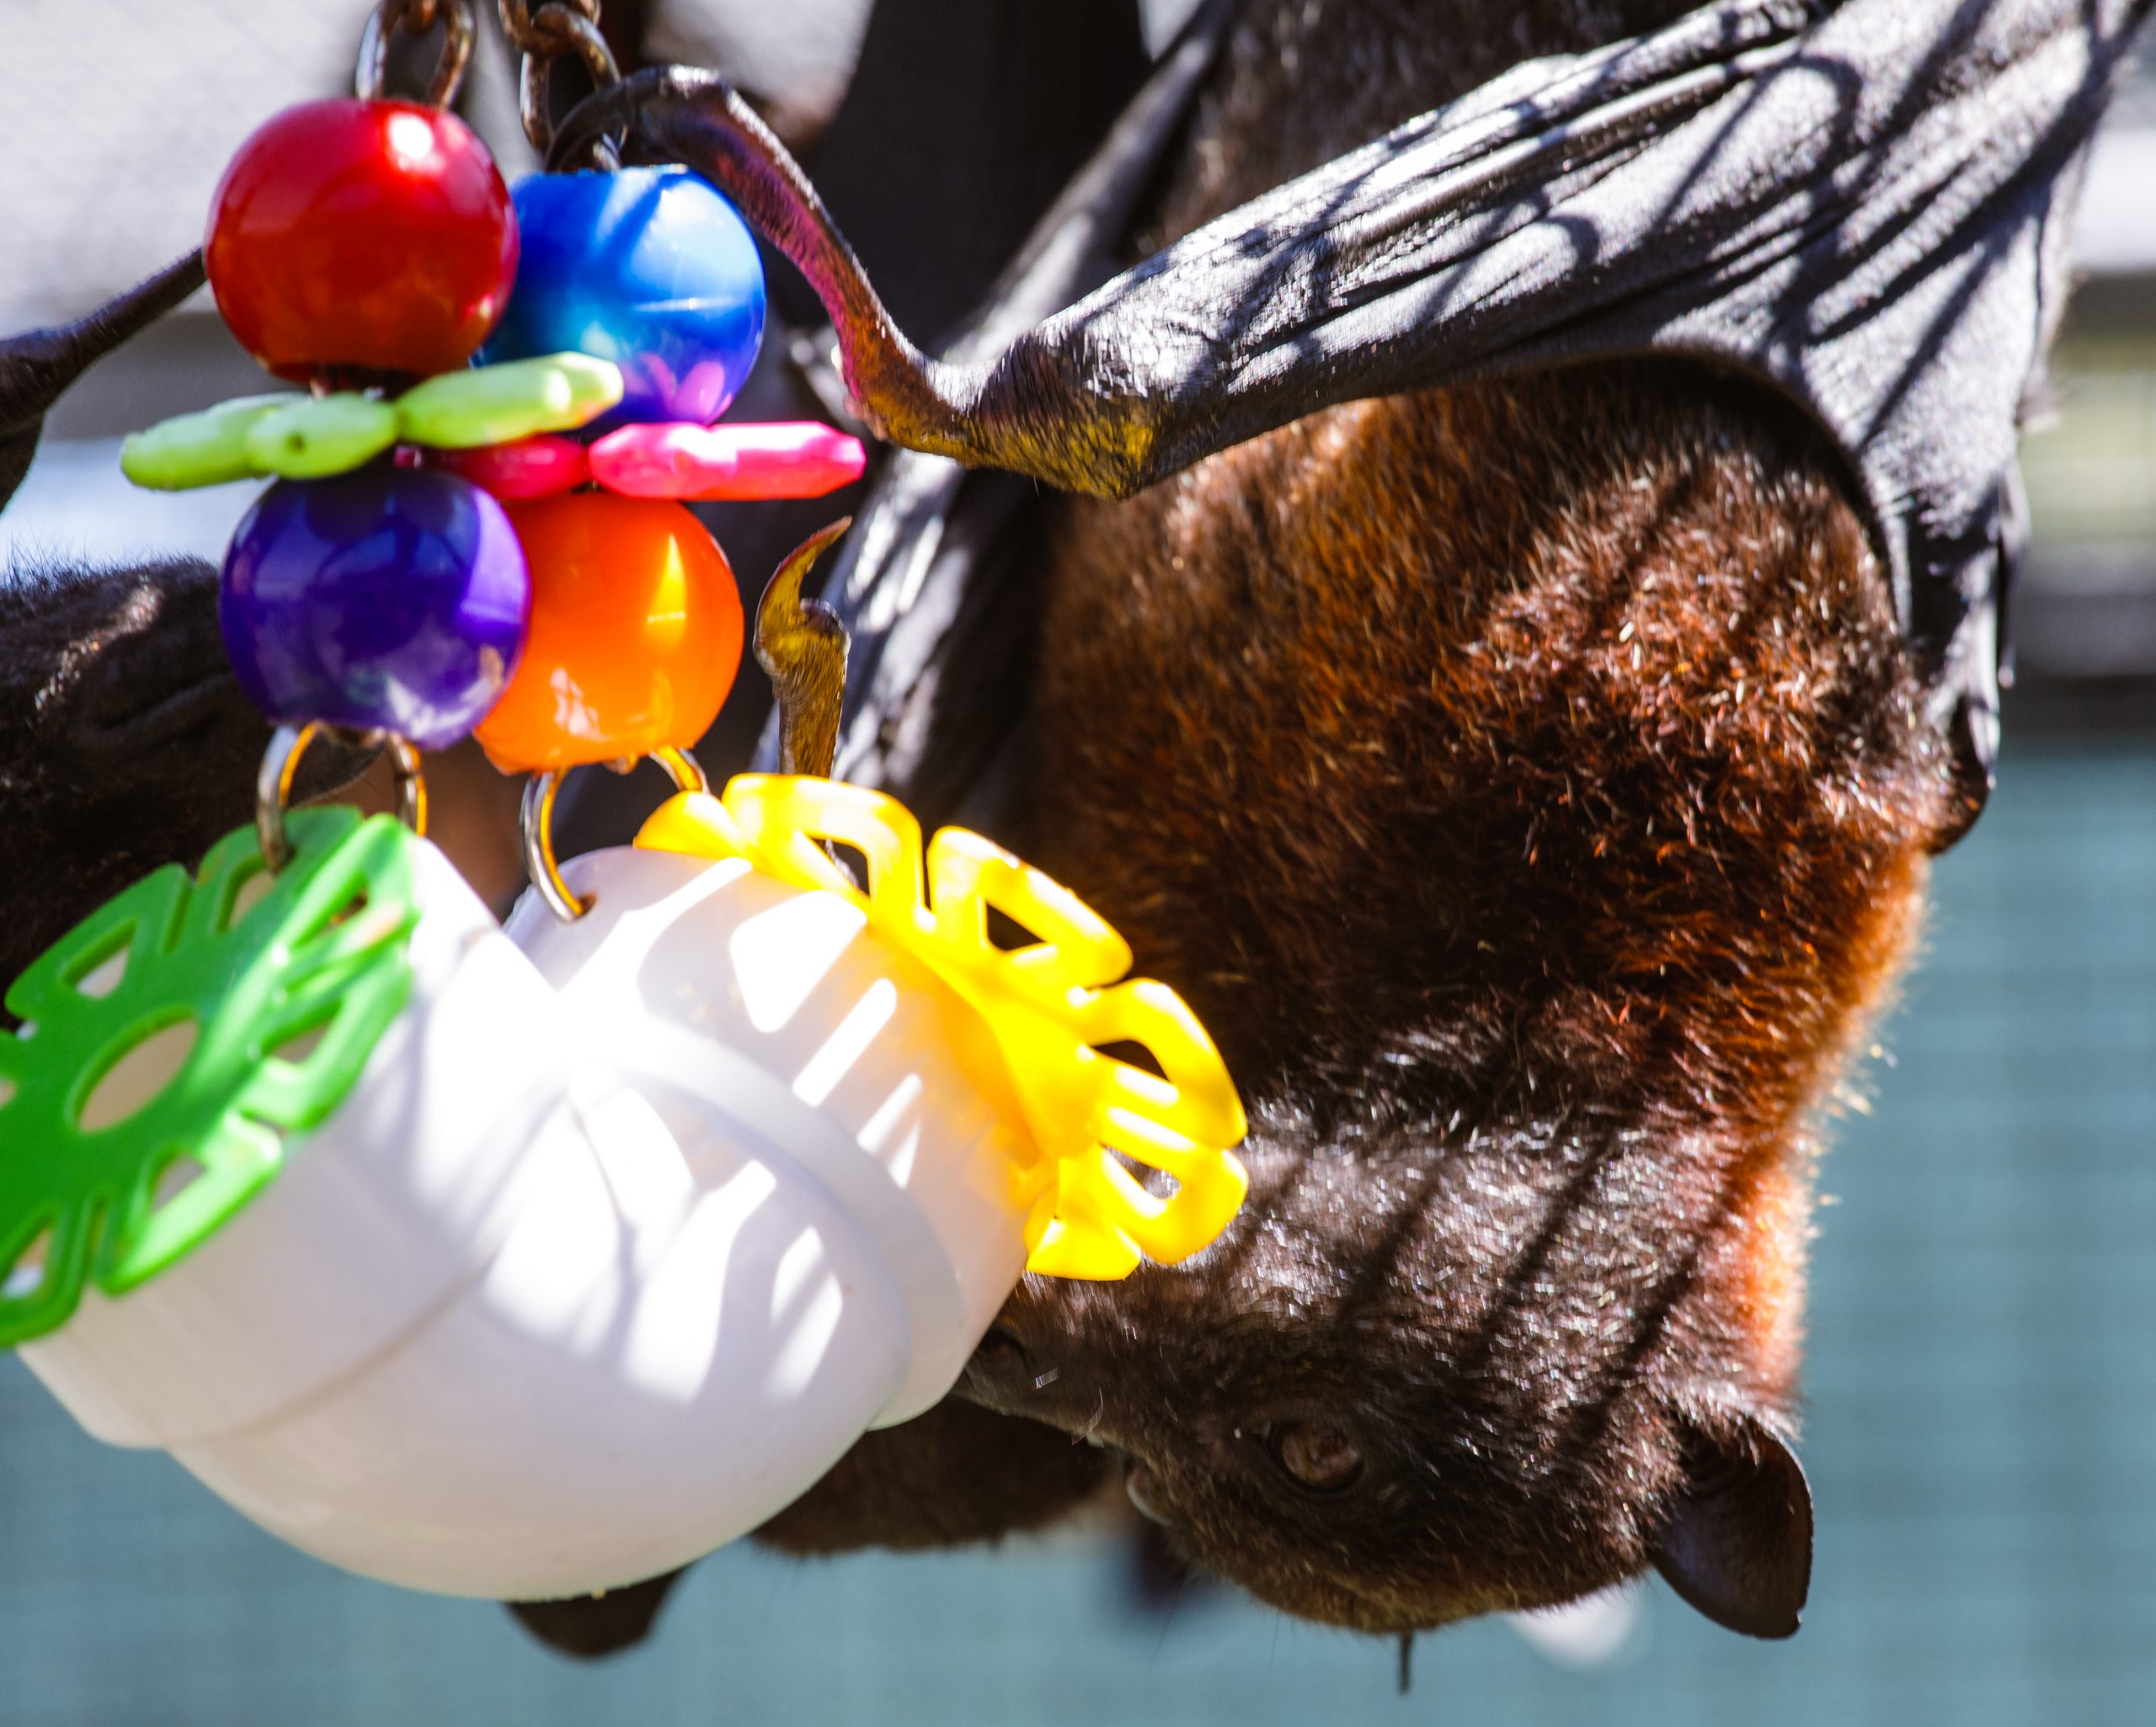
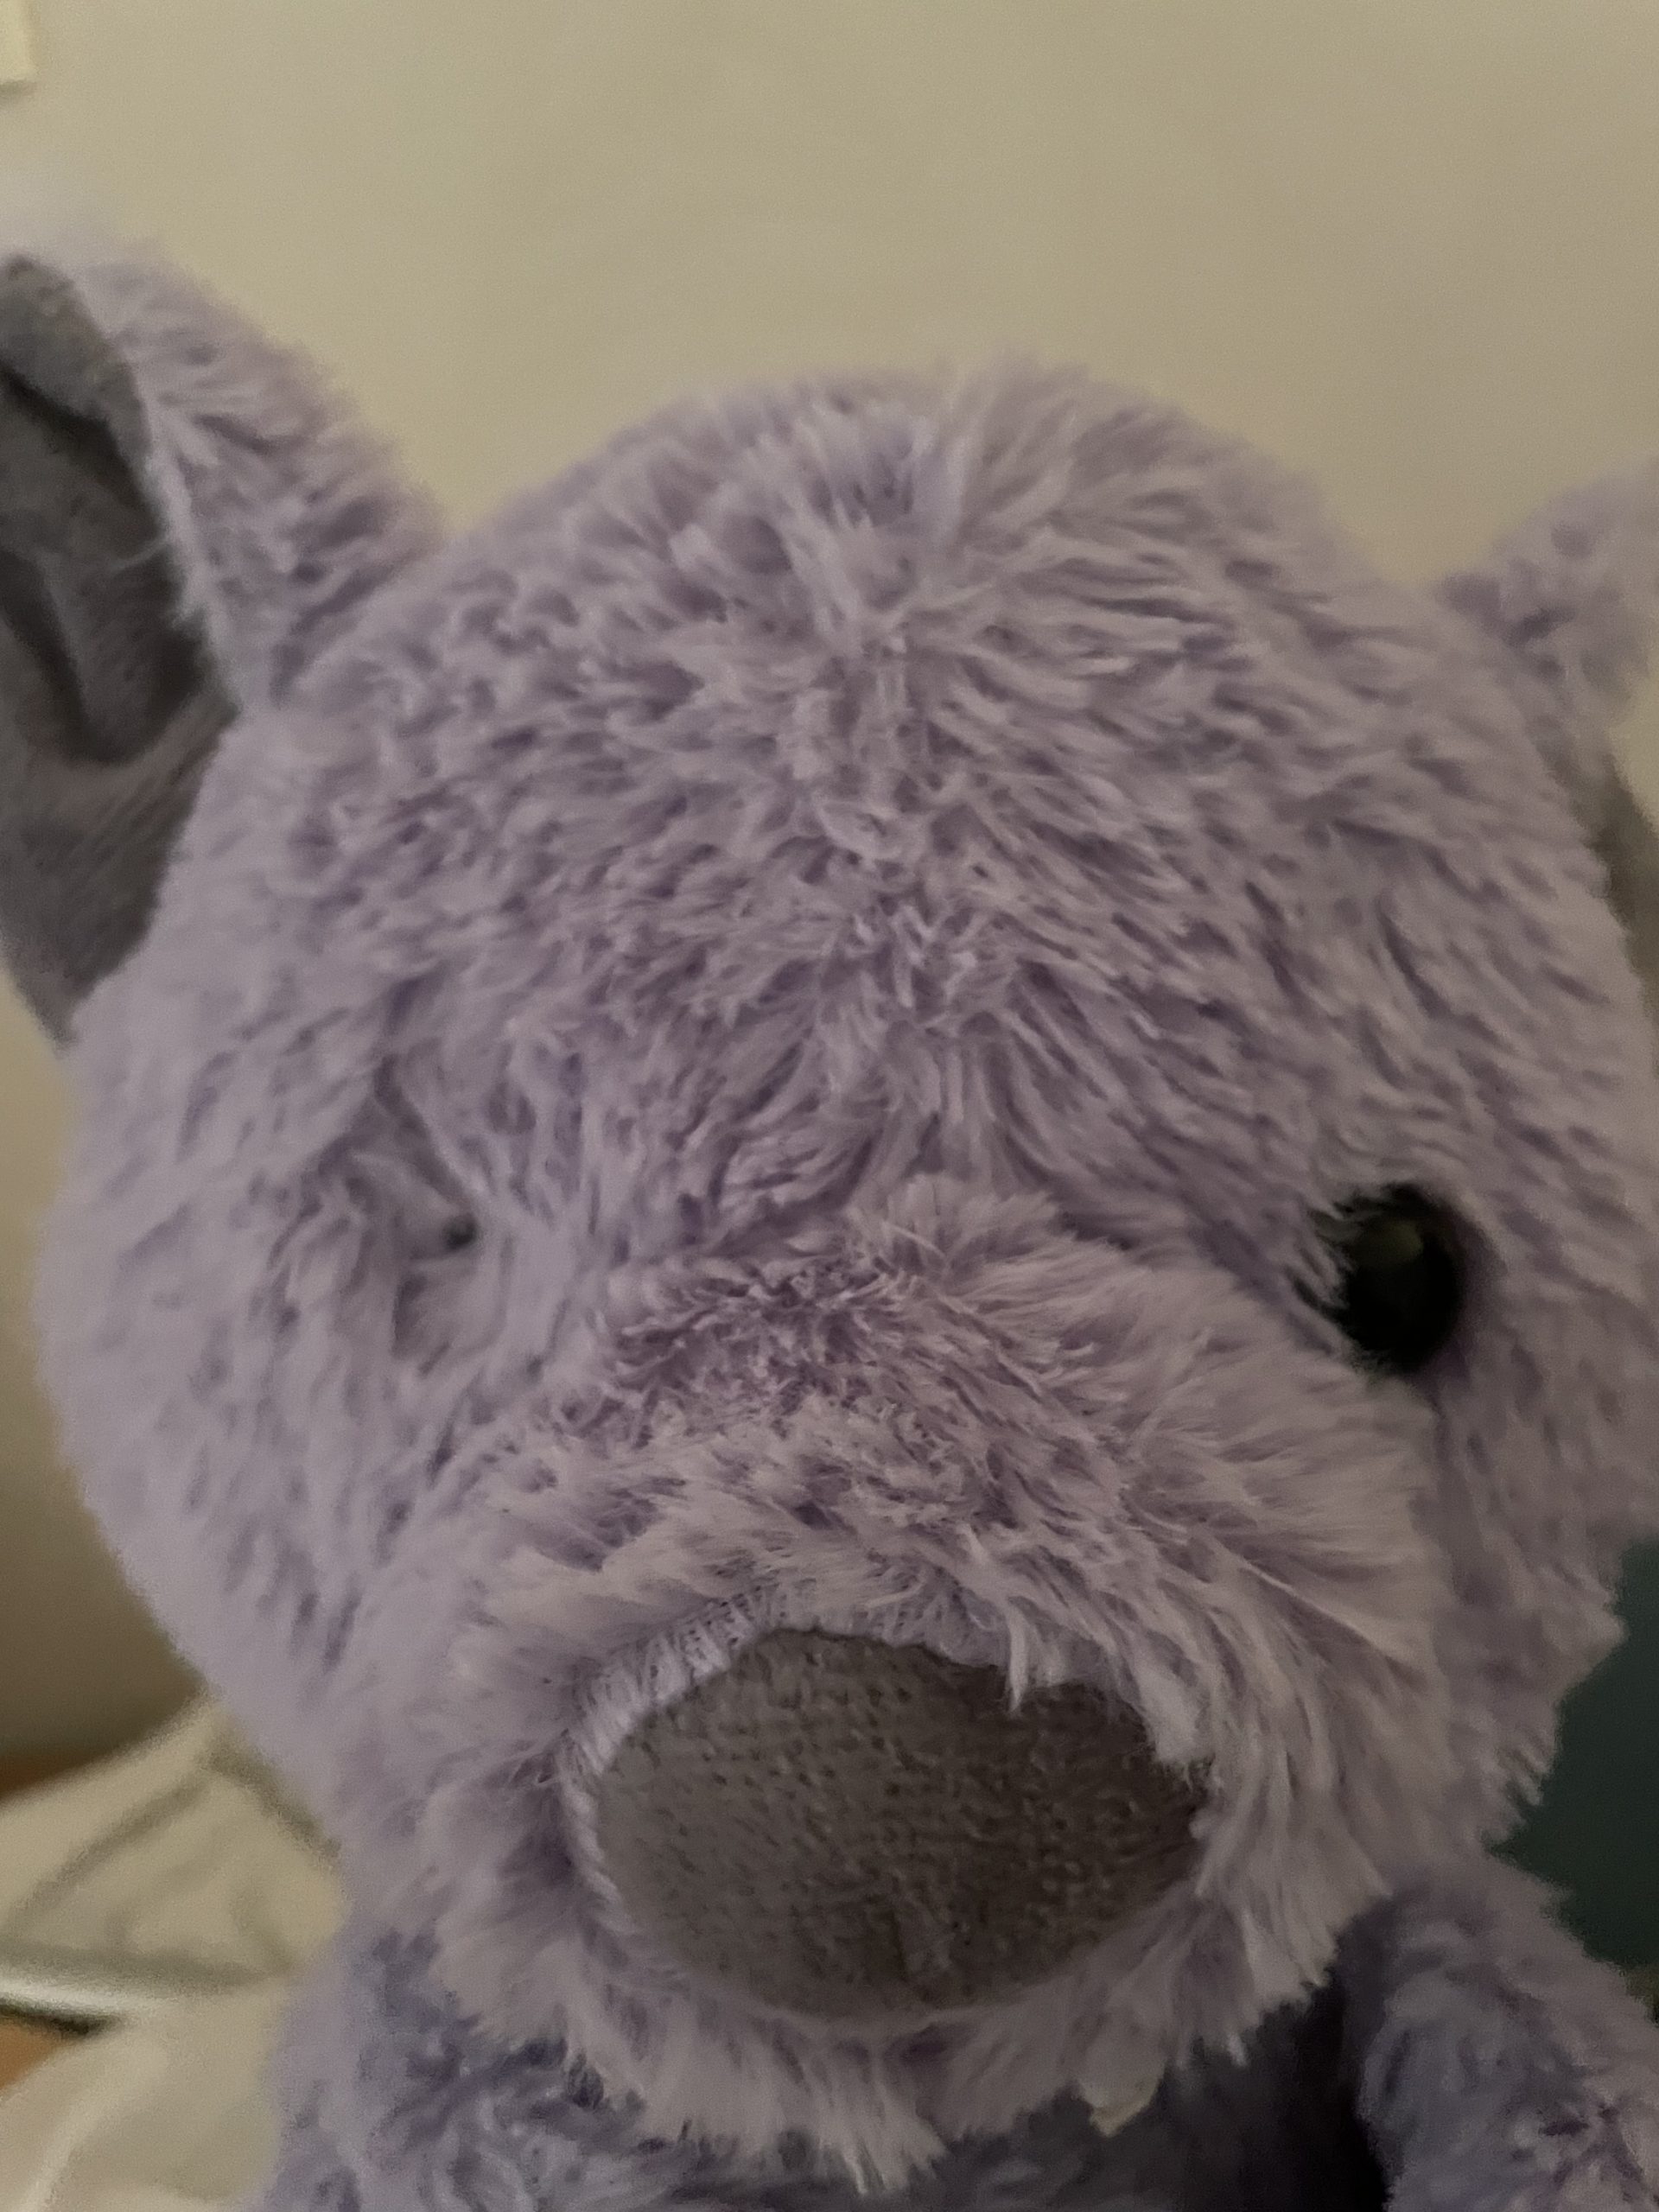
I picked the mirror because it reminded me of a picture I posed with Pastel.
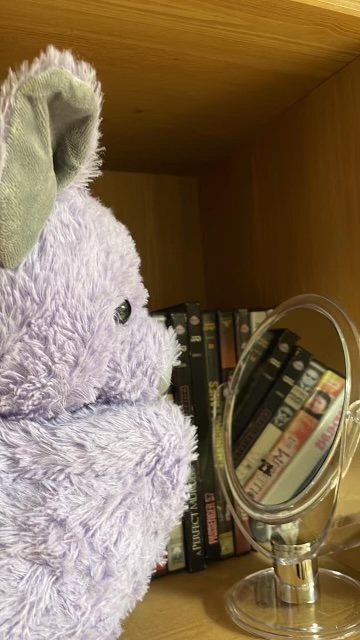
Or maybe if the bat does not cast a reflection it was our cue to run!

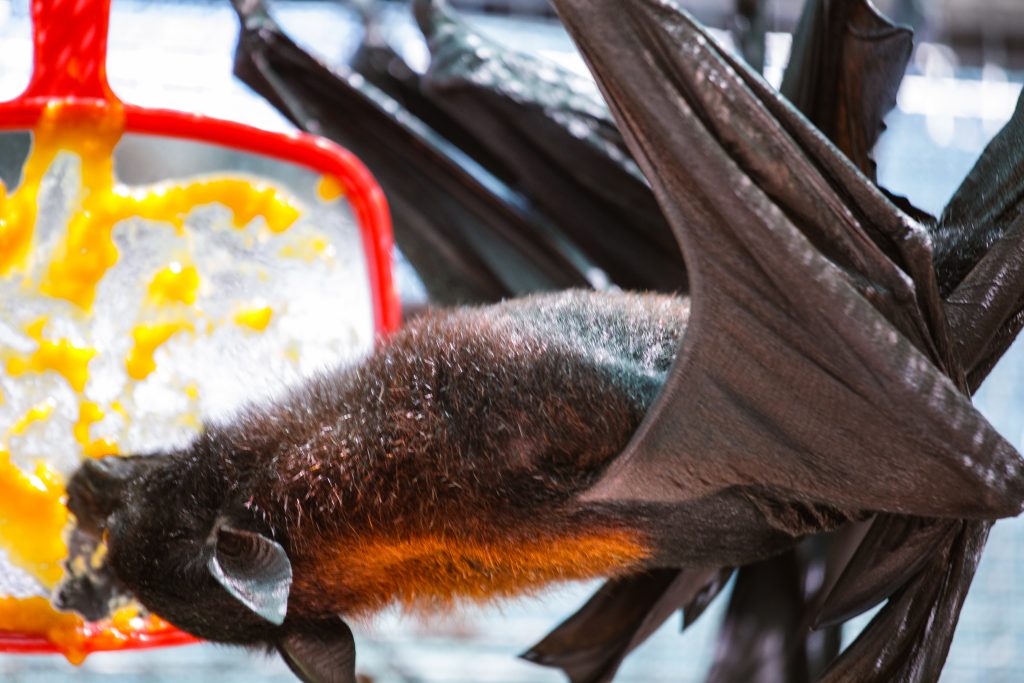
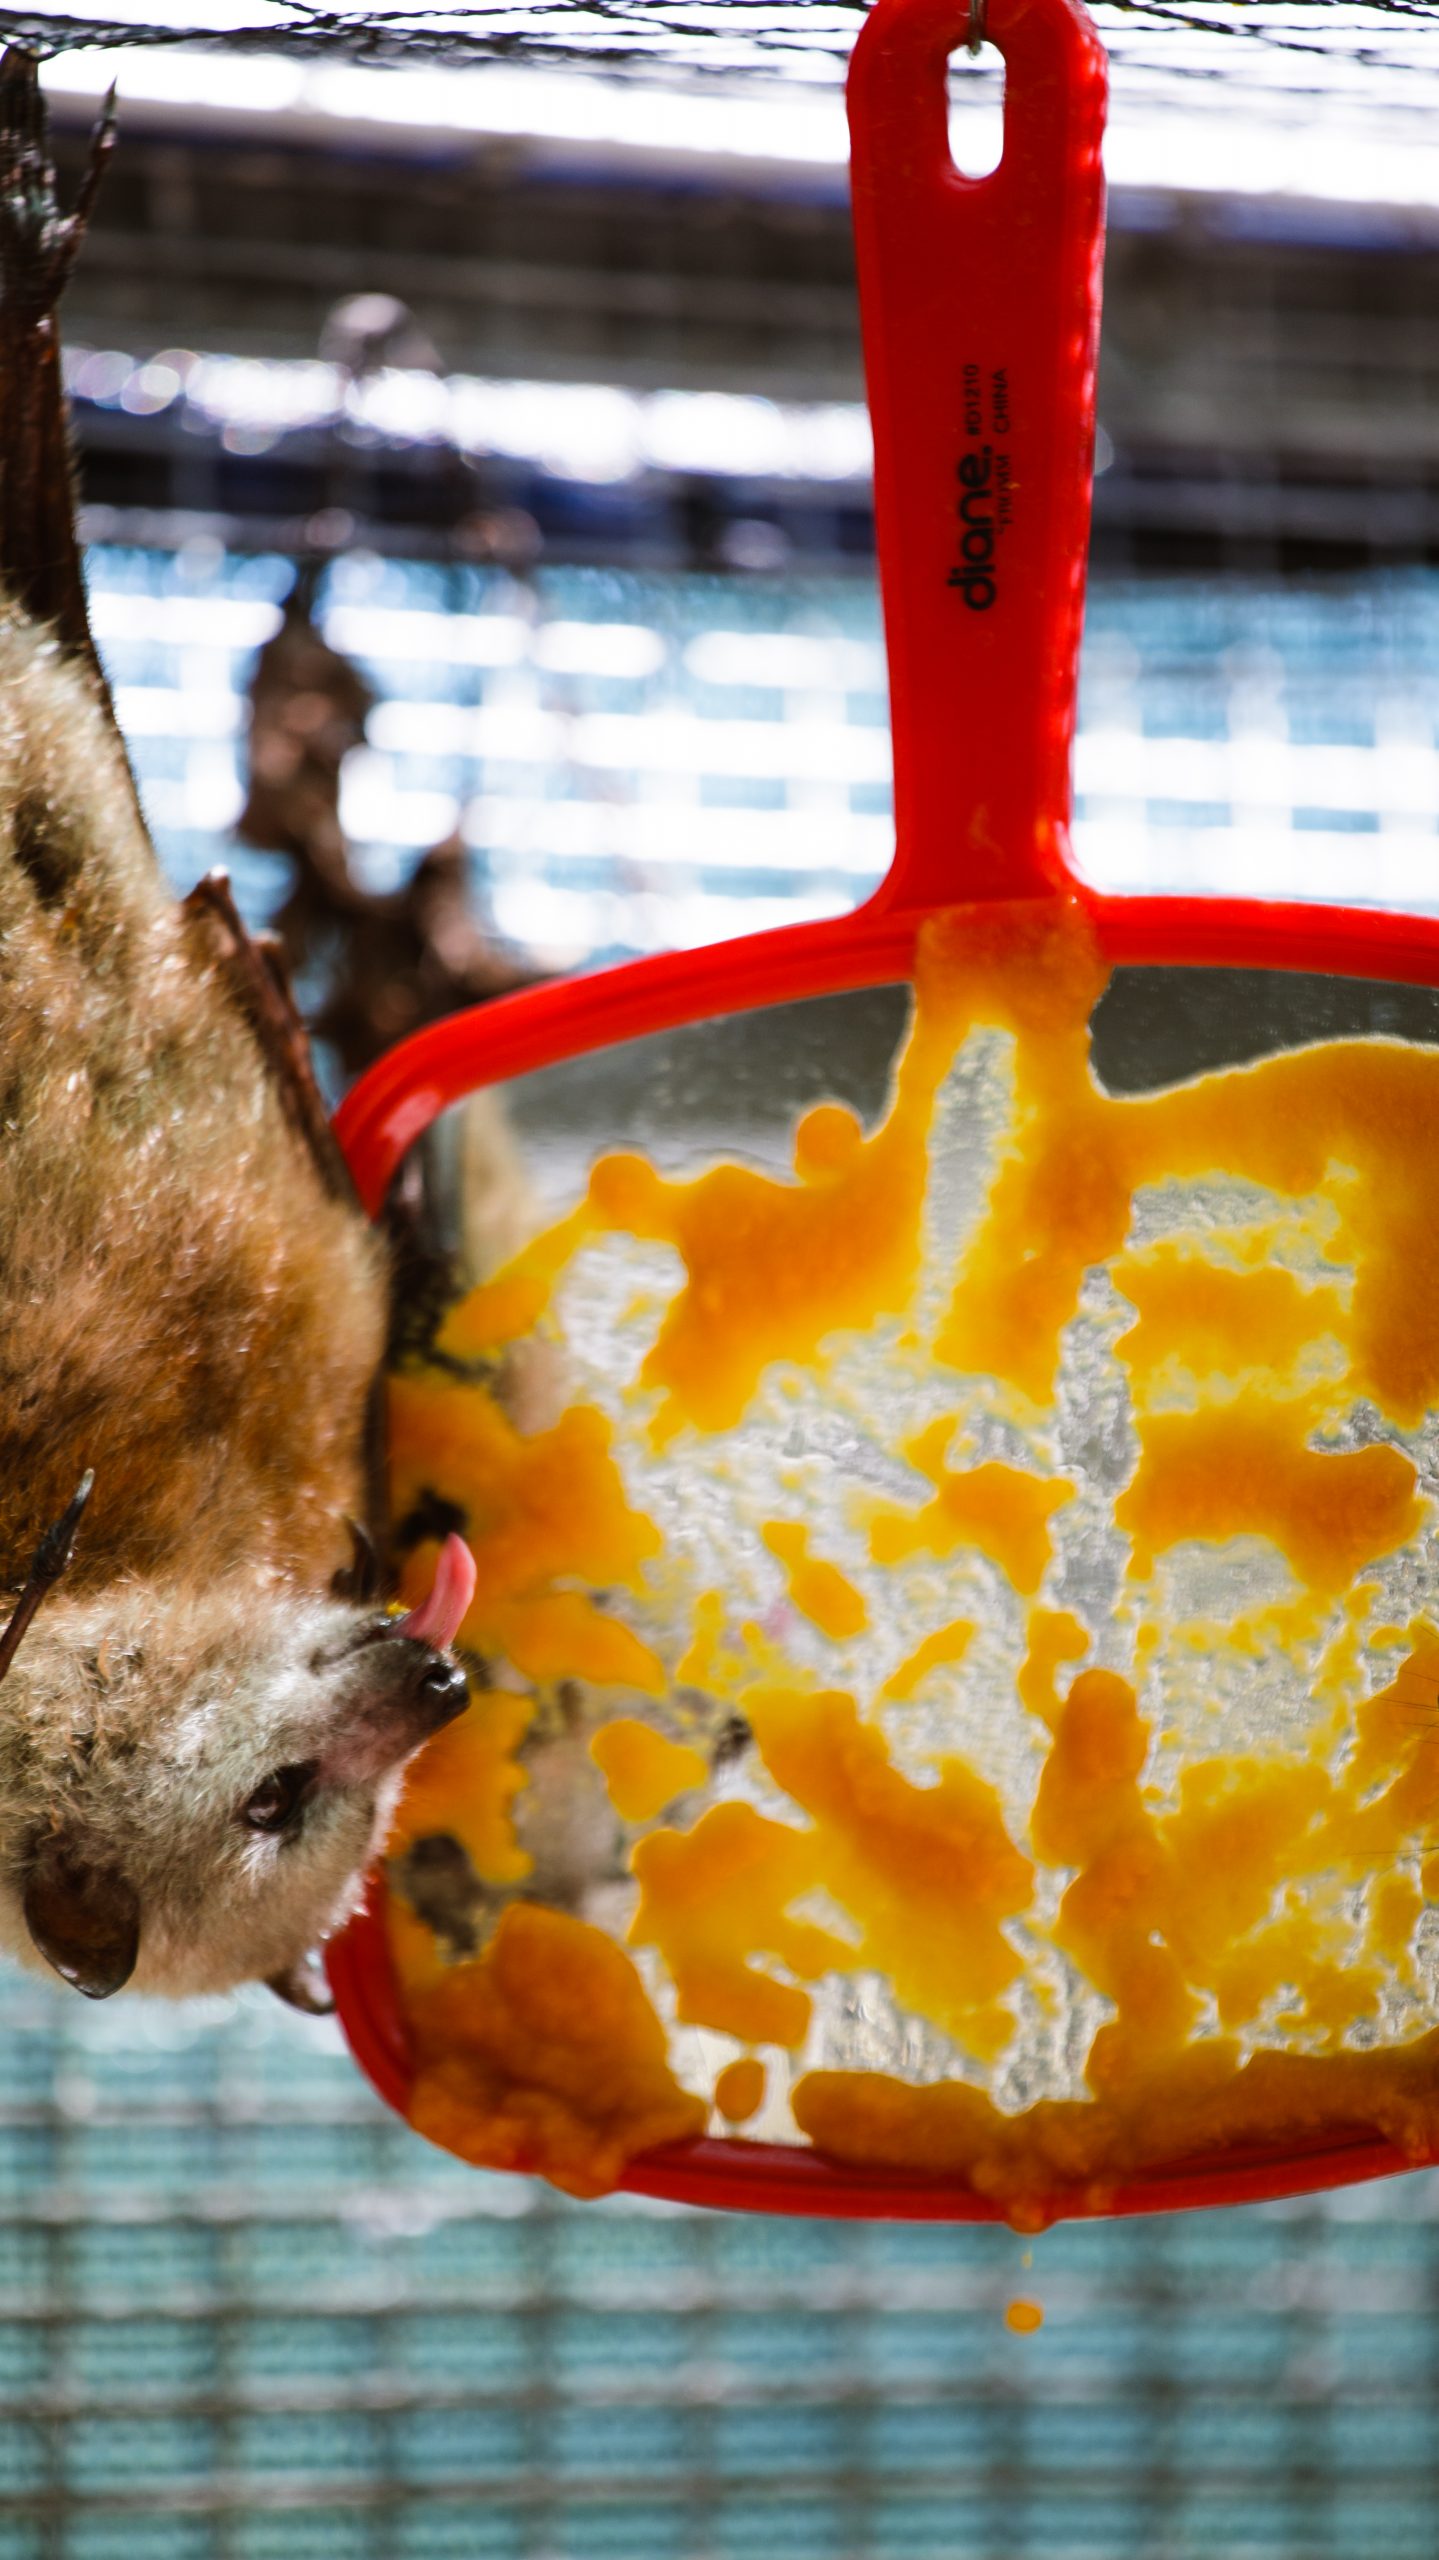
 Vanity wins, but also presents an opportunity for another colony mate! While one bat is posing for a photo, another goes in for a quick snack.. mmmm, Mango!
Pastel shares another similarity to one of the bats we saw who came to the conservatory missing an eye, and has a cataract in the good eye so was actually blind.. I don’t have a photo but Pastel will stand in. Pastel lost one of her eyes in a freak back scratcher “accident” (Did I mention that Mi Jung did not like the plush bats?).

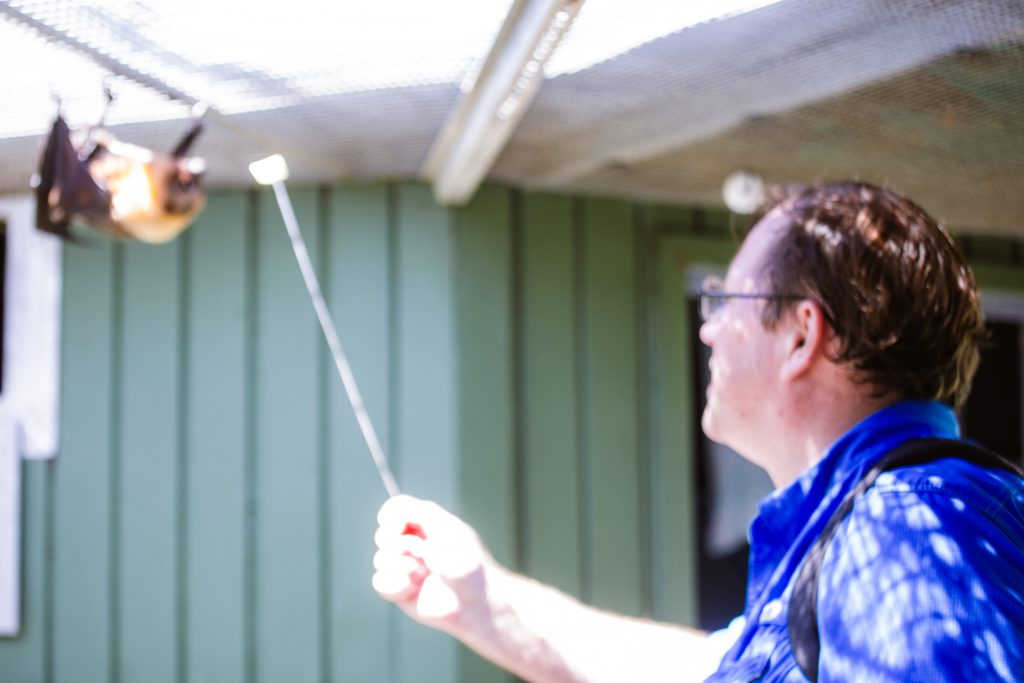
Another fun interactive activity on the tour is feeding the fruit eating bats, kabobs. I was a little nervous I would end up poking the poor fella’s because… wellll, my depth perception SUCKS!!!! So I would just hold the skewer in front of me, and let them come to the end of the skewar if they wanted it!
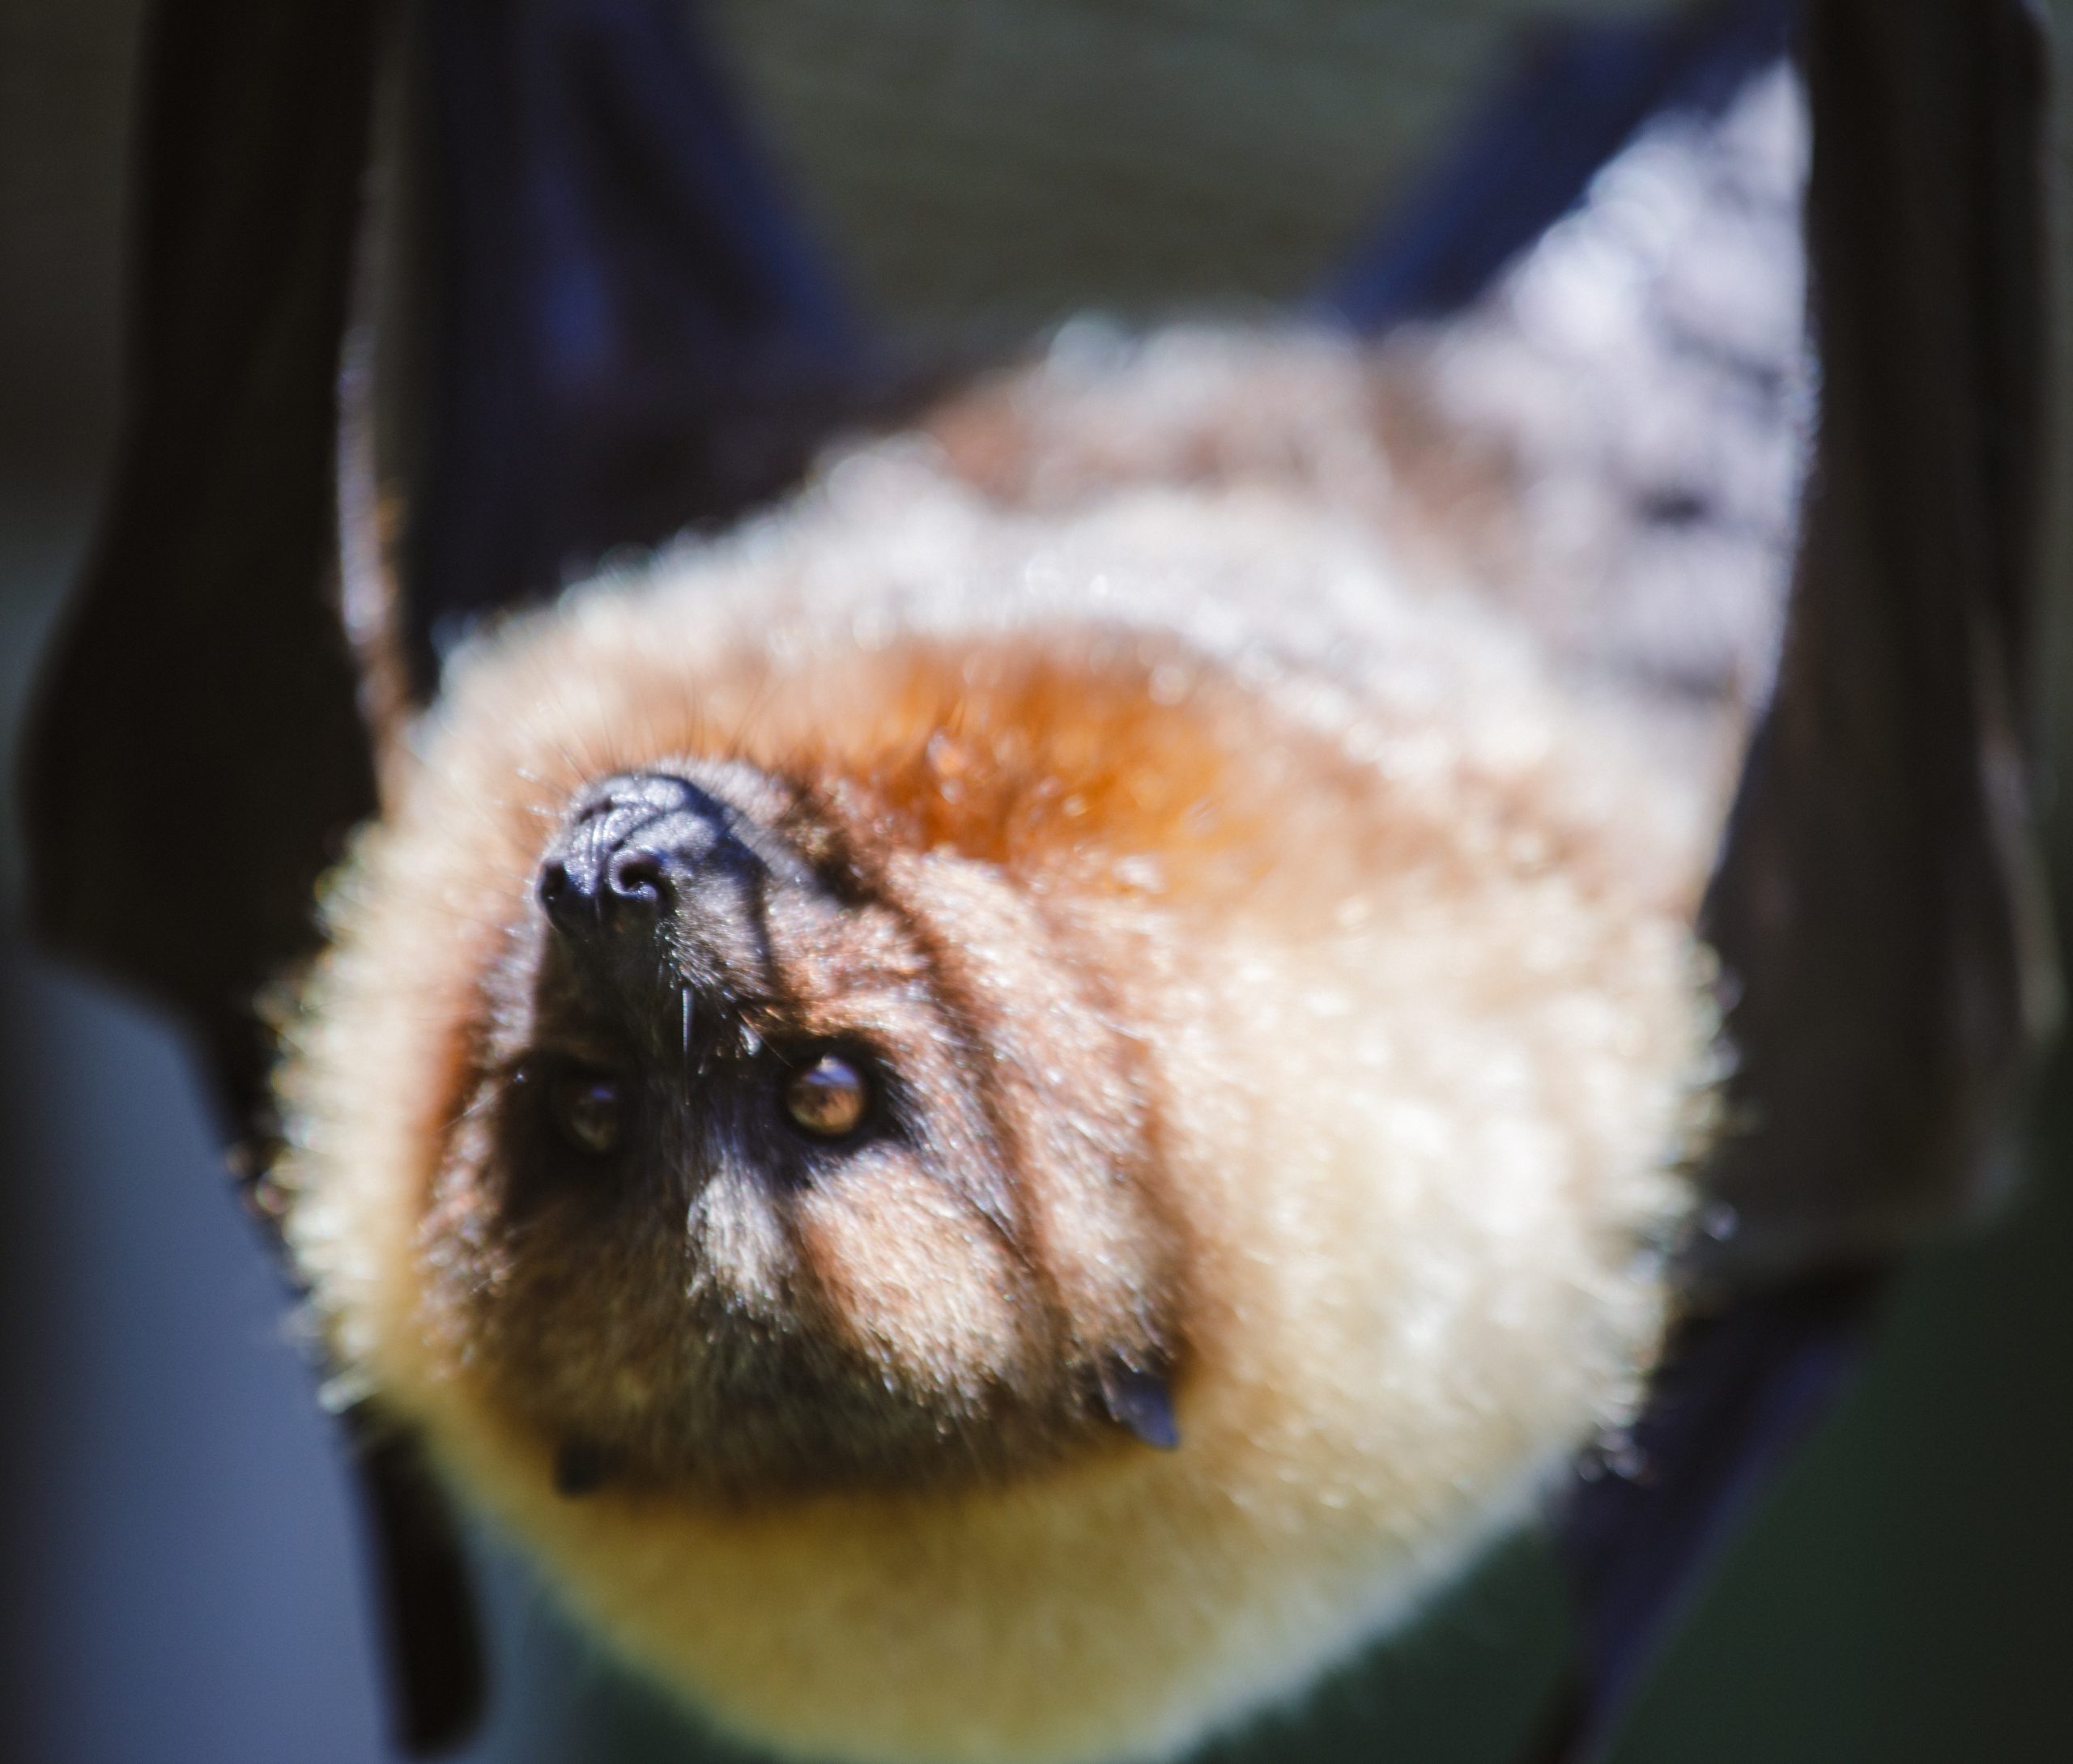
 While I make a conscience effort not to propagate any of the myth’s that bats are evil, however I did comment that seeing some of the smaller bats scurrying along upside down on the top of the enclosures was “unsettling” in the sense that it is just not something you see everyday, and if you got a 100 so of them to do that down a darkened hallway, it would make for a great scene in or horror movie, or stretch the imagination and a darkened space ship.
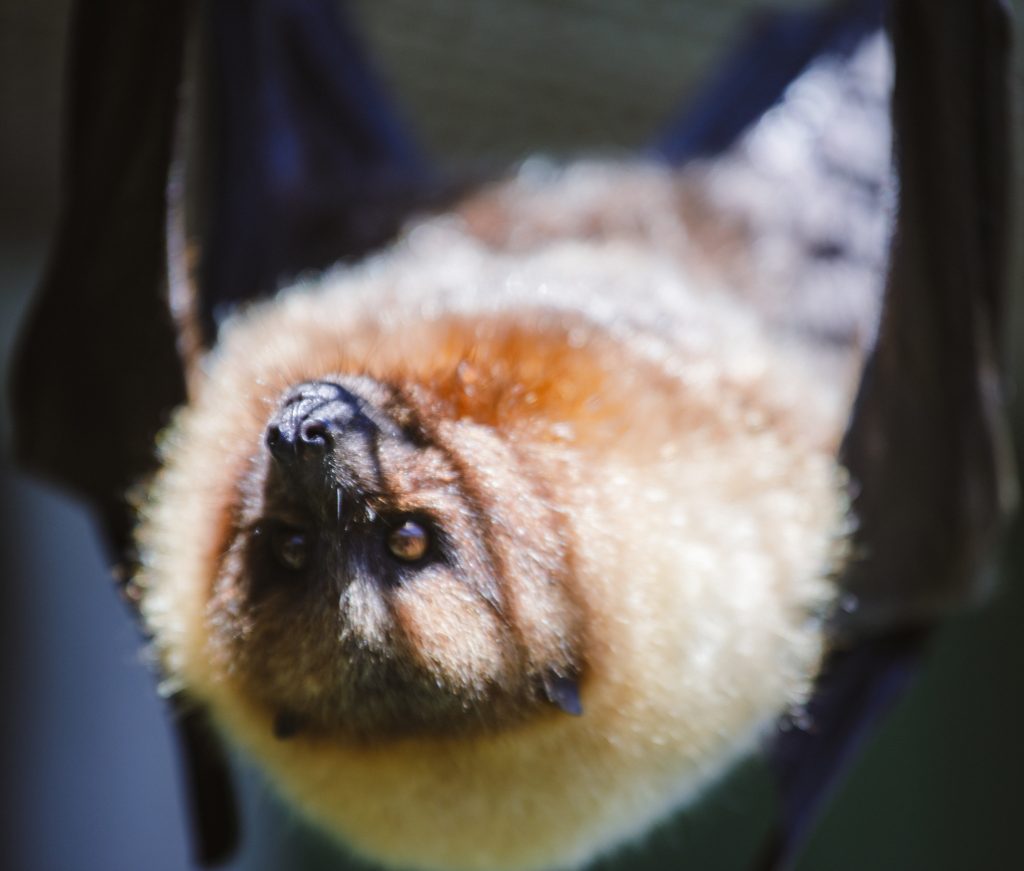
*DISCLAIMER! This photo was shot with a focal length of 200mm, I did not get this close to the bat in order to get the picture..
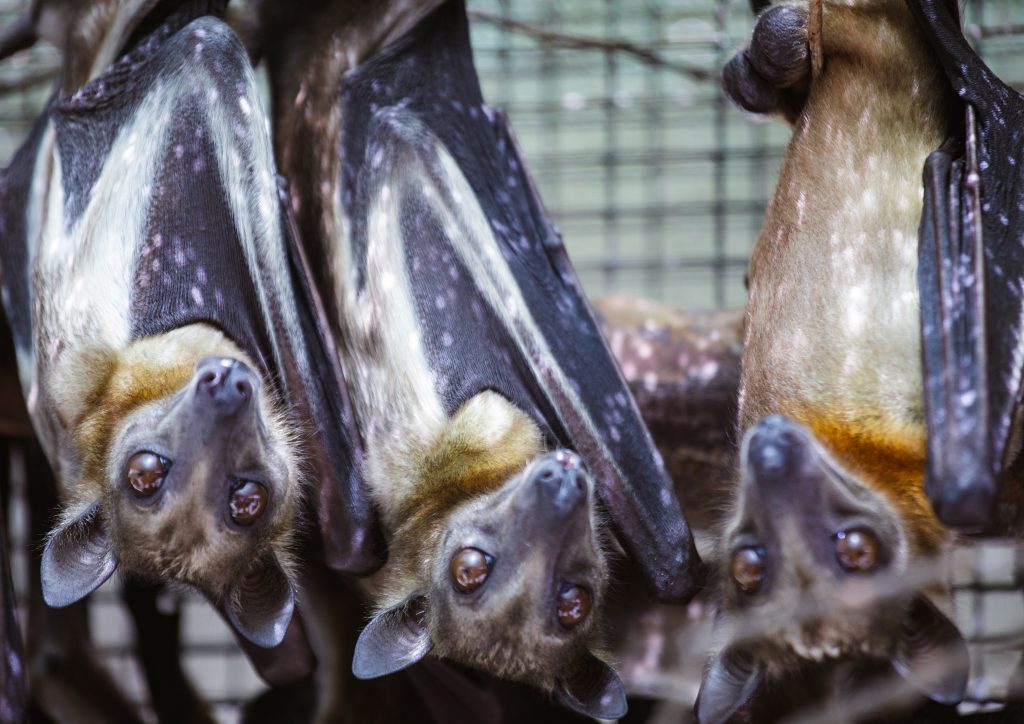
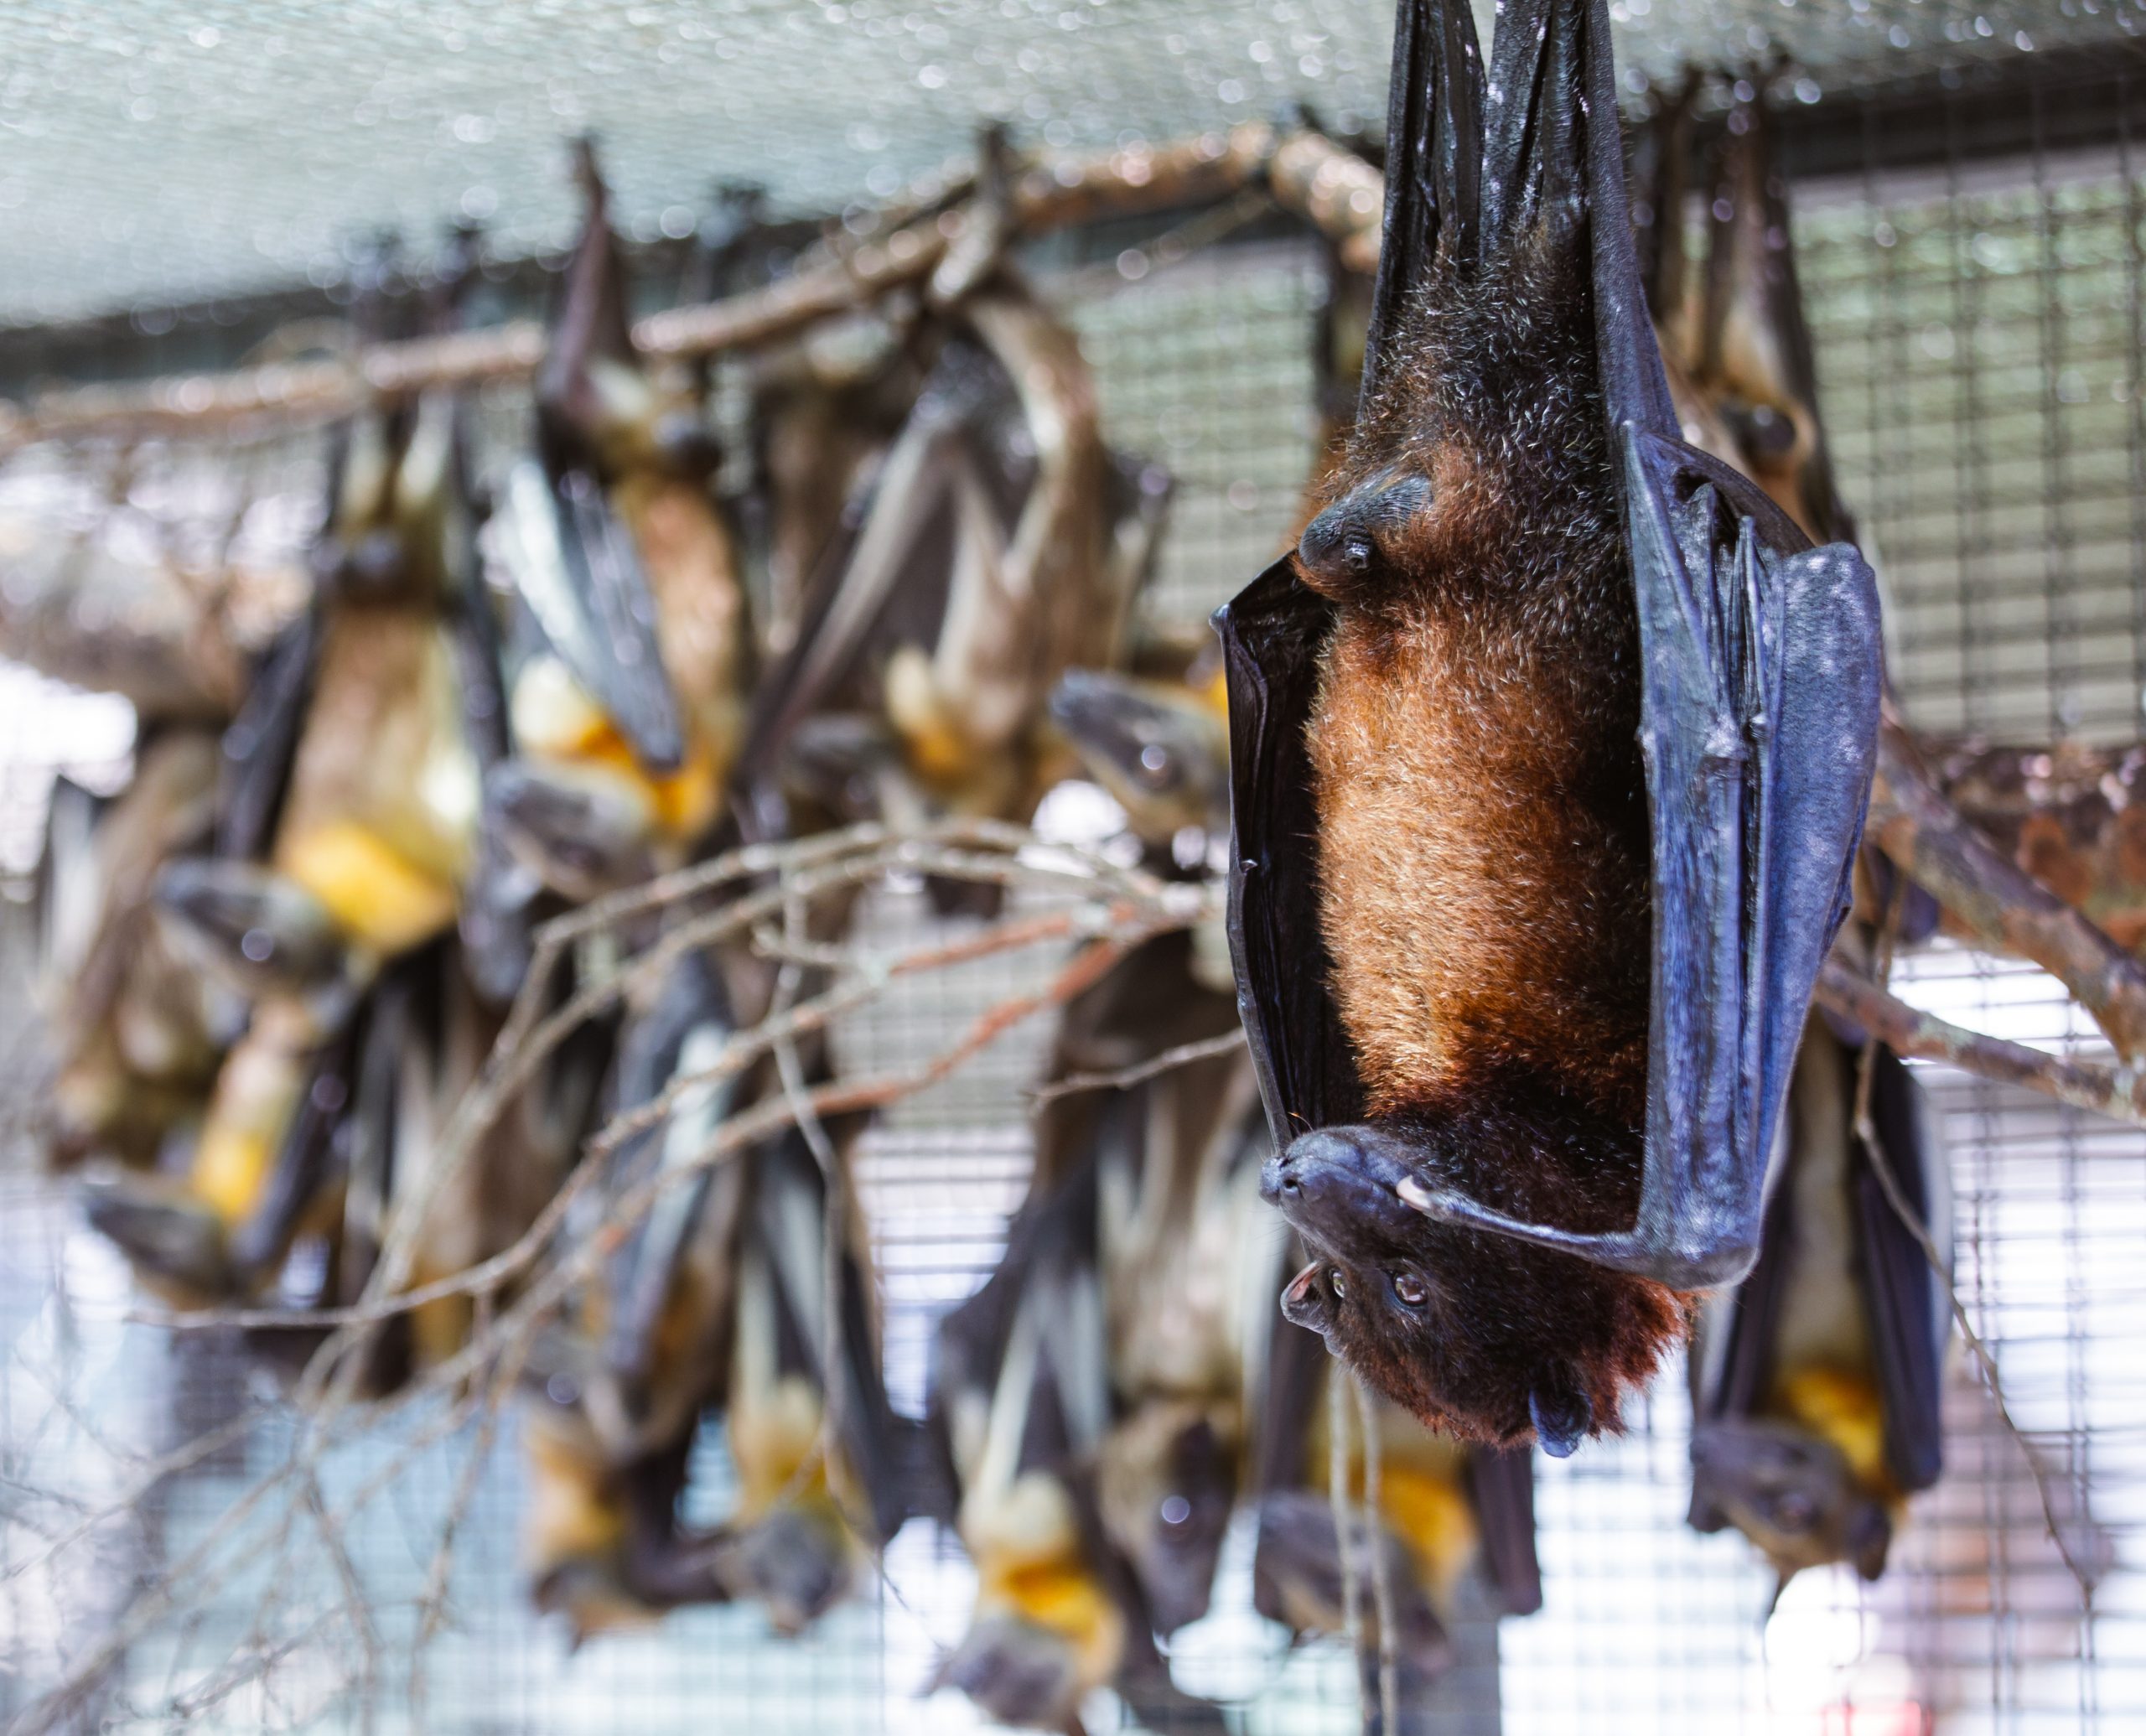
Here are the boys just hangin around.

 The 70 minute tour went by so quickly! Getting the pictures together at home I realized there was so much room for improvement, and so many pictures I would have liked to have taken! Though it does open up more opportunities to go back for some of the other events, such as the Bat Photo Days. What would I do differently? What could I do for more creative pictures? Could I get by with using a prime lens so I could get a wider aperture? Could I retake the photos that were shot wide open with a narrower aperture so more of the photo is in focus? Outside of photography I found digging into the cultural, and mythological aspects of bats fascinating. Enough that I could fill another 3 blogs!
One thing is certain, if anything in this blog piqued your interest, the Lubee Bat Conservancy is a great place to get your answers! The tour was educational, Brittany was an awesome tour guide who was extremely knowledgeable and personable. Who was able to answer questions ranging from anything you wanted to know about the bats, day to day operations, science, and veterinary medicine! She even put up with my corny bat jokes!
To schedule a tour for your school (In person or virtual), or your own VIP tour for a group of up to 10 people, visit the Lubee Bat Conservancy’s website at https://www.lubee.org/ The cost is $250 and is a donation to the Conservancy.
Also! The conservancy will be holding the 20th Annual Florida Bat Festival! 26 Oct 2024! This is a great opportunity to come on out support our batty friends eat, drink, and be merry! For more information please go to https://www.lubee.org/flbatfestival
While I do not make any commision on any tours or activities you arrange with the Lubee Bat Conservancy, if you do make inquiries or schedule a tour or even after reading this blog, please do let them know you found out about them from catracing.org. I do wish that the effort that goes into creating content gets back to the organisations I blog about to promote good will.
Thank you for stopping by Bren’ts World! Please come back again to read new and exciting content! If you wish to be notified when new content is posted, please consider registering by going to https://www.catracing.org/hendrb/wp-login.php.


 .
. 


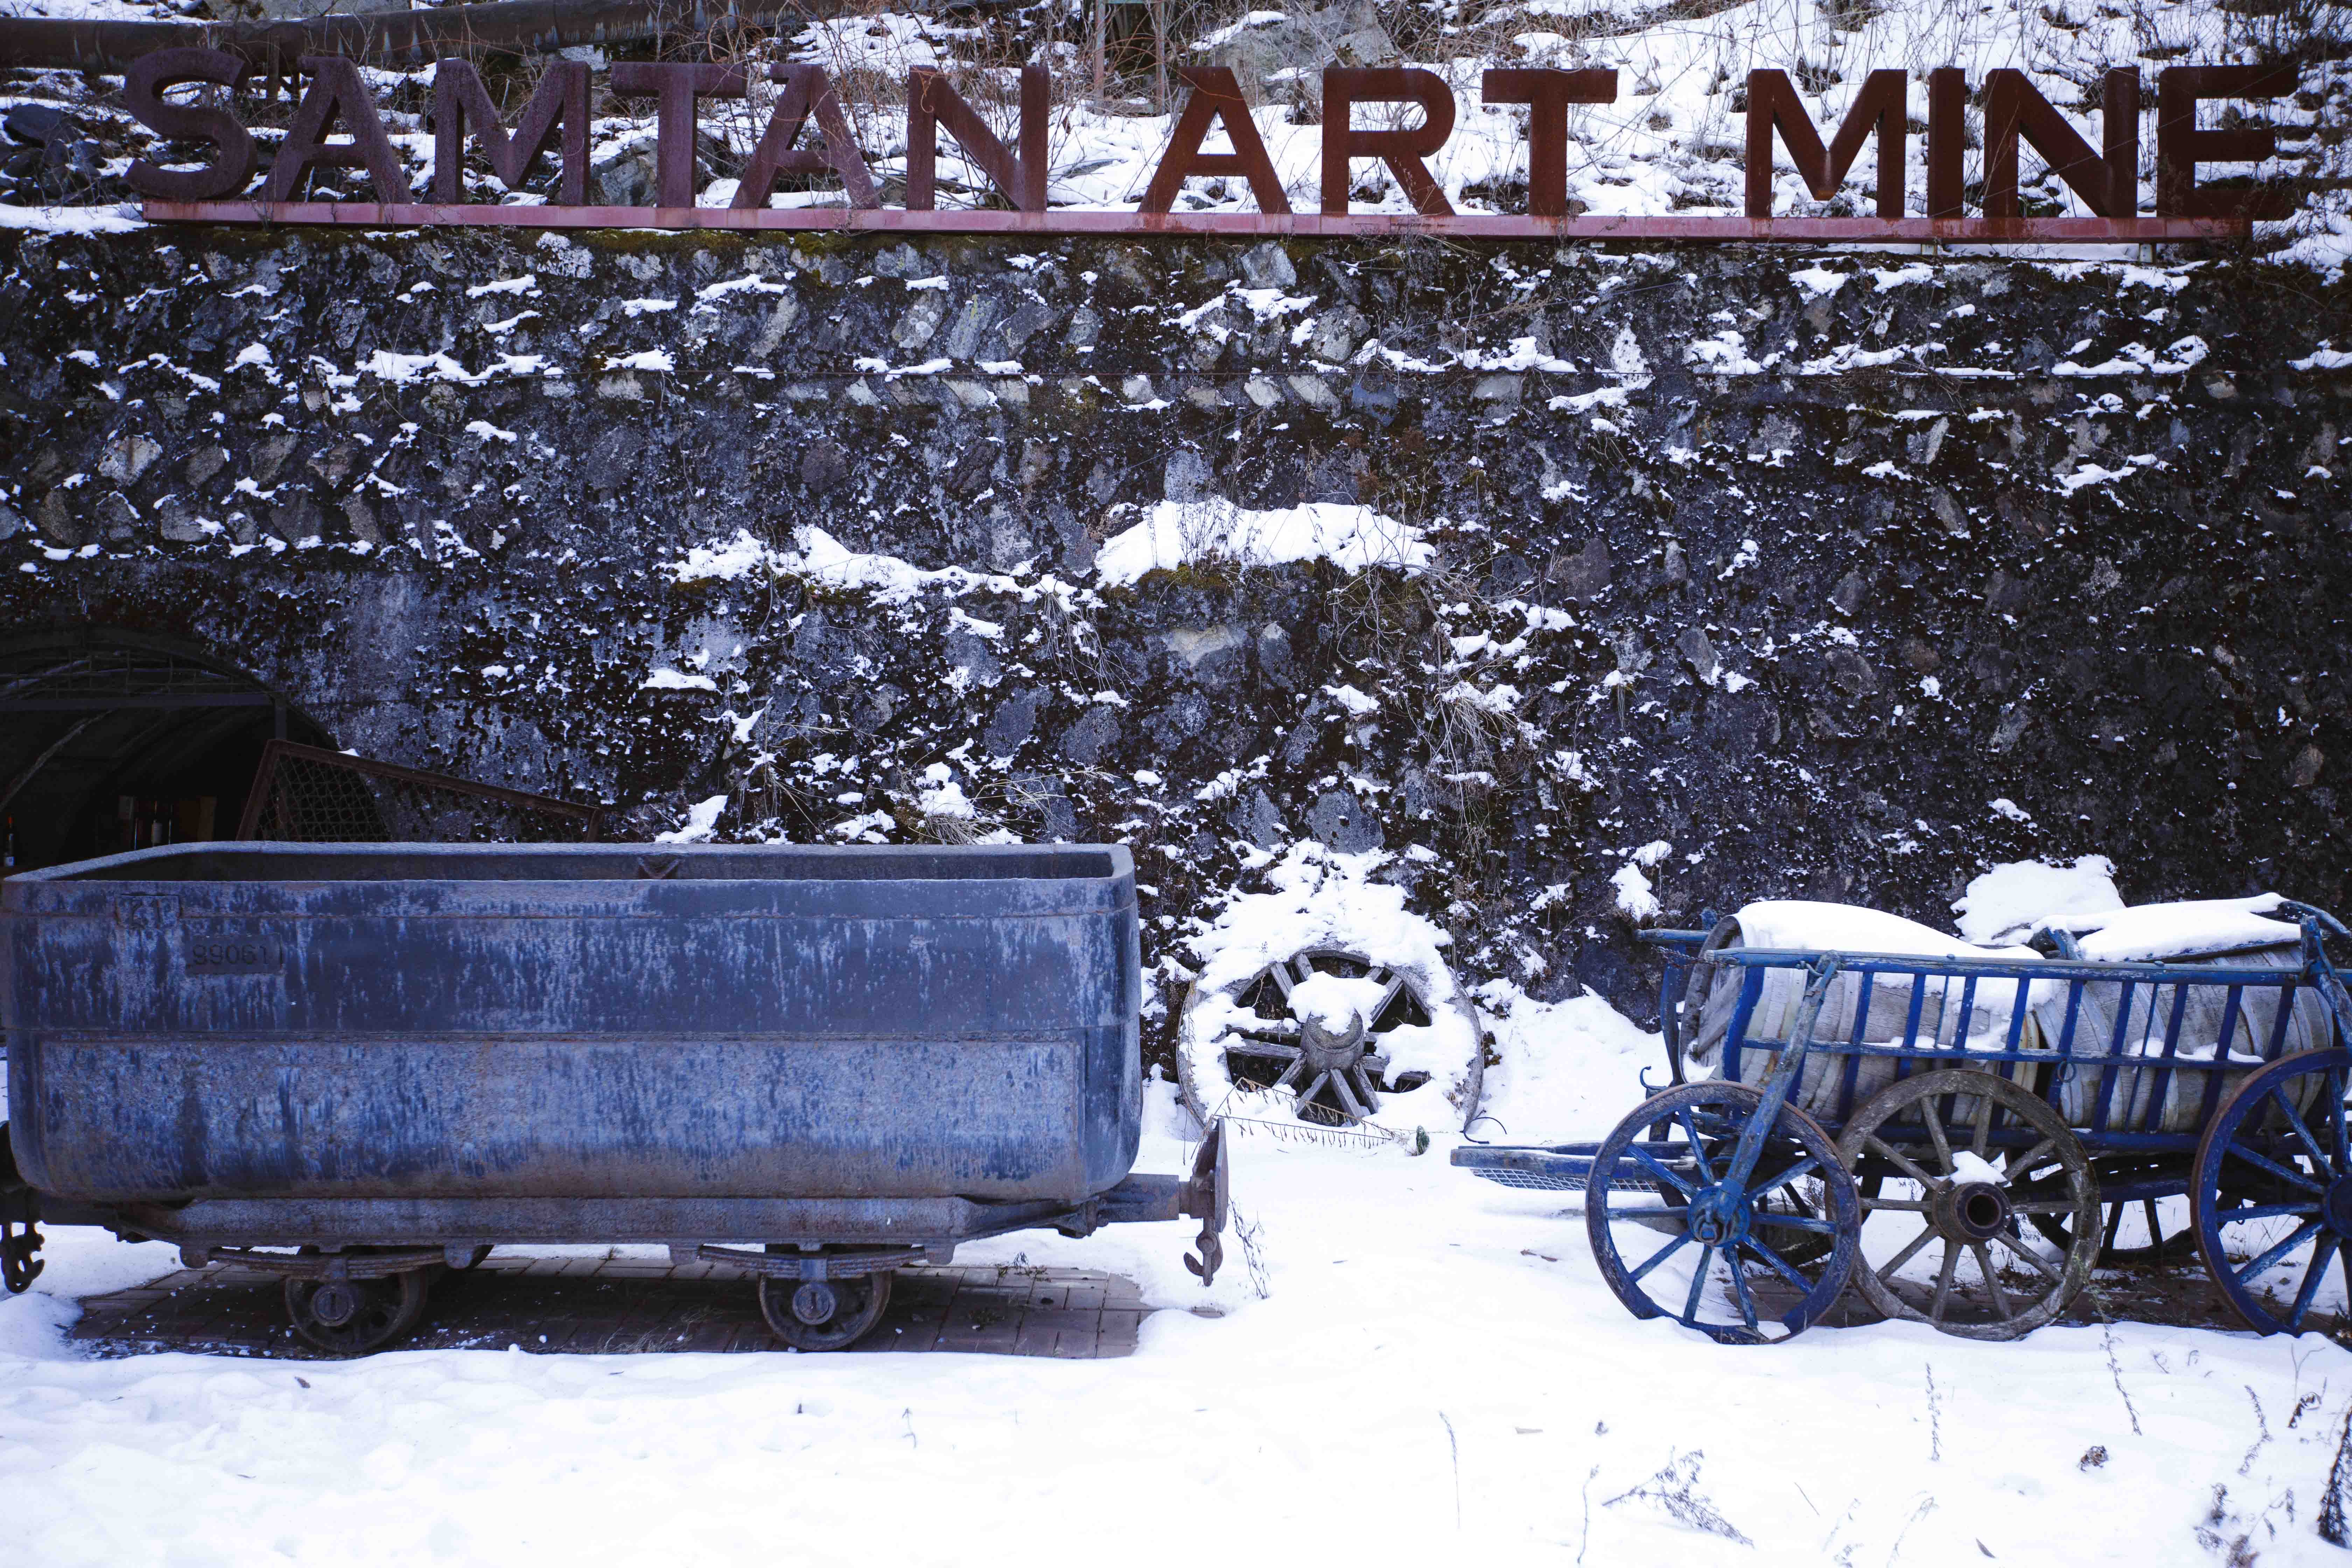


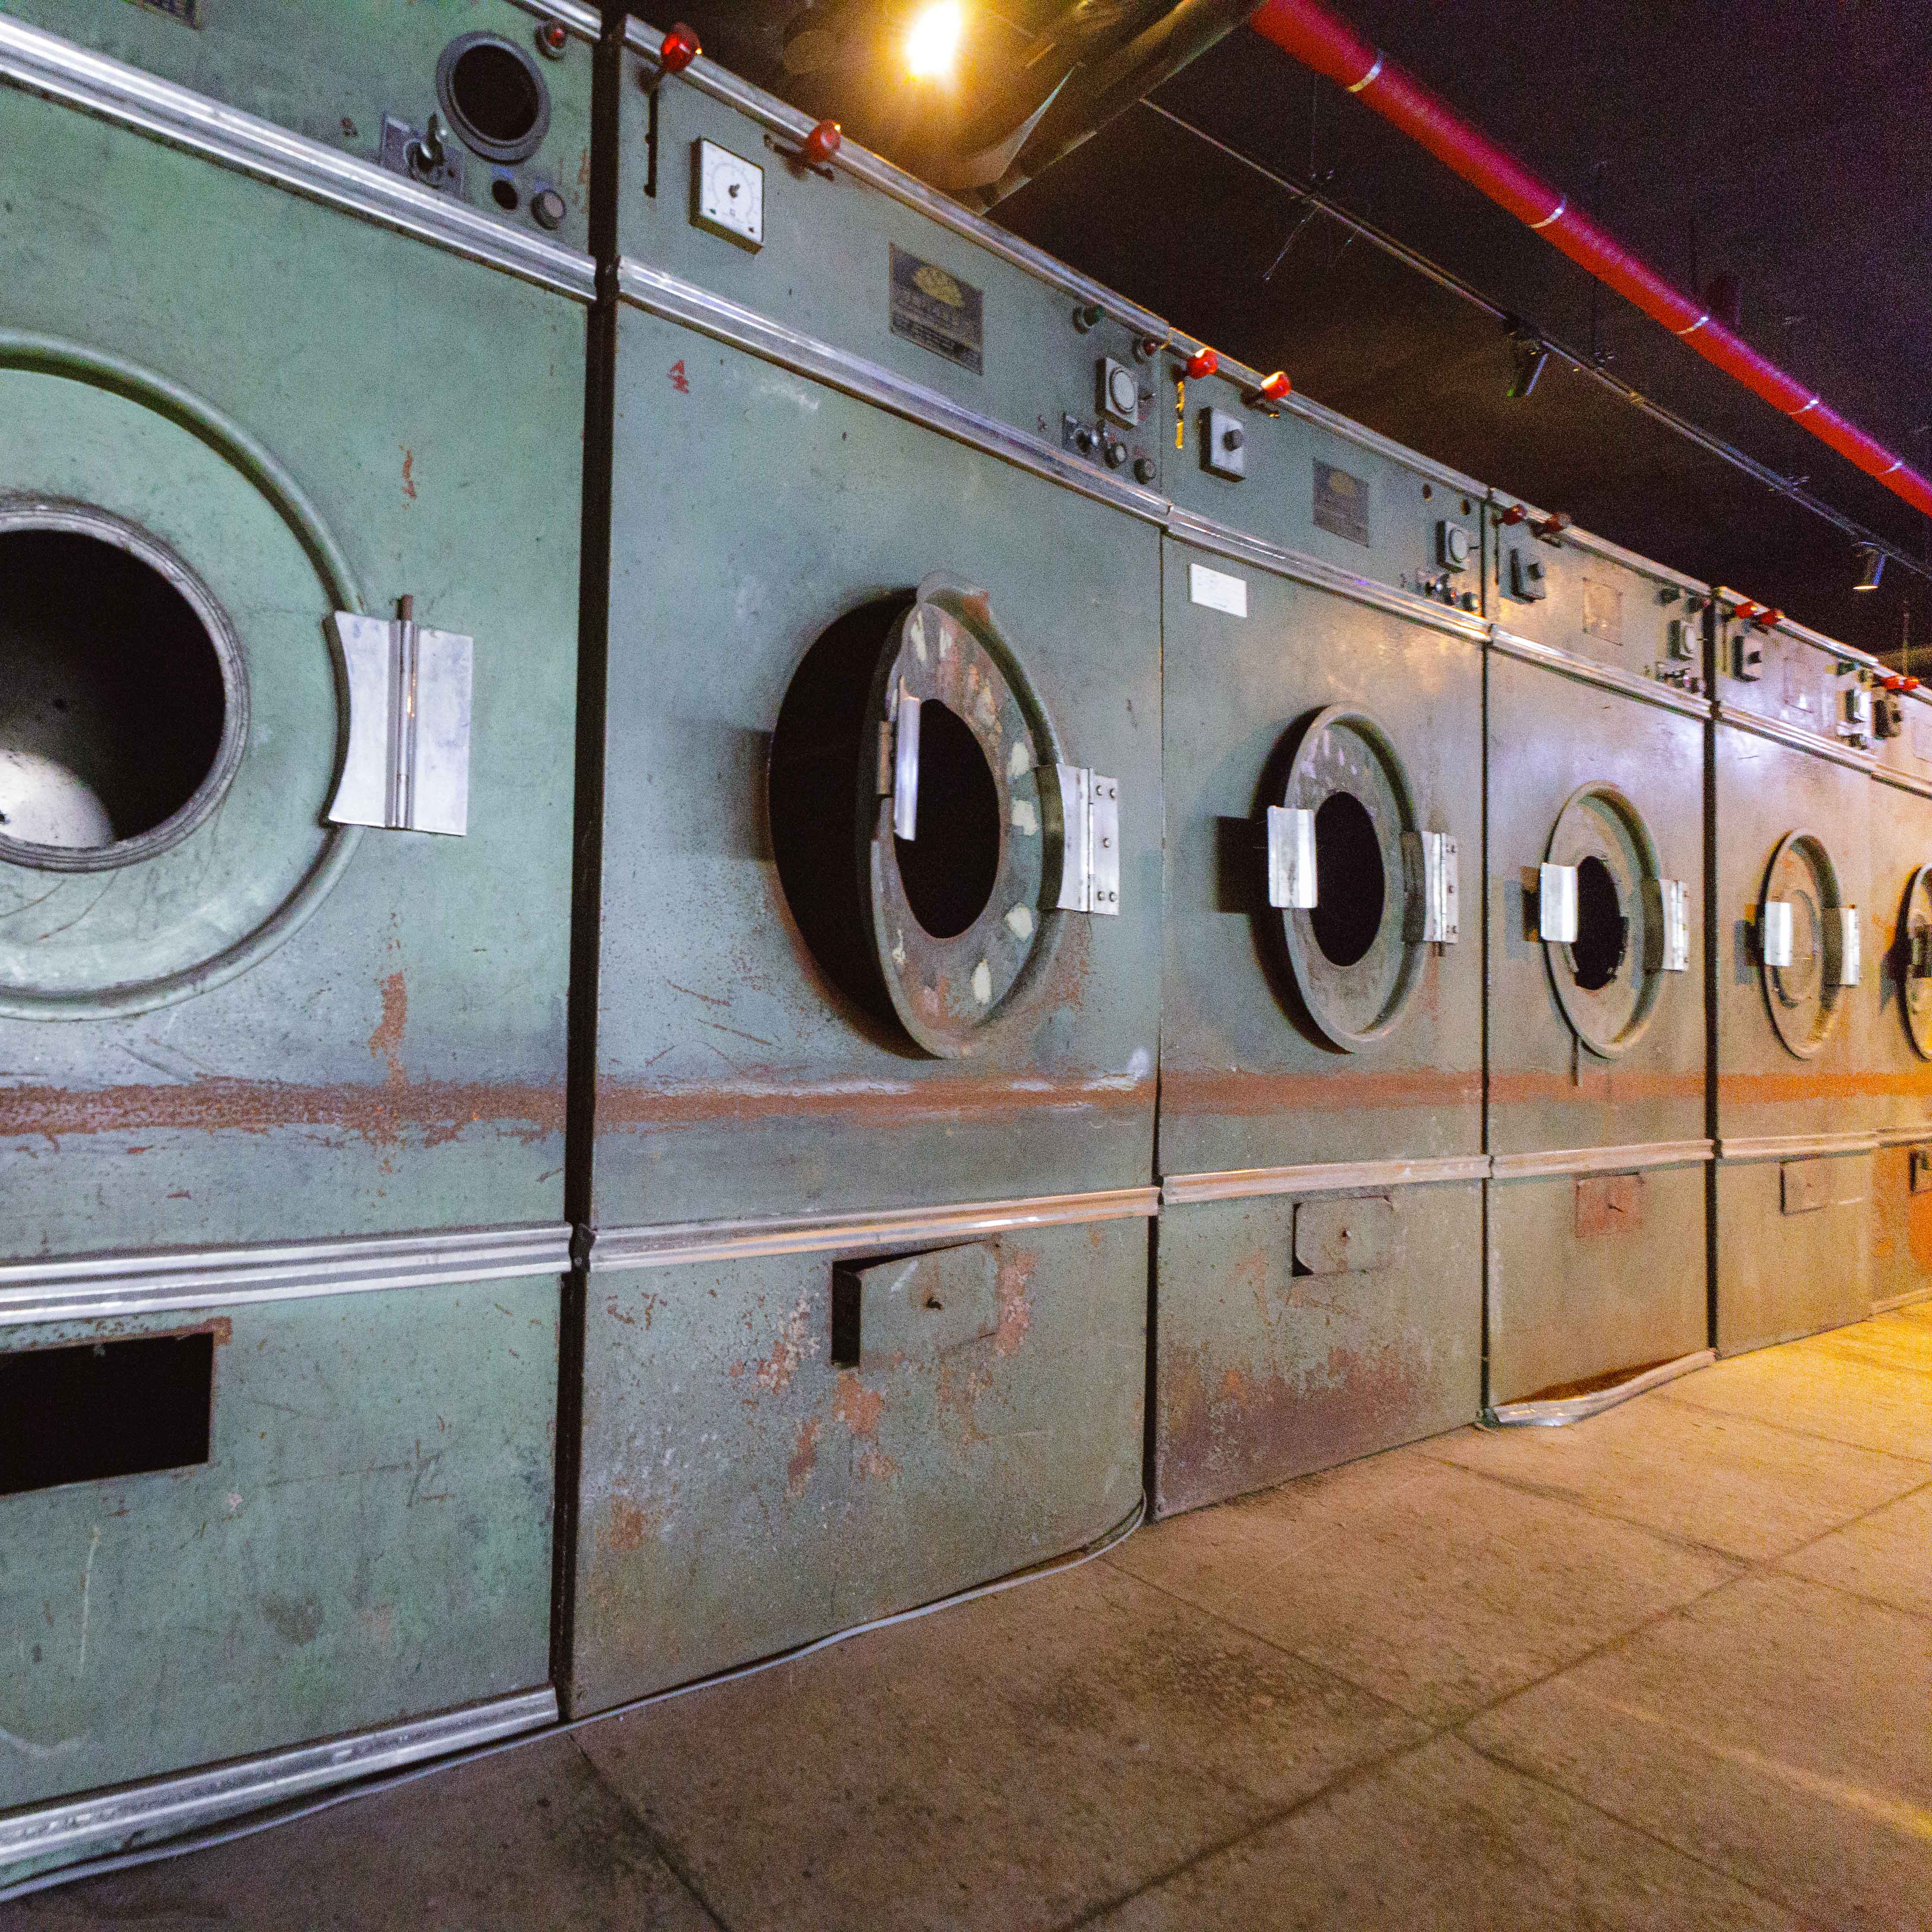


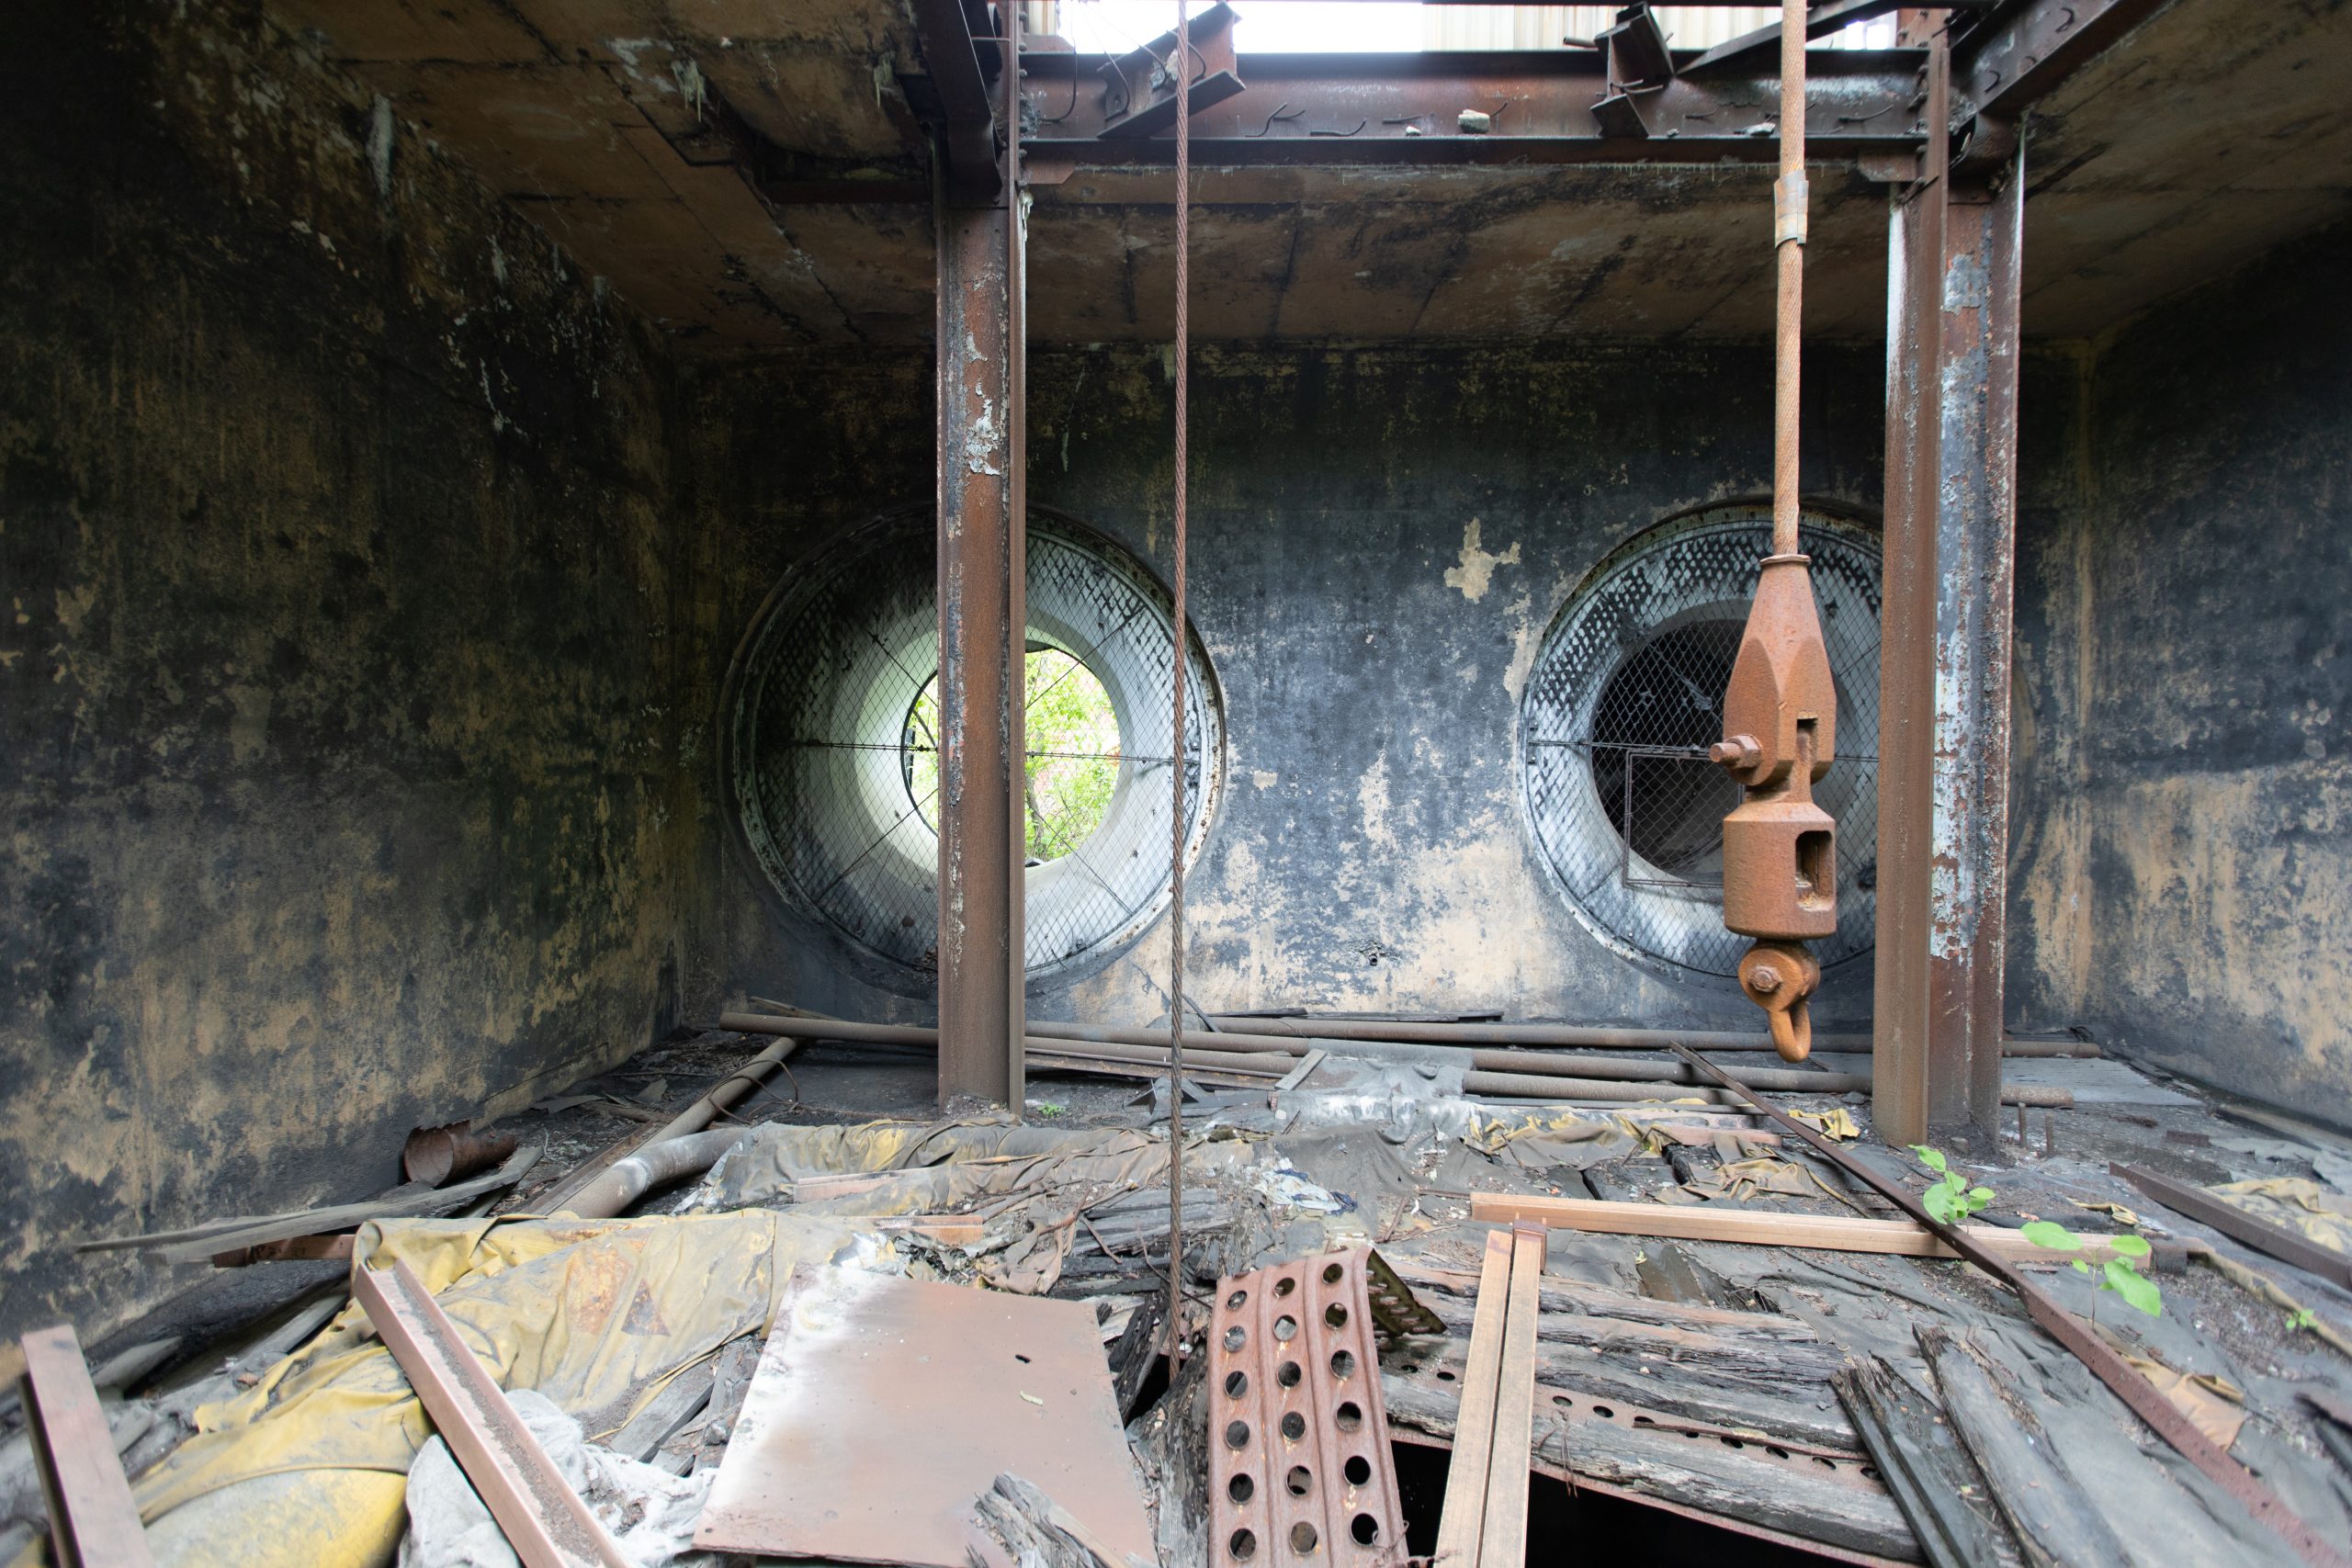
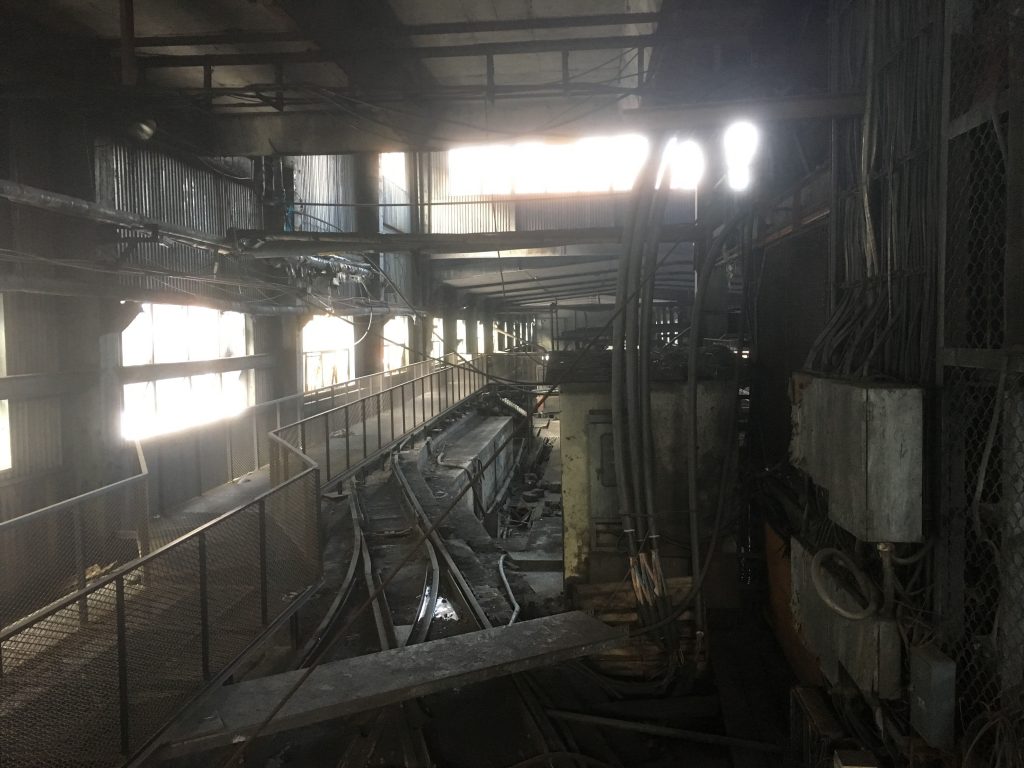 A look at the control room where the mining operations take place.