 MacOS X – BASH Scripting
Random Quote Generator v1.1m
I know it has been a while since I have posted a new blog! I deeply apologize, I have been suffering from a severe case of writers block, and have been struggling to come up with a new technical article that is up to the standards I have set for myself! Looking back at some of the old articles, I realized that one of my favorites is woefully out of date!
For those of you who may be visiting Brent’s World for the first time, I converted a C-Net Amiga BBS Arexx script to BASH v4 back in February 2015 ( https://www.catracing.org/hendrb/fun-with-bash-scripts-random-quote-generator/ ), then followed it up with displaying the output through cowsay for some extra fun, https://www.catracing.org/hendrb/fun-with-bash-scripts-randquote-v1-1/. For an encore I provided instructions on installing BASH v4 and GNUsed on MacOS X so Mac users could also enjoy a random quote every time they launched their terminal.app.
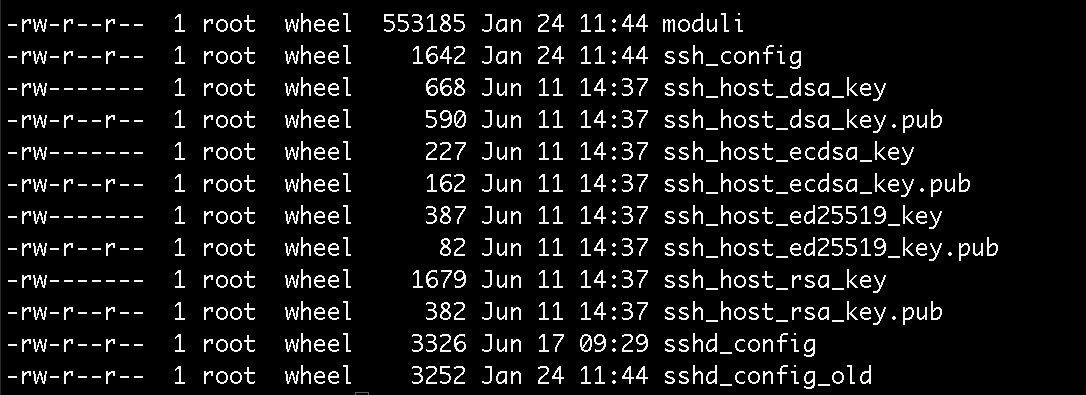
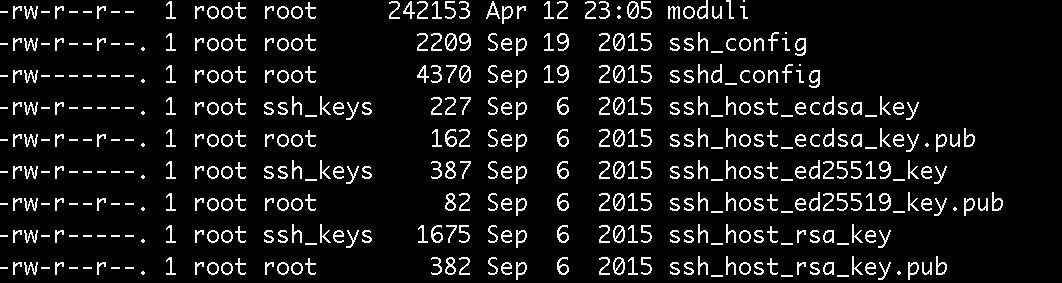
So let’s bring the OS X version of randquote.sh up to date, since the previous instructions only covered Linux users. Please make sure you already have Randquote v1.0, BASHv4 and GNUsed already installed and working. If you do not please follow the steps outlined here, https://www.catracing.org/hendrb/os-x-installing-gnu-sed/.
We will need to install and test cowsay ( I am installing via homebrew, if using another method, you may skip this step.).
Launch your terminal.app, and using a privileged account, Home brew does not work from root, or using sudo.
# brew install cowsay
Once this is finished we can test cowsay, use either of the 2 methods (I think method 2 is more fun.)
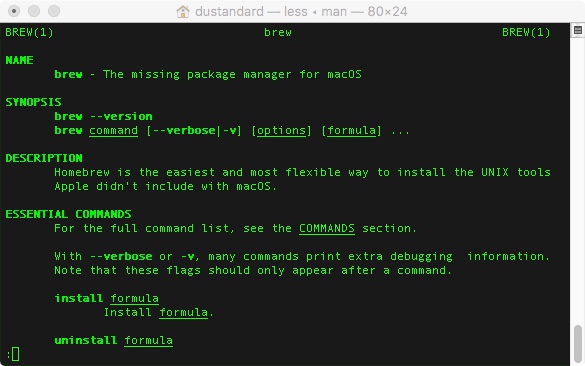
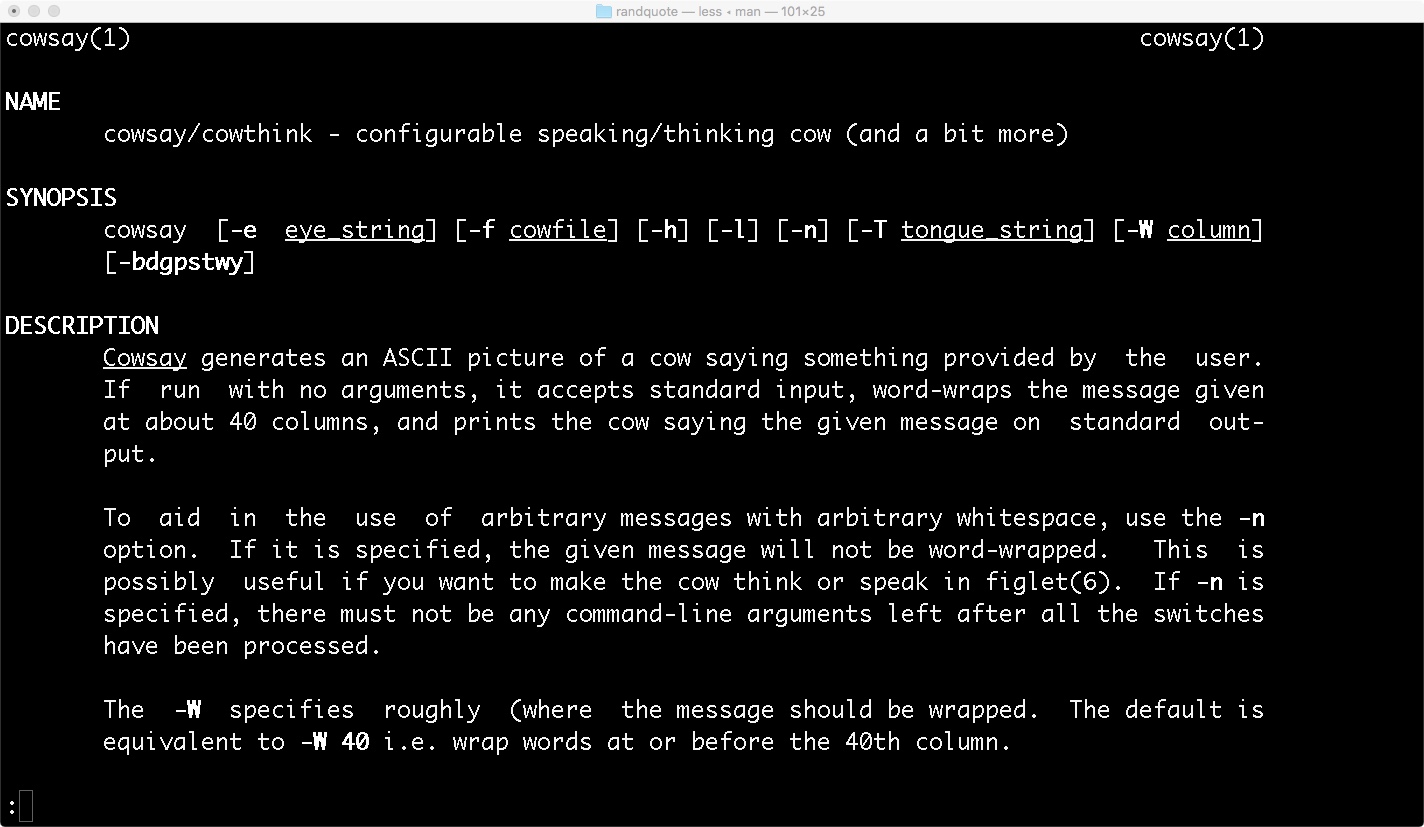
$ man cowsay
If cowsay is successfully installed, you should now see the man page displayed.
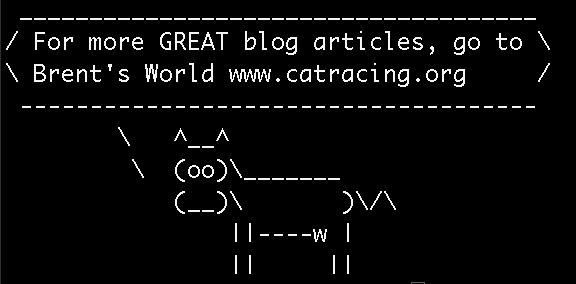
Let’s now go ahead and throw something at cowsay, and see what happens
$ cowsay “For more GREAT blog articles, go to Brent’s World www.catracing.org”
If cowsay is successfully installed, you should now see the following displayed.
Now that we know cowsay is installed and working, can go make modifications to bring randquote.sh up to v1.1 on your Mac.
Add the following under the original copyright message, and above the note for MacOS X, <CR> denotes a carriage return, if you are cheating by using copy and paste, you will need to remove them. If you are hand typing the script, simple skip over them.
#
# RandQuote v1.1 (C)22NOV2015 by Brent Hendricks
# Added the ability to display quotes through cowsay.
# cowsay is written by Tomy Monroe (tomy@nog.net)
<CR>
Below the MacOS X note, and above the ## Get Terminal Width comment add the following. Functions must be written before the main routine of your script.
COWSAY=0
<CR>
## Get Options
<CR>
while getopts “c” OPTION
do
case $OPTION in
c)
COWSAY=1
;;
esac
done
<CR>
Next we will cursor down to the ## Read Quote from Quote file, and add the following.
After gsed -n “${RECORD},+5p” $QUOTATIONS > $TEMP_QUOTATION
Highlight and copy the following, gsed -e :a -e “s/^.\{1,${TERMWIDE}\}$/ &/;ta” -e ‘s/\( *\)\1/\1/’ $TEMP_$
Delete the line and add the following.
<CR>
if [ $COWSAY -eq 0 ]
then
Paste the line you cut from above. ‘gsed -e :a -e “s/^.\{1,${TERMWIDE}\}$/ &/;ta” -e ‘s/\( *\)\1/\1/’ $TEMP_$’
else
cat ${TEMP_QUOTATION} | cowsay
fi
The rest of the file remains untouched. The entire listing should look like this.
1 #!/bin/bash4
2
3 # BASH script to display RANDOM QUOTE and center text depending on terminal width.
4 # BASH script and quotation taken from CNET Amiga 2 AREXX PFILE
5 # AMIGA Version Copyright 1992 Jim Selleck and Beverly James Products
6
7 # BASH Script and blog article (C)24MAY2015 By Brent Hendricks
8 # Scirpt and Quotes are public domain, the accompanying BLOG may only be used with permission.
9 # Contact brent.hendricks@catracing.org if you wish to republish the article.
10 # Please visit Brent’s World @ www.catracing.org\hendrb
11 #
12 # RandQuote v1.1 (C)22NOV2015 by Brent Hendricks
13 # Added the ability to display quotes through cowsay.
14 # cowsay is writen by Tomy Monroe (tomy@nog.net)
15
16 # NOTE: In order to make this script function properly with LINUX a compatibility
17 # checking routine was added. If you are using OSX you MUST download and install GNUsed
18 # The easiest way to do this is to install HOMEBREW.
19 # HOMEBREW can be installed by going to www.brew.sh
20 # Once installed use $brew install gnu-sed
21 # This script will automatically use GNU-sed (gsed)
22 # if using OSX.
23
24 COWSAY=0
25
26 ## Get Options
27
28 while getopts “c” OPTION
29 do
30 case $OPTION in
31 c)
32 COWSAY=1
33 ;;
34 esac
35 done
36
37 ## Get Terminal Width
38 TERMWIDE=”$(tput cols)”
39 ((TERMWIDE = TERMWIDE -3 ))
40
41 ## Set file path
42 QUOTATIONS=~/shell_scripts/logon/randquote/quotations
43 TEMP_QUOTATION=~/shell_scripts/logon/randquote/temp_quotation
44
45 ## get number of quoatations
46 QUOTES=”$(cat $QUOTATIONS | wc -l)”
47 ((QUOTES = QUOTES / 5))
48
49 ## Pick A Record
50 RECORD=$((RANDOM % $QUOTES *5))
51
52 ## Read Quote from QUOTATIONS file
53 gsed -n “${RECORD},+5p” $QUOTATIONS > $TEMP_QUOTATION
54
55 if [ $COWSAY -eq 0 ]
56 then
57 gsed -e :a -e “s/^.\{1,${TERMWIDE}\}$/ &/;ta” -e ‘s/\( *\)\1/\1/’ $TEMP_QUOTATION
58 else
59 cat ${TEMP_QUOTATION} | cowsay
60 fi
61 ## Remove $TEMP_QUOTATION scractch file
62 # rm -f “${TEMP_QUOTATION}”
63 exit 0
Save the file, and let’s go ahead and test our modifications to make sure everything works.
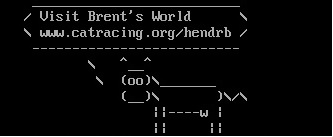
First let’s see if we can output the quotation through cowsay. At your shell prompt, type.
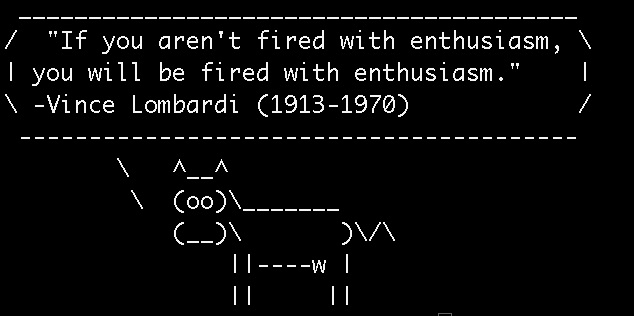
$ ./randquote.sh –c
If everything is working as advertised, you should see the following output.
Just to be on the safe side, let us also test the nomal output without the –c option. At your shell prompt enter the following.
$ ./randquote.sh
If everything is working correctly, we will now replace randquote 1.0 with v1.1. At your shell prompt type.
$ cp ./randquote.sh ~/shell_scripts/logon/randquote