
Retro Technical – 4 Ways To Use 80 Column Mode in CG Term on Mac OS and Linux.
Retro Technical – 4 Ways To Use 80 Column Mode in CG Term on Mac OS and Linux.
Ok, I’ll admit it, With the exception of my Holga photo walk, there has not been much new content on Brent’s World lately. So i to get some new content out there I thought I would put together some info on questions I have been asked lately about CG Term, a PETSCII telnet client for macOS, Linux, and Windows that can be used to connect to the many retro 8-bit Commodore BBS that have begun popping up on the net. If you are interested in connecting to some Commodore BBSs, check out No Carrier! The Lost World Of The BBS blog that I wrote back in October of 2014.
CG Term comes precompiled for Windows users, but must be compiled for macOS and Linux. If you are a macOS user, I put together a blog on Compiling CGTerm 1.7b2 source code for mac OS X (NOTE: the instructions require the Homebrew repository, and XCode Command Line tools to be installed.)
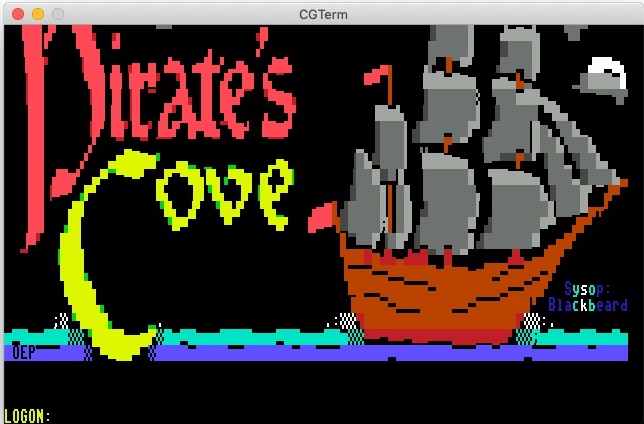
So is the purpose of this blog to resurrect two blogs from the past? No! While the majority of Commodore BBSs were run on Commodore 64s (CNet 64, and IMAGE BBS), and native to 40 columns. Commodore 128 bulletin boards did exist such as C-Net 128, Centipede etc. Which natively supported 80 Columns. You can see the difference bellow. I have been asked how to get CG Term into 80 columns as it is not switchable on the fly inside the application. So in this blog I will present 4 ways of switching CGTerm to 80 columns.
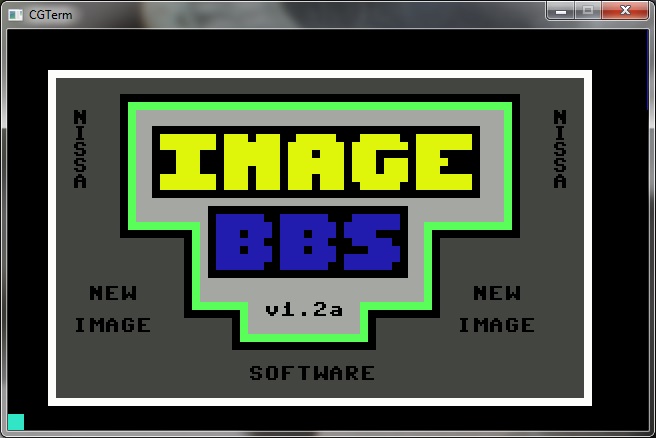
BBS Login Screen
METHOD 1 – USING THE -c option from the shell.
The easiest way of using 80 columns is to launch it from the shell prompt using the -8 option. This method will launch CG TERM in 80 column mode. The setting will not be persistent, you will again be in 40 Column mode the next time you launch CG Term.
The format of the command is cgterm -c<column>, either 4 for 40, or 8 for 80.

METHOD 2 – Modifying the ~/.cgtermrc file
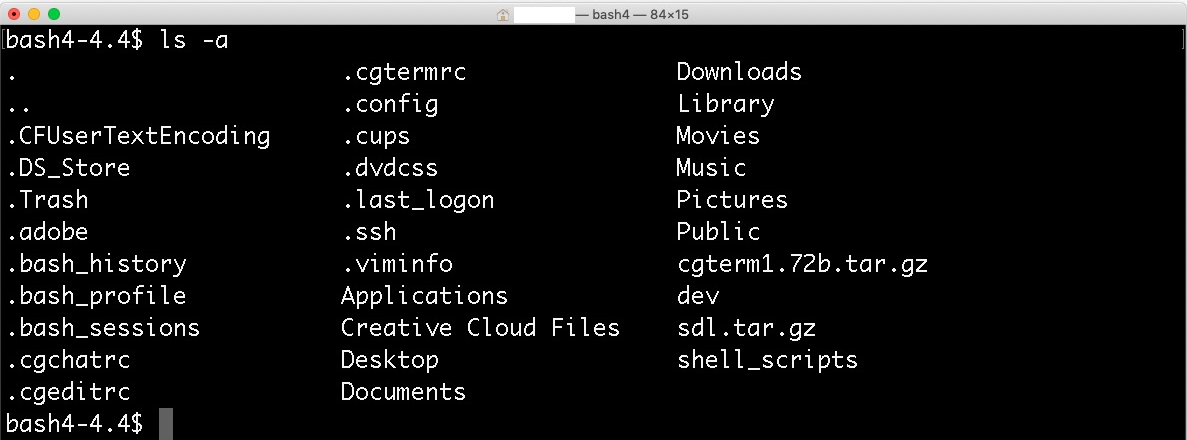
If you want to make configuration options permeant in CG Term, you can modify the .cgtermrc file located in your home directory (/Users/<users short name> or ~/ . The . in front of the file name makes macOS X or Linux hide the file from a normal short or long directory listing. In order to see hidden files, you must use the -a option when listing files.
So, let’s take a look at ~/.cgtermrc file
At your shell prompt, type nano .cgtermrc <ENTER>
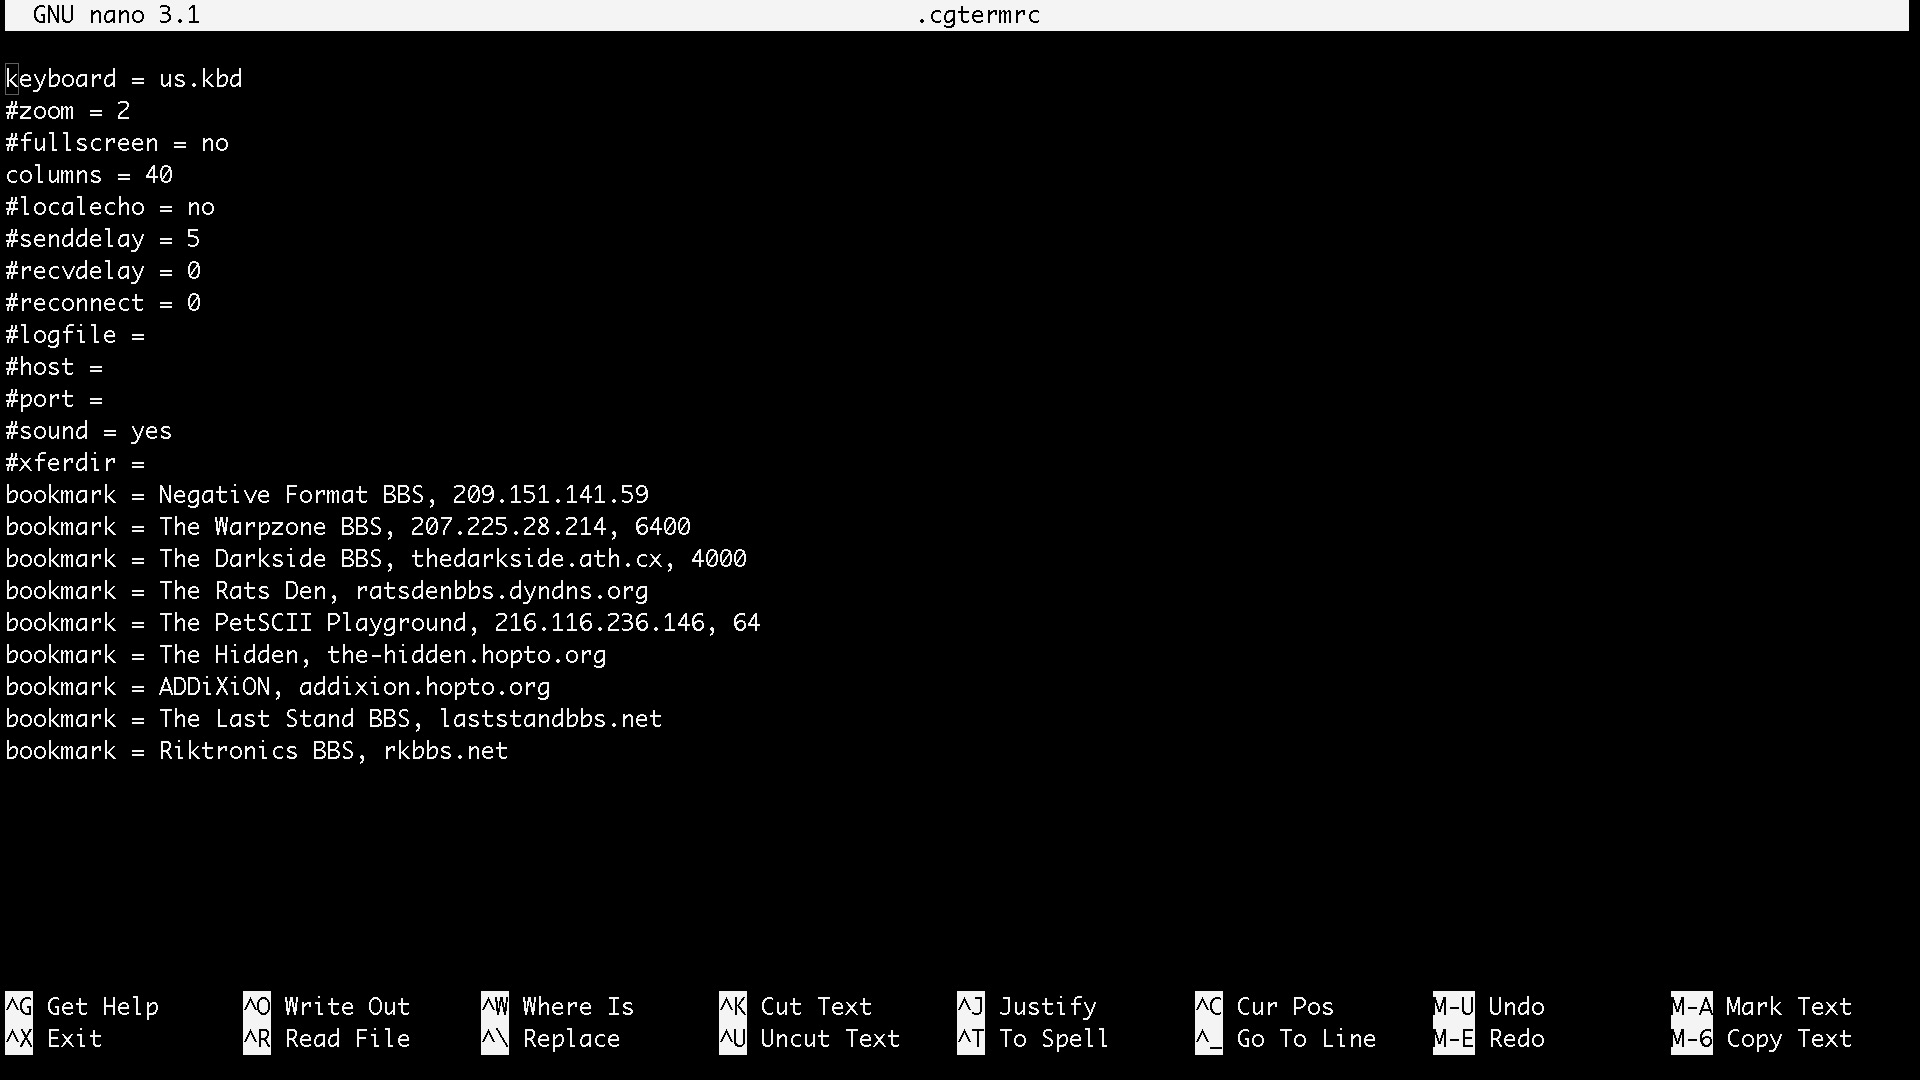
The directive you are looking for is the columns = x line (By default this is pounded out, simply remove the # and enter the value of the column mode you wish CGTERM to launch with, the value can be 40 or 80. With the directive pounded out, it will default to 40. You may override this value by using method #1 demonstrated above.
METHOD 3 – Creating Aliases.
We can also use the command alias feature of macOS X and Linux to be able to use simple commands to execute the cgterm application with the -4 or -8 option as described in METHOD 1. I have demonstrated the alias command in a previous blog Making Your OS X Terminal Look And Feel More Like Linux. Creating aliases is very simple, but if you want them to be persistent you will need to modify your ~/.bash-profile. Do this by executing the command below.
$ nano ~/.bash_profile
Take a look at my .bash_profile below, the alias’s I have created for CG Term are.
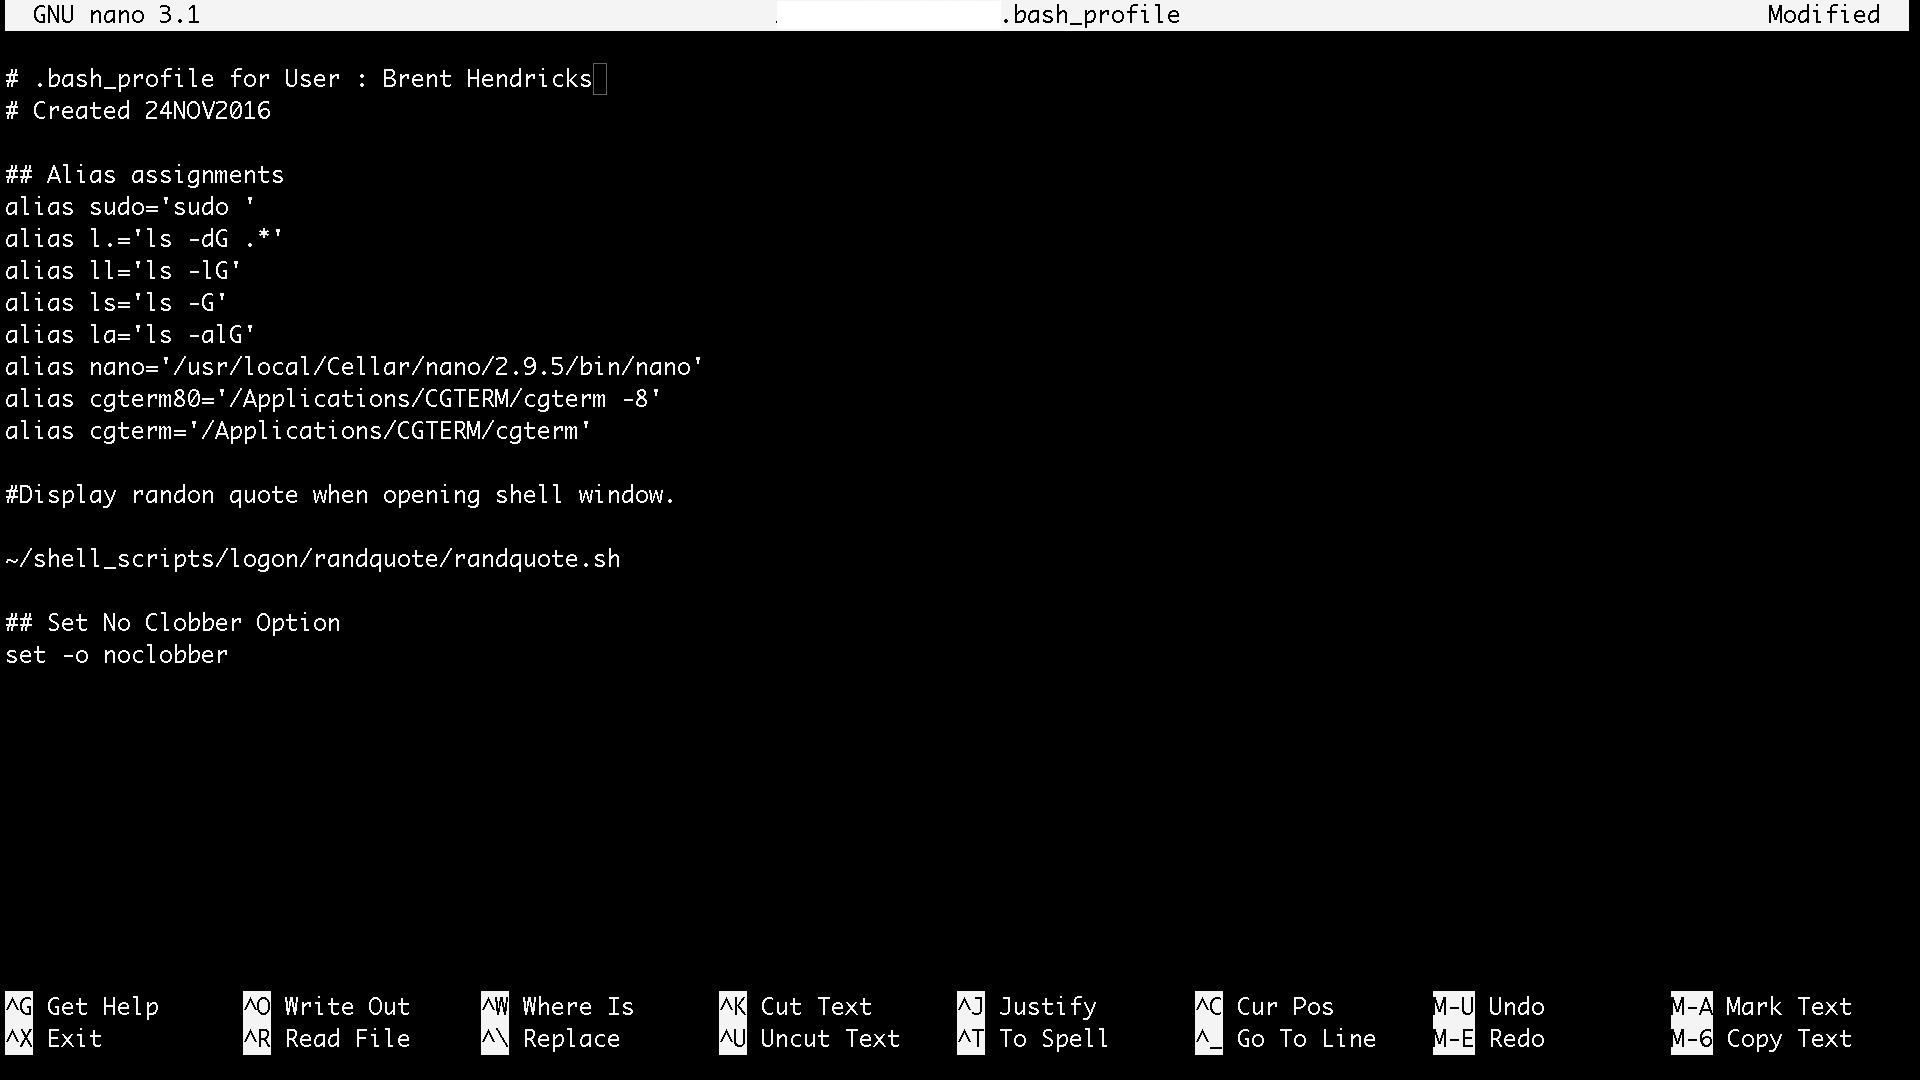
Cgterm80 (Launches CG Term in 80 column mode.)
Cgterm (Launches CG Term with default settings (40 column mode)
The reason I added the standard cgterm alias, is so I could launch CG Term regardless of what directory I was in, without adding it to my $PATH statement.
To add the aliases to your bash_profile, simple copy what is in the screen shot. The format of the alias command is.
Alias <command to be typed at the shell prompt>=’<command + options>’
So, alias la=’ls -alG’ creates an alias so when I type ‘la‘ at a command prompt it is the same as if I typed ‘ls -alG‘
You can enter aliases at the command prompt, but they are not persistent, which is why we add them to your login script. If you wish to create alias’s for ALL users, you can add them to the /etc/.bashrc file which is similar to .bash_profile except it is executed for all users.
METHOD 4 – Creating scripts
The fourth and final method to be able to easily launch CG Term in either 40 or 80 columns would be to create a bash script to set the -8 or -4 option. Shell scripts are easy to make so let’s get started.
First make sure we are in a directory that we have the permissions to write to, your home directory is a good place to start. In my case I have a dedicated development directory called dev. So, go ahead and change to your home directory (Even if you might already be there.)
$ cd ~
Verify you’re are in your home directory by using the pwd command. You should see the following.
$ pwd
You should see the output below.
/Users/<users short name>
Load your favorite text editor, in my case nano. For this demonstration we are assuming that ~/.cgtermrc has either not been modified, or that you have the default still set to 40 columns.
$ nano cgterm80.sh
Type the following into the text editor.
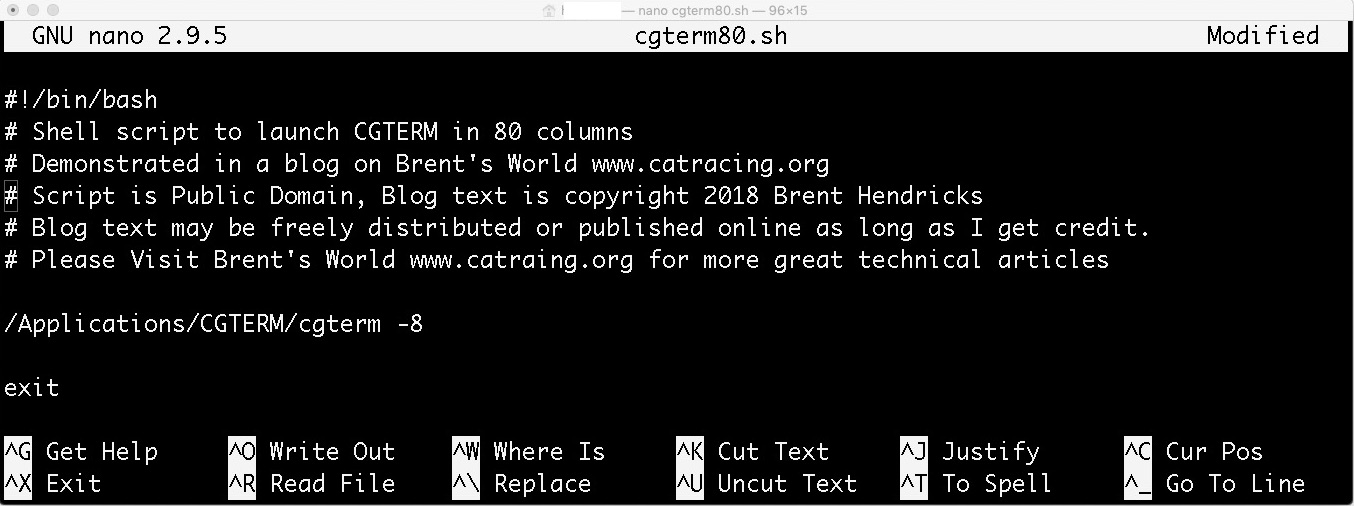
You may leave out the obvious blog add, but please keep the copyright line. Once you have finished typing in the script, hold down the CTRL key and Press X.
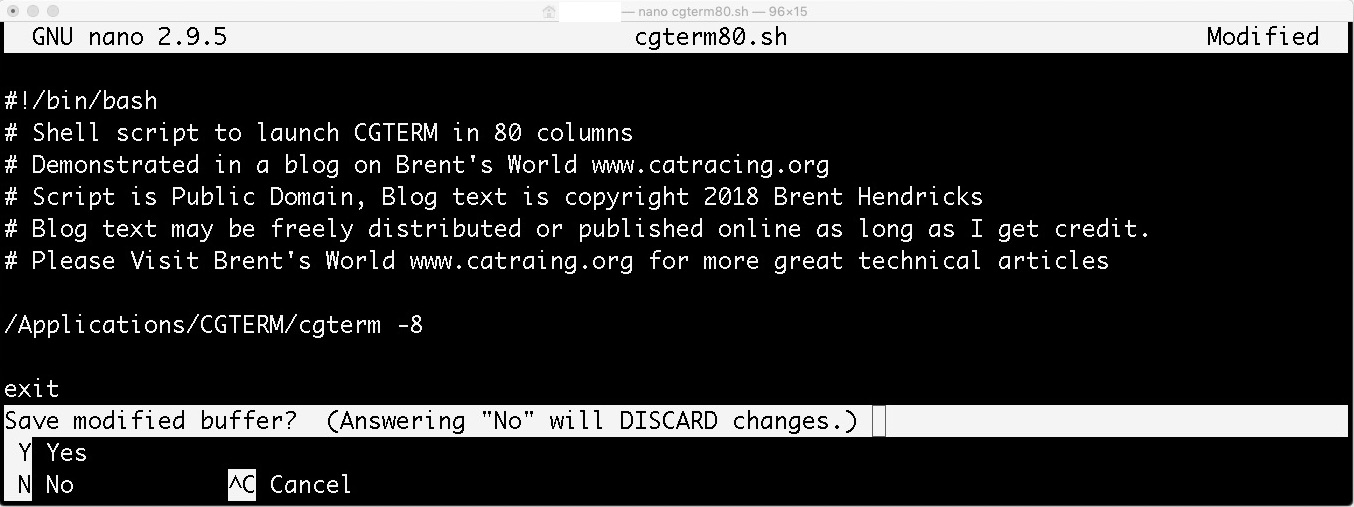
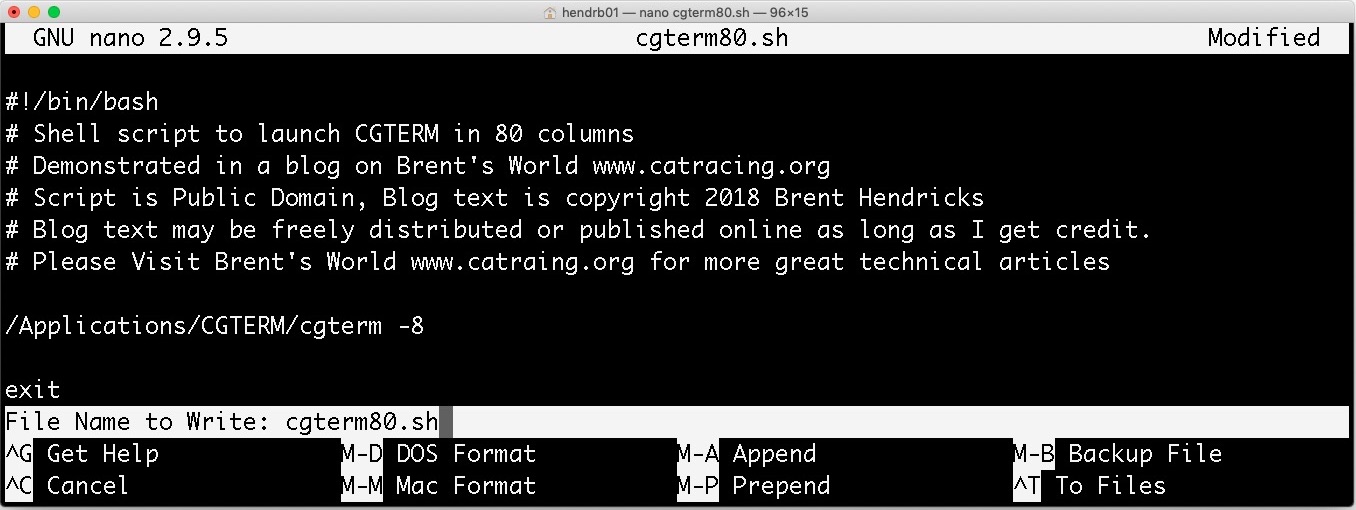
Press the Y key to save the text file.
Press Enter to keep the filename cgterm80.sh
Before we can test our script, we will need to make it executable, to do this we will use the chmod command. At your shell prompt type.
$ chmod 776 cgterm80.sh
If you now type ls -l (Long listing), you will see the permissions are now -rwxrwxrw- This gives the owner (YOU), and group execute privileges, while everyone can only read or write to the file.
-rwxrwxrw- 1 <owner> <group> 391 Dec 2 05:10 cgterm80.sh
So now comes the moment of truth. Let’s test our script! At the shell prompt type.
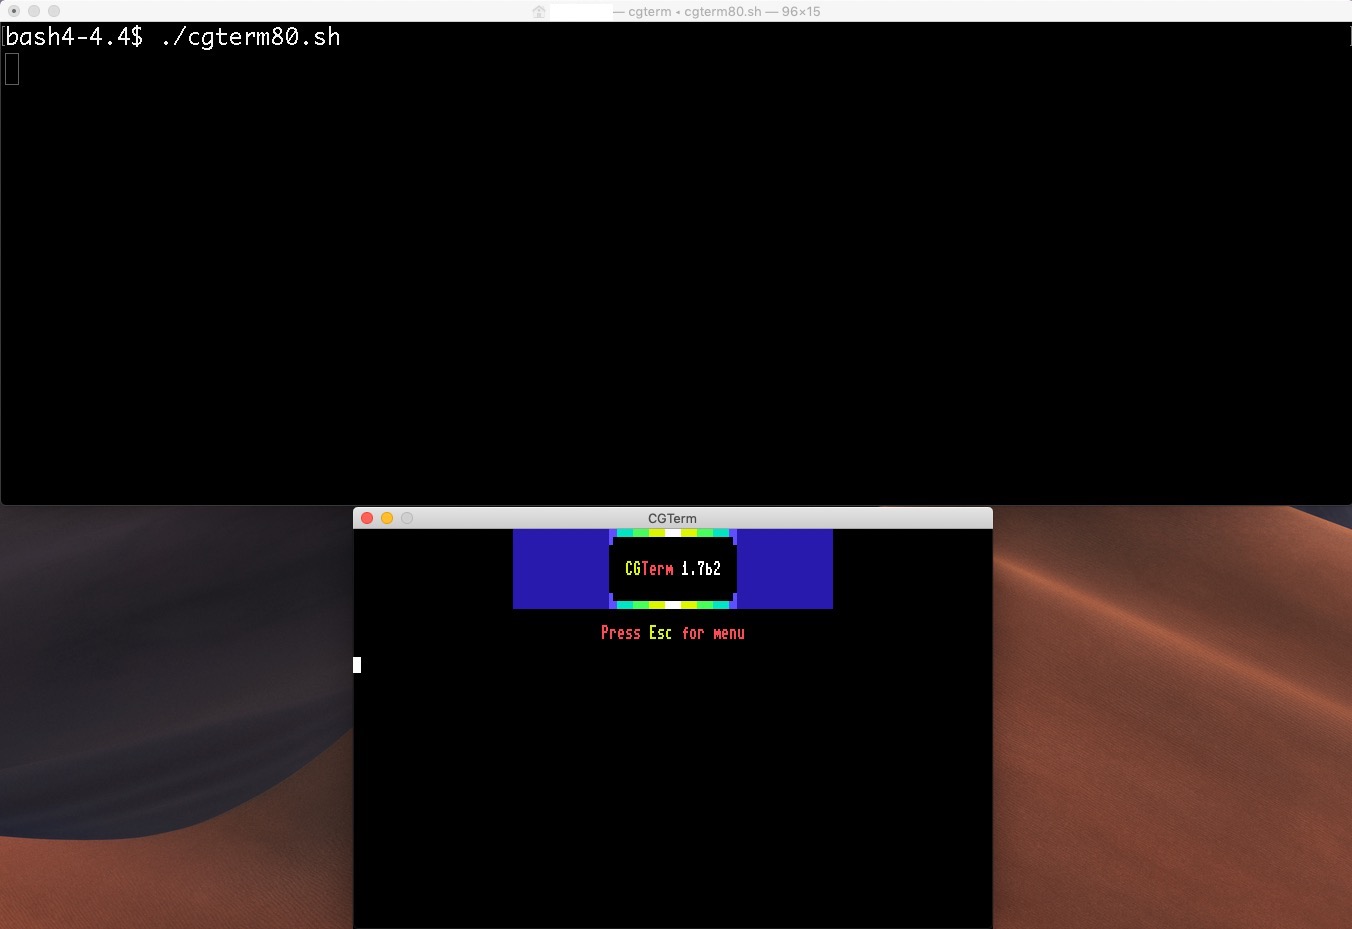
$ ./cgterm80.sh
(You need to preface the script with the ./ as your home directory (Or in my case, my dev directory), is not in my executable PATH variable. ./ tells the shell to execute the file in the current directory.)
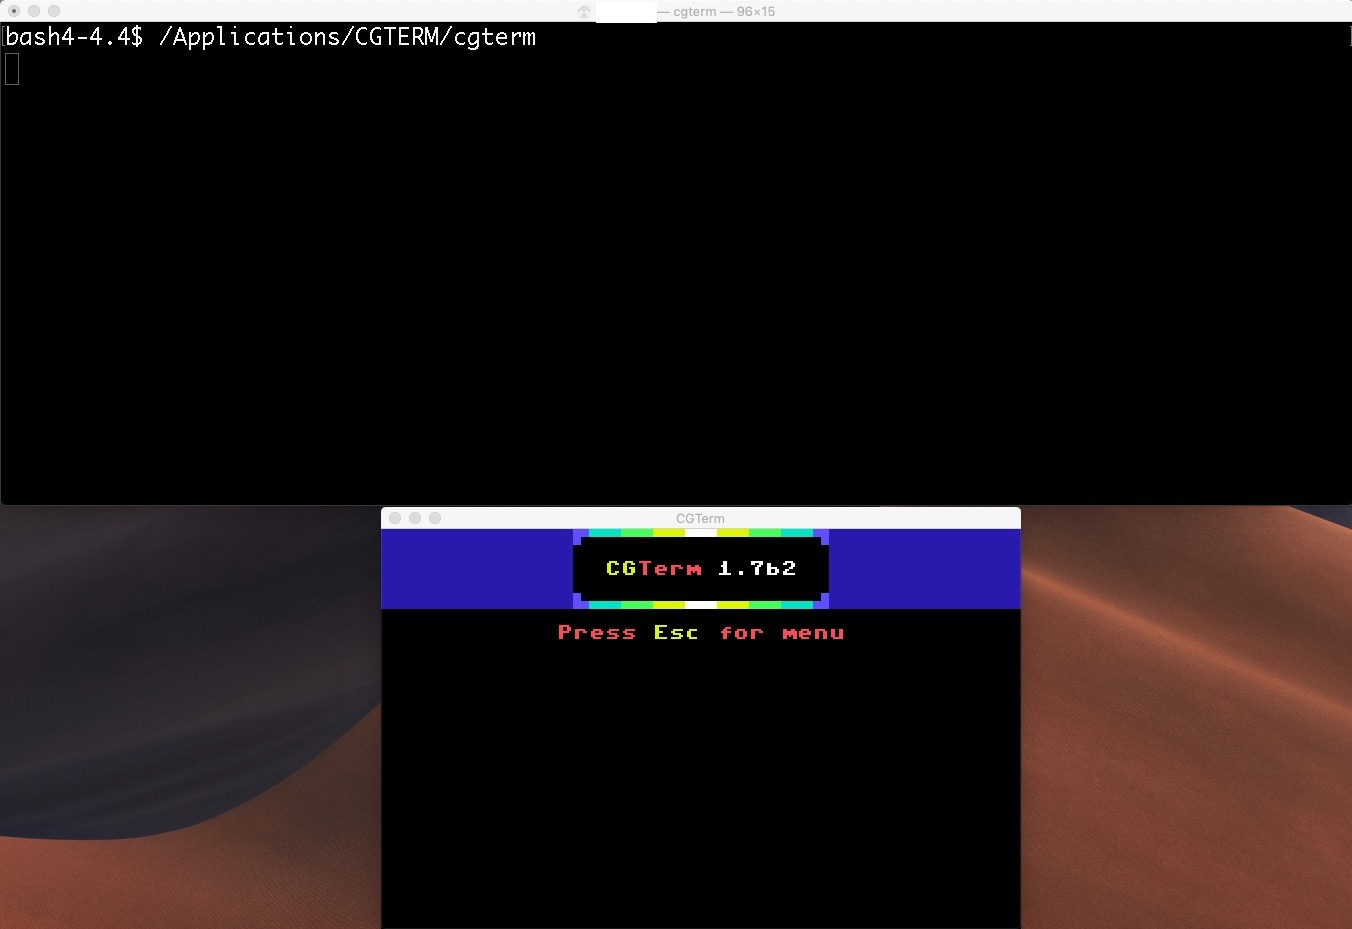
Now that we know our script works, we can either copy the script to your /Applications/cgterm directory, or place it on your desktop. If you are connecting to a 40 Column BBS use the normal CGTERM application, if you need 80 columns, use the script.
There is one more trick I will demonstrate and that is how to configure your shell script icon to be able to executed by double clicking.
- Locate the script cgterm80.sh
- Right click cgterm80.sh
- Select Open With
- Select Other
- Scroll down until you see the Utilities folder and double click
- Scroll down until you see Terminal.app (It will be dimmed)
- Select All Application in the Enable drop drown
- Place a check mark in Always Open With.
- Click Open
You can now launch CG Term in 80 columns just by double clicking on your script.
I hope you enjoyed this months technical blog, if you wish to be notified of new content by email, CLICK HERE!
Credits: The BBS login screens used in this blog belong to:
80 Column Login Screen. The Pirates Cove TELNET – pc.servebbs.org 6405
80 Column Login Screen. Commodore IMAGE BBS – cib.dyndns.org 6400
hey, any luck with building cgterm under macOS catalina?
i get it to load, except it just displays a blank window. I am not sure if the SDL.FRAMEWORK is being shot down because of gatekeeper?
thoughts? thanks for your help.
Good morning Pat, and thanks for visiting my blog. I do not believe I was ever able to compile 1.7b on High Sierra and have not tried on Catalina. However it will work if you compile it under Sierra and copy it over after installing SDL through Homebrew. There is a compiled cocoa package v1.8 that I have available for DL at the following link. https://www.catracing.org/hendrb/forum/viewtopic.php?f=33&t=27472. Give that a look and try connecting to bbs.catracing.org 6400.