 Technical – Top 5 Utilities You Should Have For Your Mac.
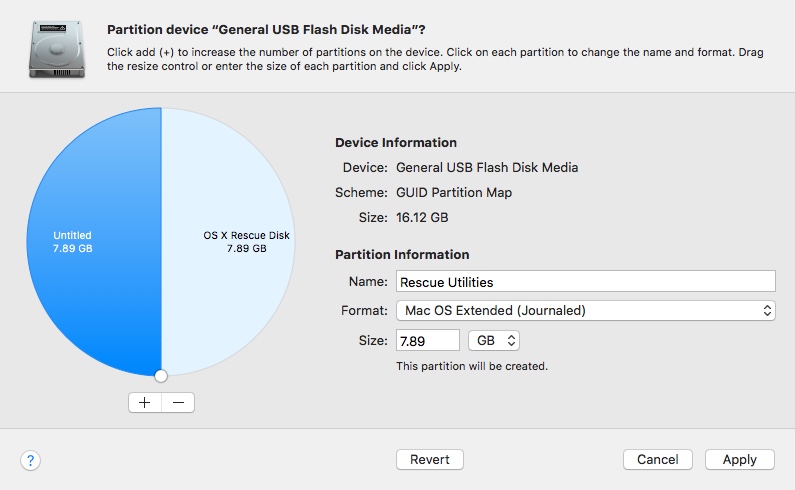
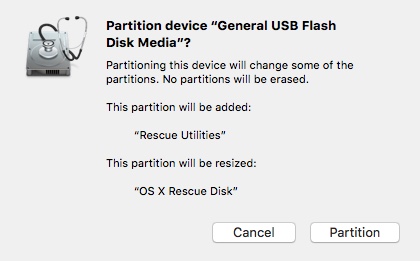
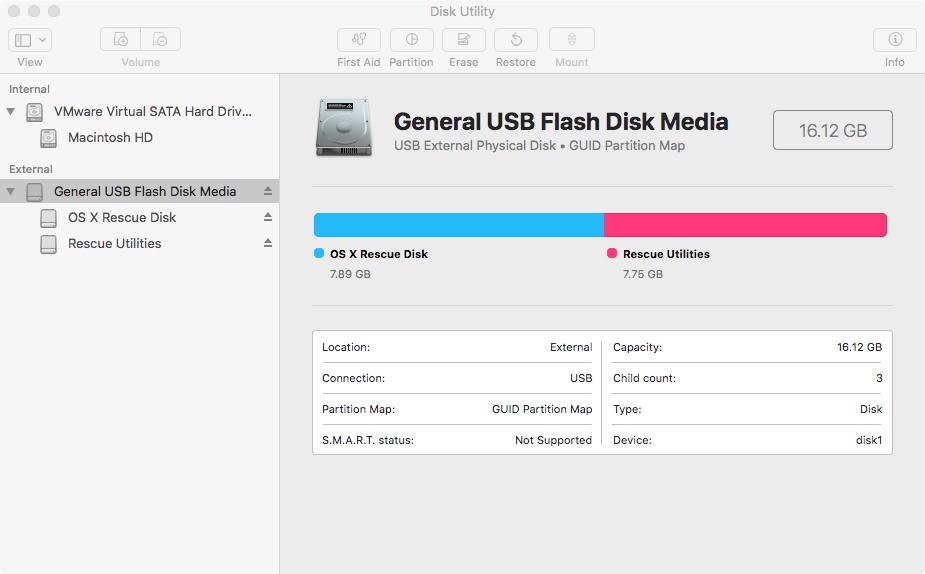
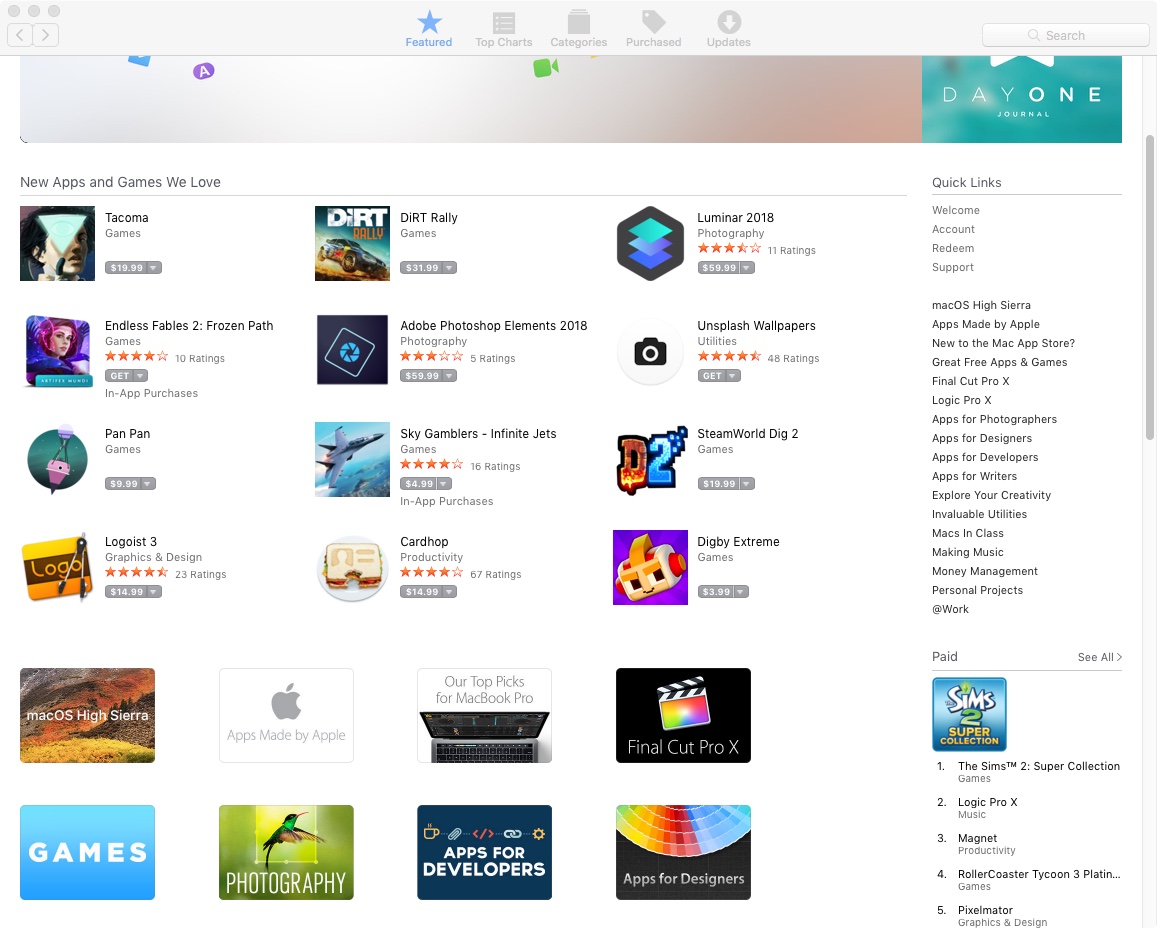
I cannot believe I’m doing this! I loathe the internet’s fascination with creating top 5 lists for anything! Next, I will be reporting that dogs and cats are in fact living together. In our last article, I recommended buying a bigger USB thumb drive than needed for your rescue USB stick where you could create a second bootable partition containing useful troubleshooting utilities. What utilities do I actually recommend you putting on this partition or on your Mac for normal use? In this week’s quickie article, I will rate, and briefly describe my top 5 macOS X utilities. All the utilities listed here are 3rd party utilities, so they must be purchased separately. So let’s get started!
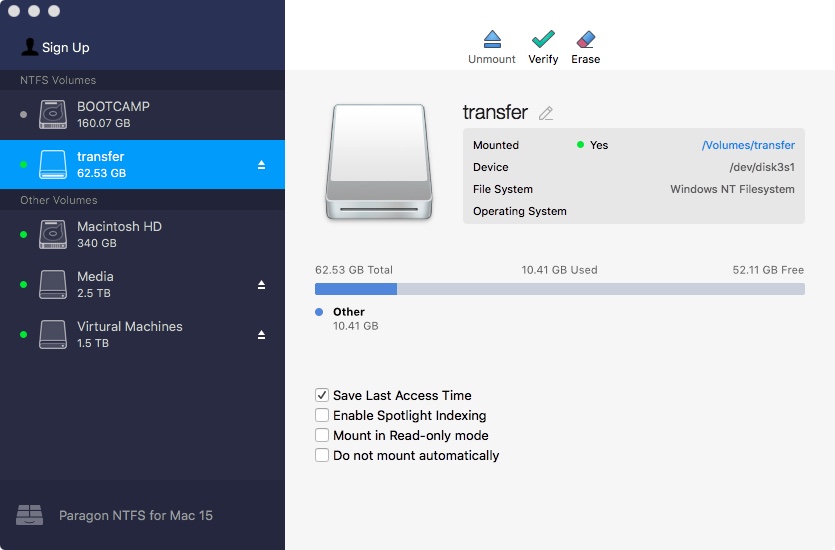 Paragon NTFS – While mac OS X gives us the ability to read NTFS formatted drives and partitions, it does not allow us to write to them. There is a way of enabling writing to an NTFS partition, but it is slow, buggy, and you may lose data. Neither APPLE nor myself would recommend that method for anything other than an emergency solution. This is where Paragon NTFS comes in. Paragon NTFS allows reading, writing, and formatting/partitioning NTFS drives. You may download and try Paragon NTFS for 10 days, after the 10 day trial you must pay $19.95 to continue using it. Paragon’s website is found here: https://www.paragon-software.com/ufsdhome/ntfs-mac/
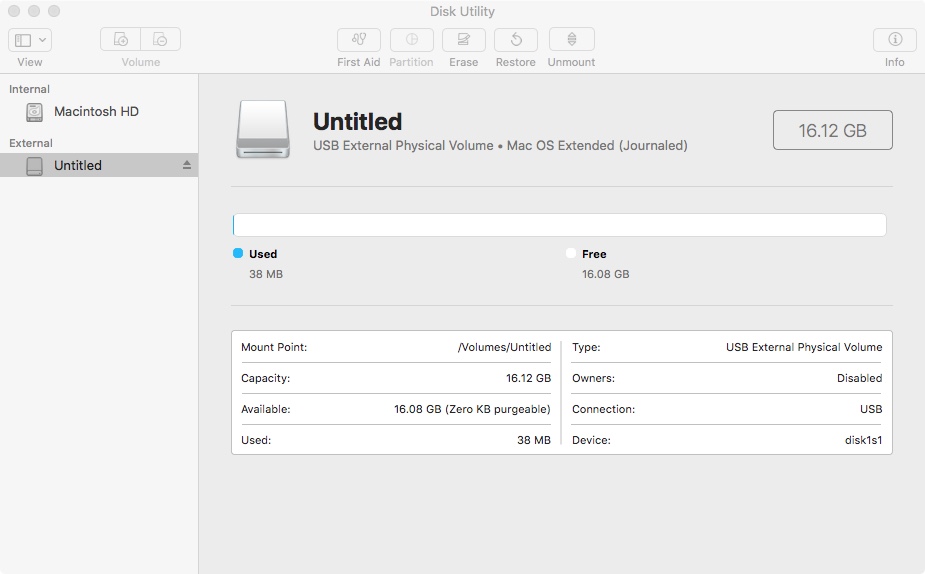
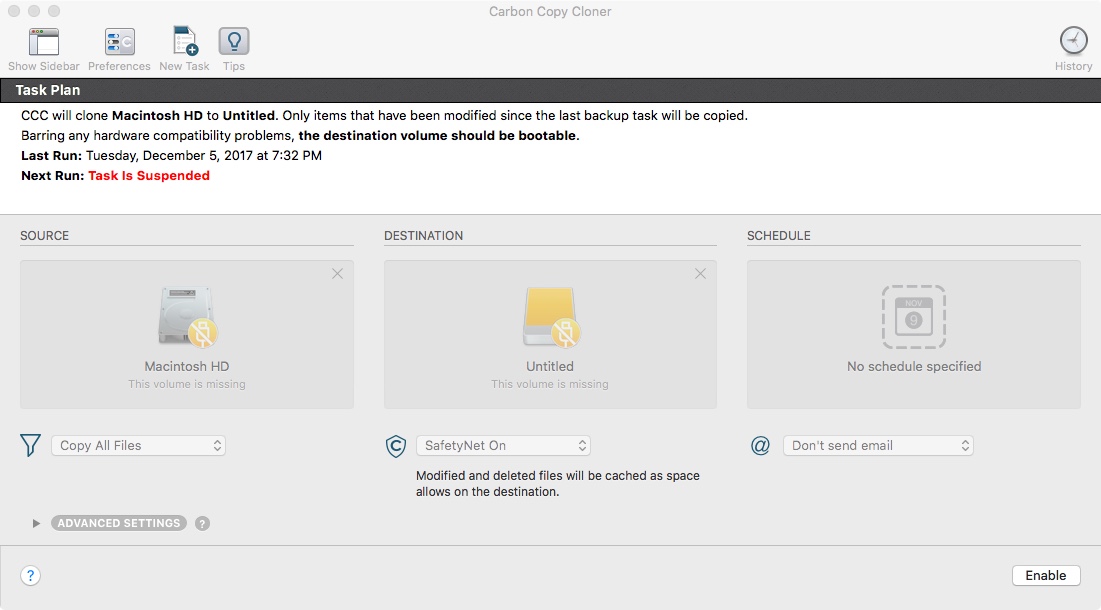 Carbon Copy Cloner – This next utility in my arsenal also highlights an annoyance I have right now with Apple. Did you know that Apple’s own Disk Utility does not like you image devices that are formatted with the new Apple File System (APFS)? Seems hard to believe. Right? So what are we to do if you need to image a disk that has been formatted or converted to APFS? This is where Carbon Copy Cloner ‘CCC’ comes in and why I recommend that you put this on your rescue utility disk. Carbon Copy Cloner has full APFS support for disk images. Great for transferring or making backup copies of your system disks! Carbon Copy Cloner by Bombich Software is available with a 30-Day trial license, and costs $39.99 for a full license. You can download directly from Bombichs’ web site here: https://bombich.com/.

Stuffit Expander – If you have been a Mac user for a long time, you would know that Stuffit Expander is the Mac equivalent to Winzip. Stuffit ‘.sit’ archives was the predominant file compression standard before .dmg. Stuffit could also uncompress .zip archives before mac OS X had the ability built in. So if the most common format of compressed files in the wild today are now .dmg or .zip files, why would I need to concern myself with Stuffit Expander? Stuffit Expander has the ability to decompress a wider range of formats than mac OS X can by default, one of those archive types is .rar files. Which I have a time or 2 had the need to uncompress. Since Stuffit Expander is free, why not add it to your tool bin? Stuffit Expander can be downloaded from SmithMicro at http://my.smithmicro.com/stuffit-expander-mac.html, or the Mac App Store
Sophos Anti Virus – I would include Sophos Anti Virus to protect yourself from malware, and to run a virus scan on drives without Sophos installed that you may not want to boot off of.
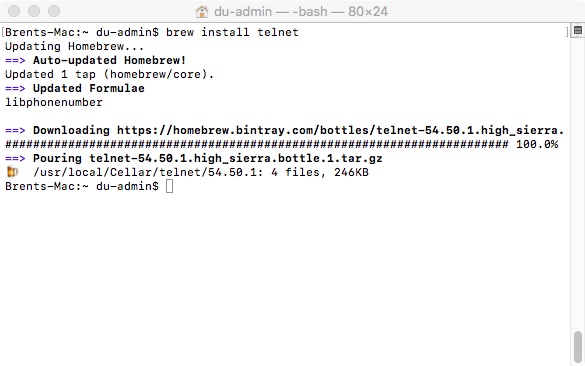
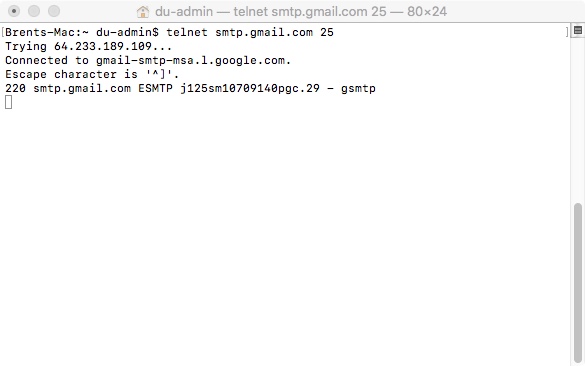
While not exactly a utility I highly recommend installing the Homebrew repository, which will allow you to add additional functionality to your shell environment, such as htop shown below. Additionally you might want to think about installing telnet which was removed from macOS X 10.13 due to security reasons (telnet is a non-encrypted protocol and sends everything in clear text, including passwords. However it can be very useful for testing ports and protocols, as I am demonstrating below connecting to Google.com’s SMTP server.
Thank you for taking the time to visit Brent’s World, Please come back next week for another great article about Korea. I visit the Mr. Toilet House Toilet Museum in Suwon!
Don’t miss out on new context when it is posted, register today to be emailed when a new blog is posted. To register click HERE!