I thought you packed it!
Working around lost or forgotten gear.
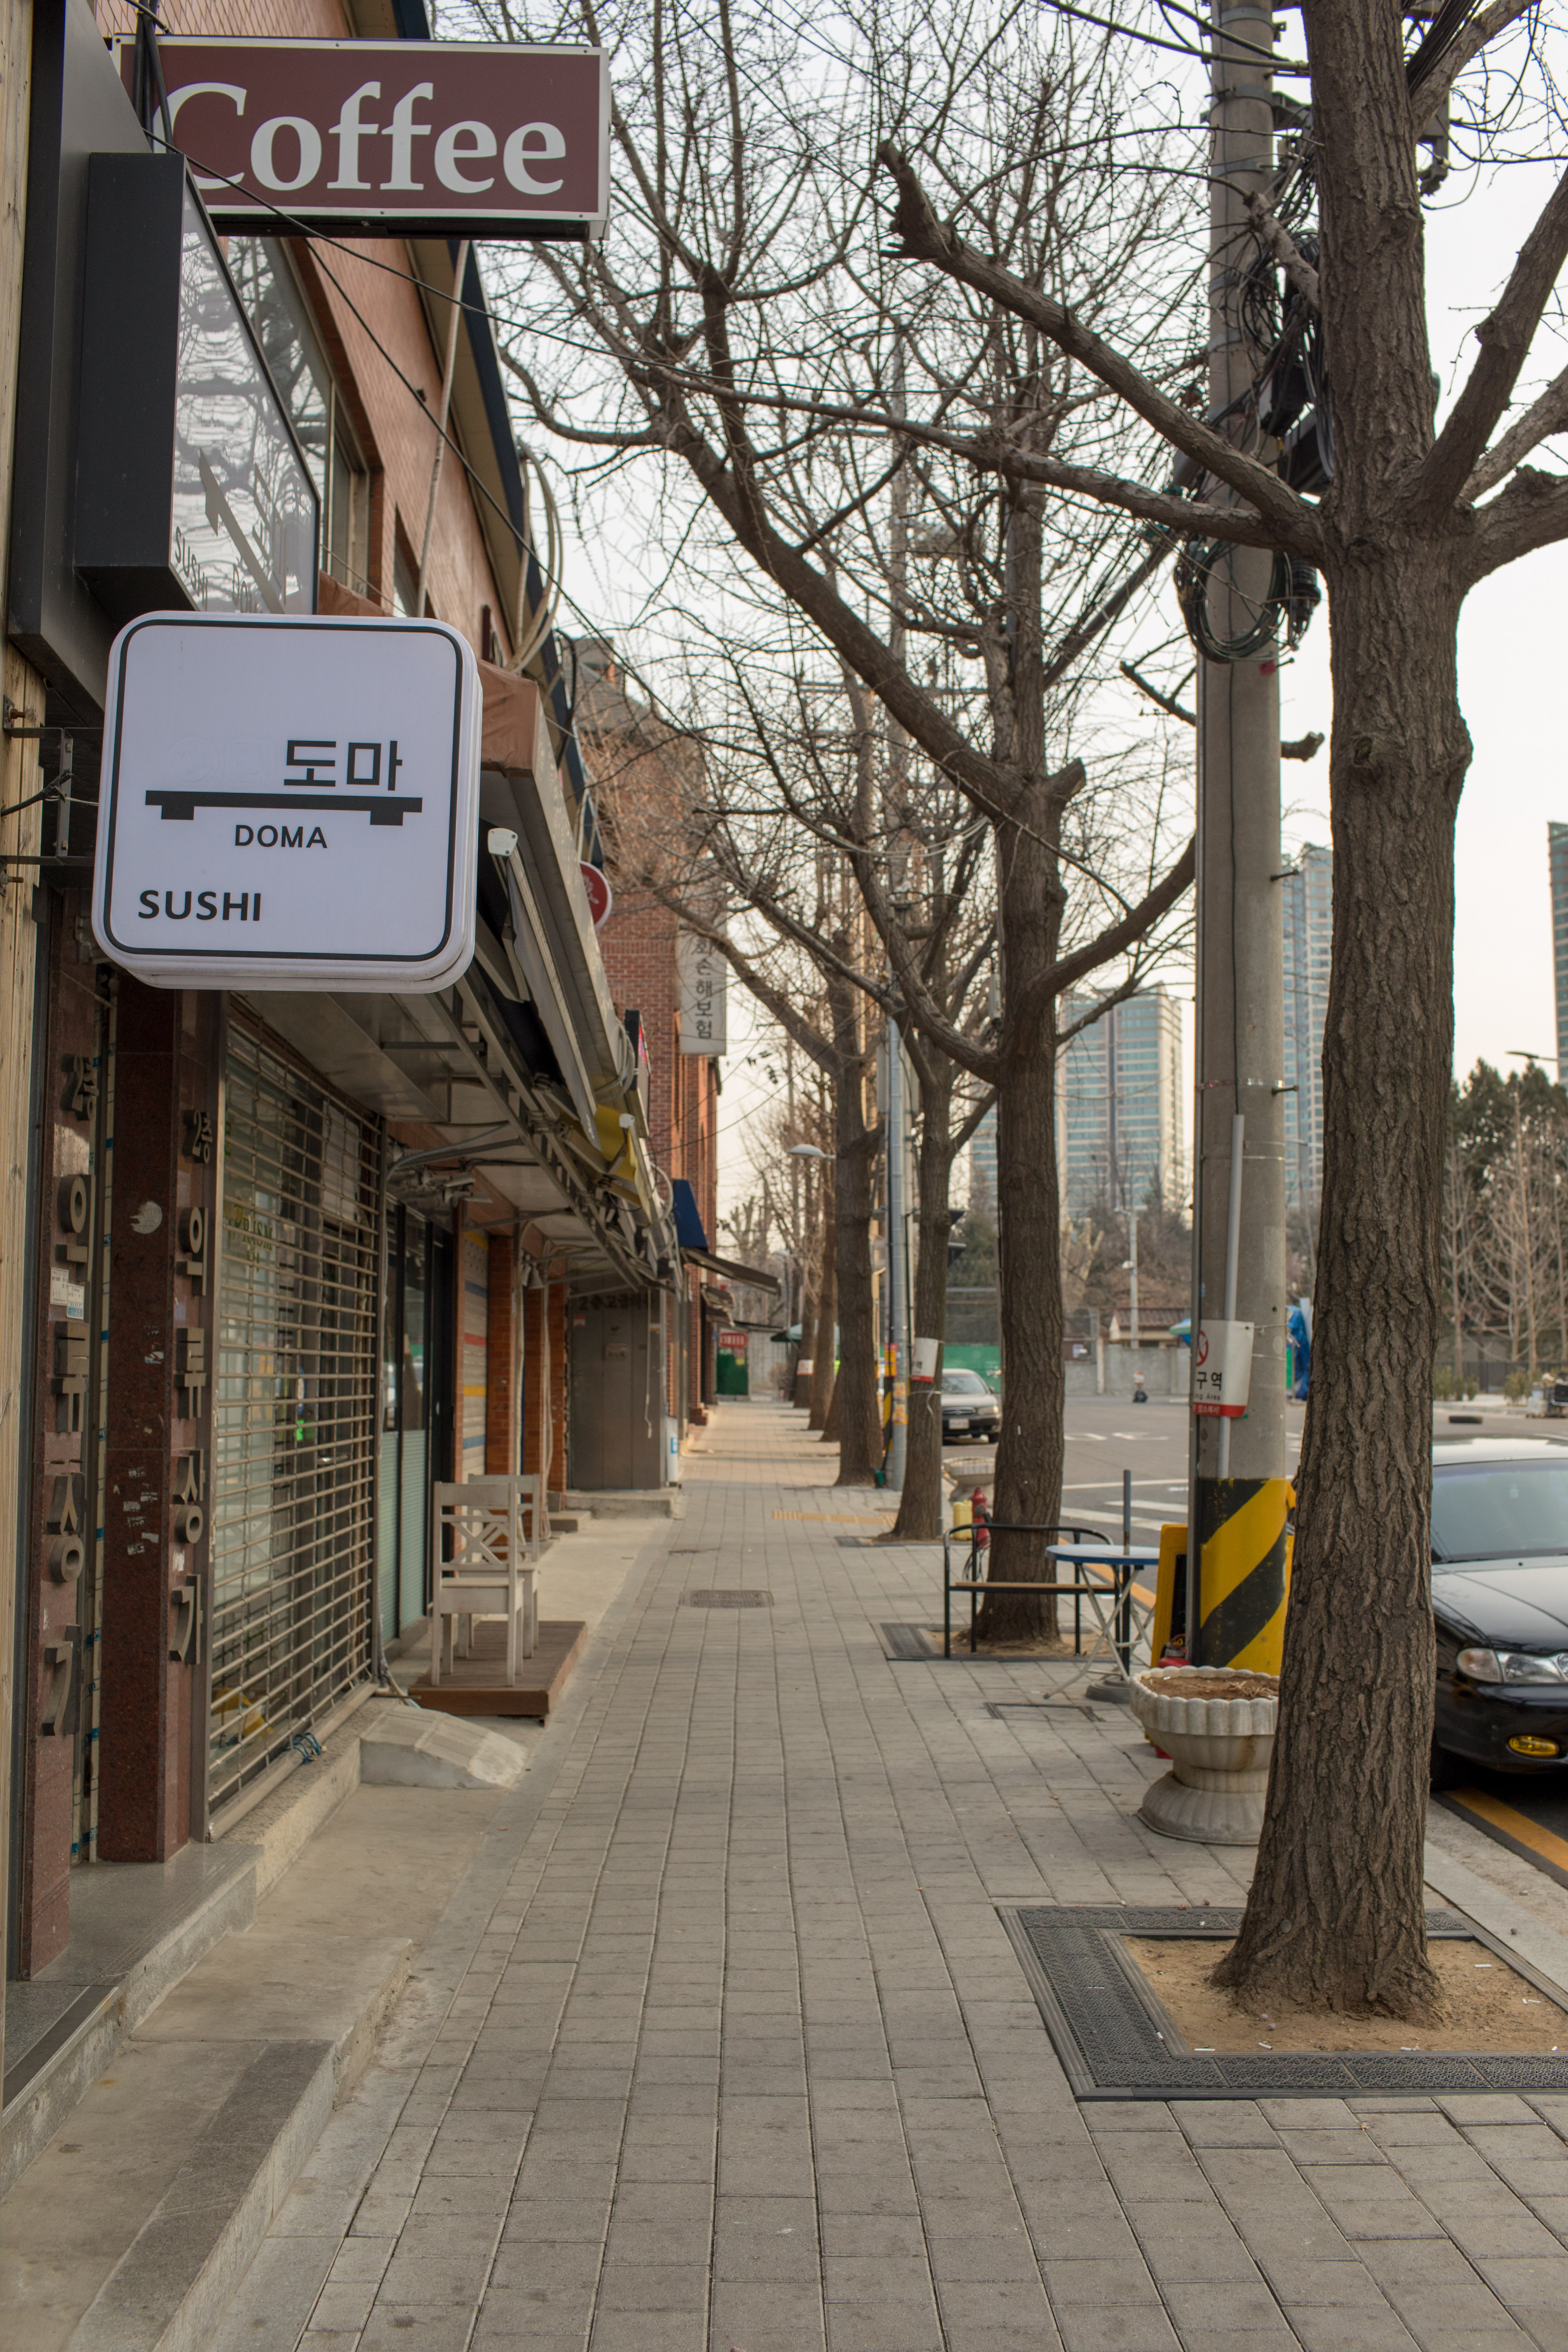
Over the years, I have done a remarkable job of not leaving important camera gear at home on the myriad of trips I have taken. I am not sure what it was about our recent pension trip that put an end to that streak. Perhaps I was just so wrapped up in trying to get prepared for driving in Korea for the first time that my head just wasn’t in my photography.
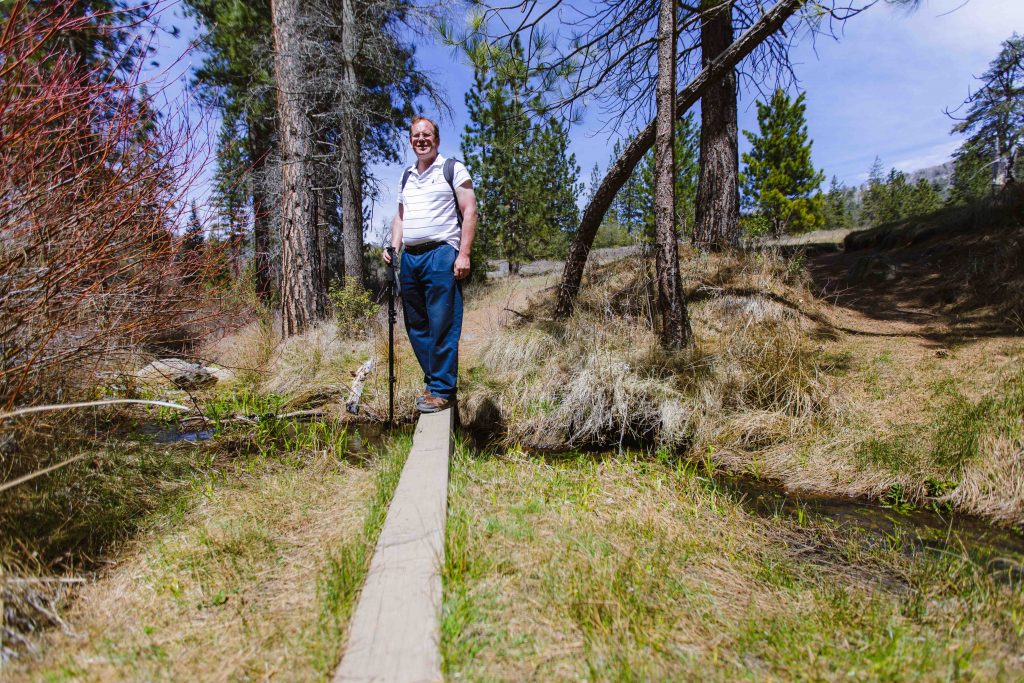
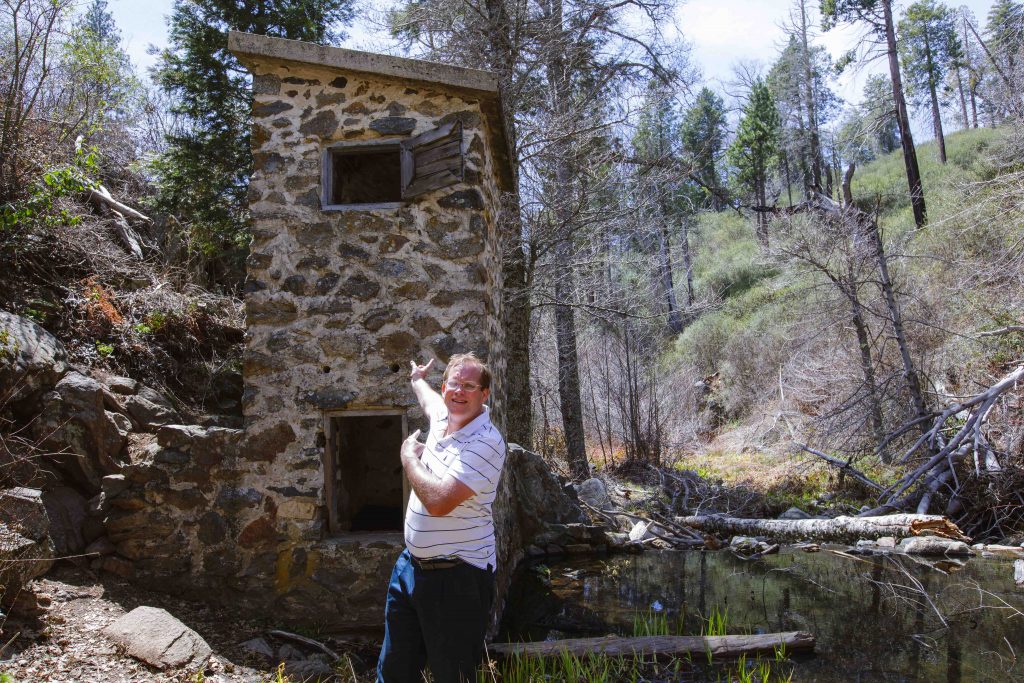
In total, here is what got left behind. My Canon Speedlight, (Which would have been very helpful at the Samtam Art Mine), the power adaptor for my battery charger (I hope those 3 spare batteries hold out!), and most importantly the tethering/data transfer cable (As I had planned to blog daily, this was a serious setback!). Since Canon went to USB 3 on their cameras and use a micro USB3 connector I couldn’t just run into a convivence store and buy a spare.
Forgetting the Speedlight was no big deal, just bump up the ISO. Even if I get extra noise in my photos I am taking pictures of an abandoned mine, so at worst I am going to end up with a film grain look, that won’t hurt the content anyways, so that is what I ended up doing.
So how did I end up getting the pictures off my camera? I figured I had two ways of getting my photos. The first and the simplest and was to just take the JPEGS that I capture to the 5DMKIV’s SD CARD slot. The 5D MKIII and MKIV have dual card slots that can be configured to either store RAW files to both, or RAW files to one slot and JPEGS to the other. I have mine setup to store RAW to the CF card slot and JPEG to the SD CARD slot. After this trip I may go ahead and shoot RAW to both. When I purchased my new MACBOOK PRO in April, one of the reasons I chose the older 2015 model is that it still has anSD CARD SLOT. I did have to compromise with being limited with the amount of post processing I could do in Lightroom, but I was still able to get quality content posted to the blog.
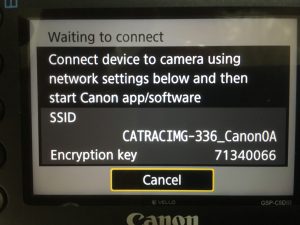
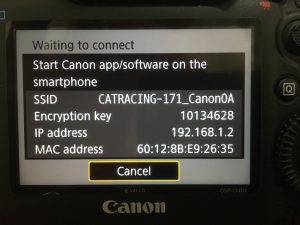
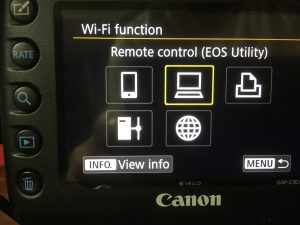
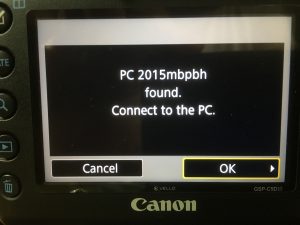
What if I needed to get access to the RAW files? The 5D Mark IV allows wireless tethering and file transfers. Thought it would have been slow, in a pinch it could be done.
How would you go about doing this?
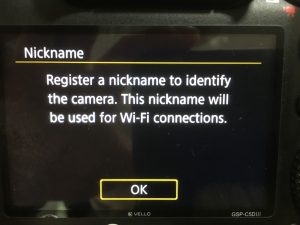
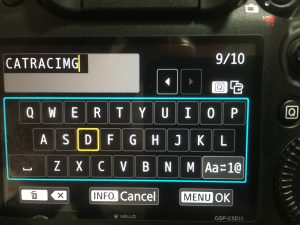
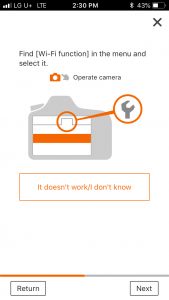
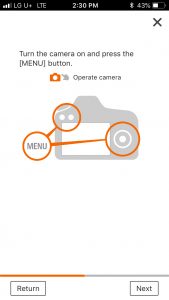
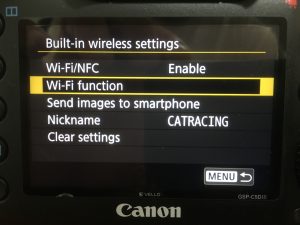
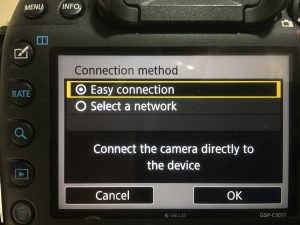
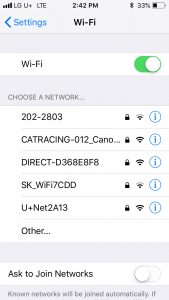
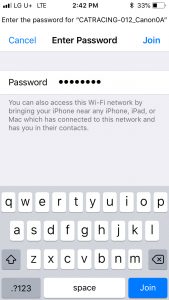
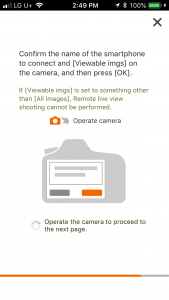
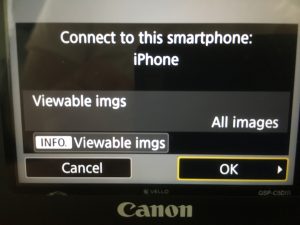
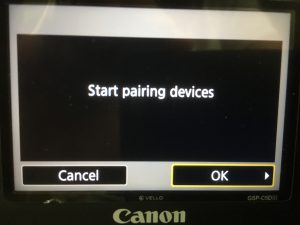
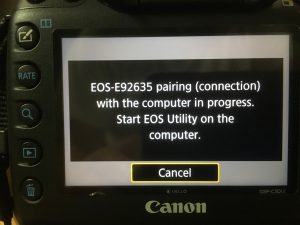
First you need to set up Wifi pairing with your computer. See our stub article on this, Wifi Pairing The Canon 5D Mark IV.
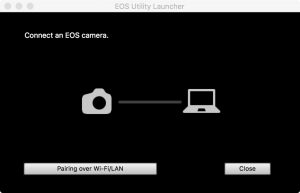
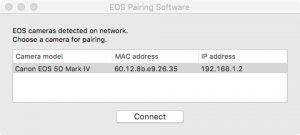
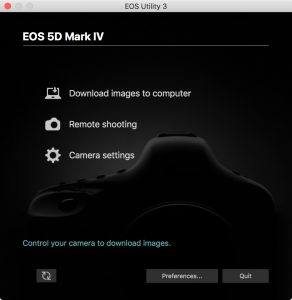
The easiest method is to use the Canon EOS Utility 3 to transfer your photos, then import them into your photo management software.
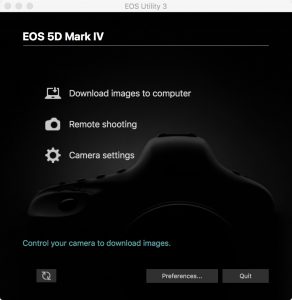
Click on ‘Download images to computer’ The following window will display and you have the following options.
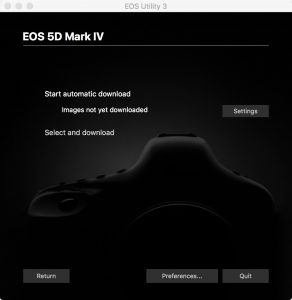
Start Automatic Download, This will automatically transfer images from your camera using the settings that can be configured by clicking the ‘settings’ button. Below are the automatic download settings you can choose from.
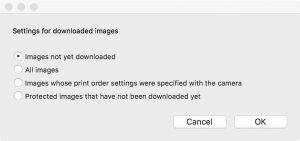
If we select the ‘Start automatic download’ option with the ‘Images not yet downloaded’ set, the computer will immediately start downloading your imaged .jpg first then RAW files
If we select and download. We will be presented with the following window where we may select which files we want to transfer.
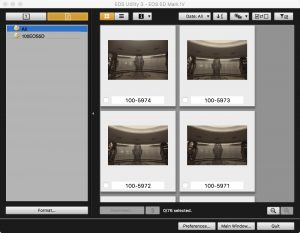
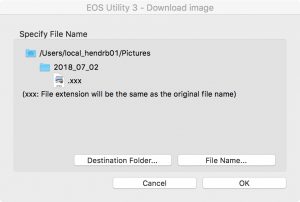
Select the files you wish to have transferred to the computer (Note: in the upper righthand corner you select which of the two memory cards you are transferring from) be sure you have the correct card selected (In my case it would be card 1 for RAW files and card 2 for JPEG) and click Download. We may now select a custom destination, or choose to change the filename, for now we are just going to leave it at its default and click OK.
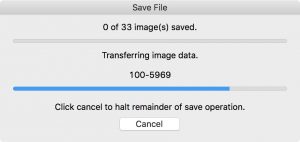
The EOS utility will now transfer our pictures to the computer where we can import them into the photo management/editing software of our choice.
As you can see, in most cases forgetting gear is not something to panic over, and certainly not something to just leave your camera in the room in disgust. Go out and shoot and work around the issues later! At worst you will need to use a different lens, a setting your not used to, or in the case of the USB cable, wait until you get home.
Next month for our technical blog we will look at another method of getting your files from your camera to your computer, through sFTP. Thank you for visiting Brent’s World and I hope you come back soon. If you want to be sure you do not miss new content, REGISTER today! You will then receive an automatic email when new content is posted.
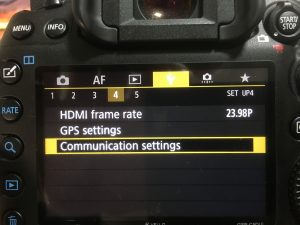
 STEP-2 Enable Wi-Fi/NFC
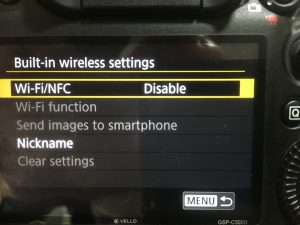


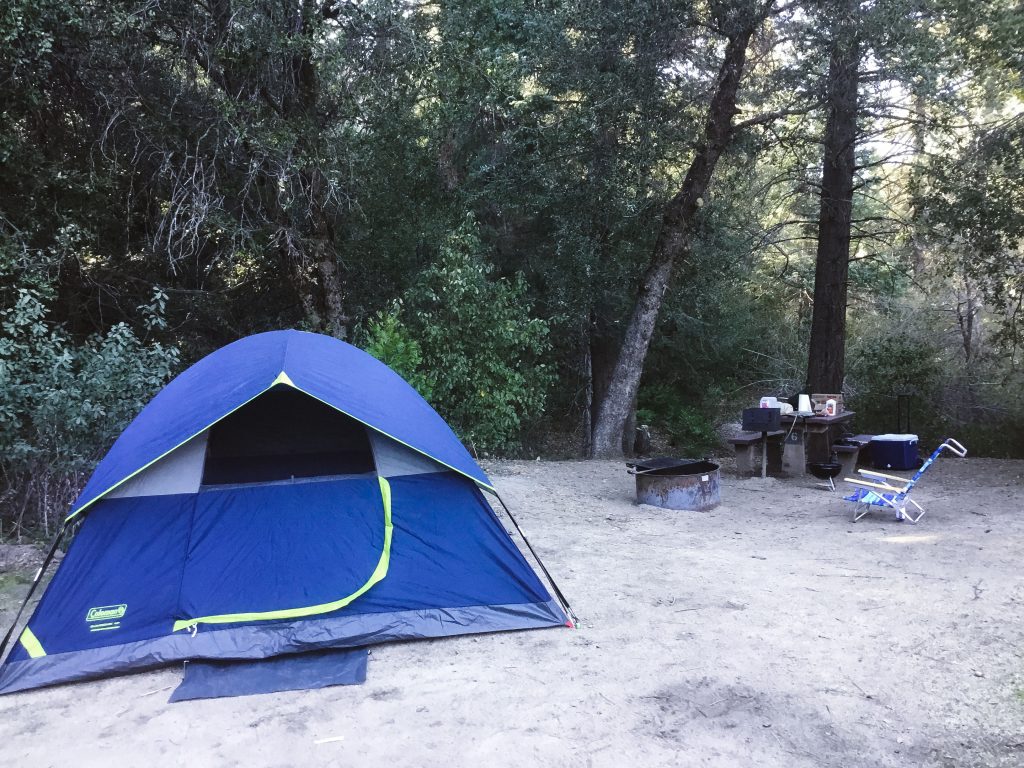
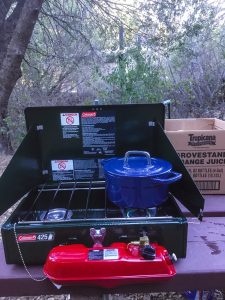
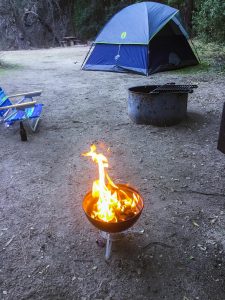
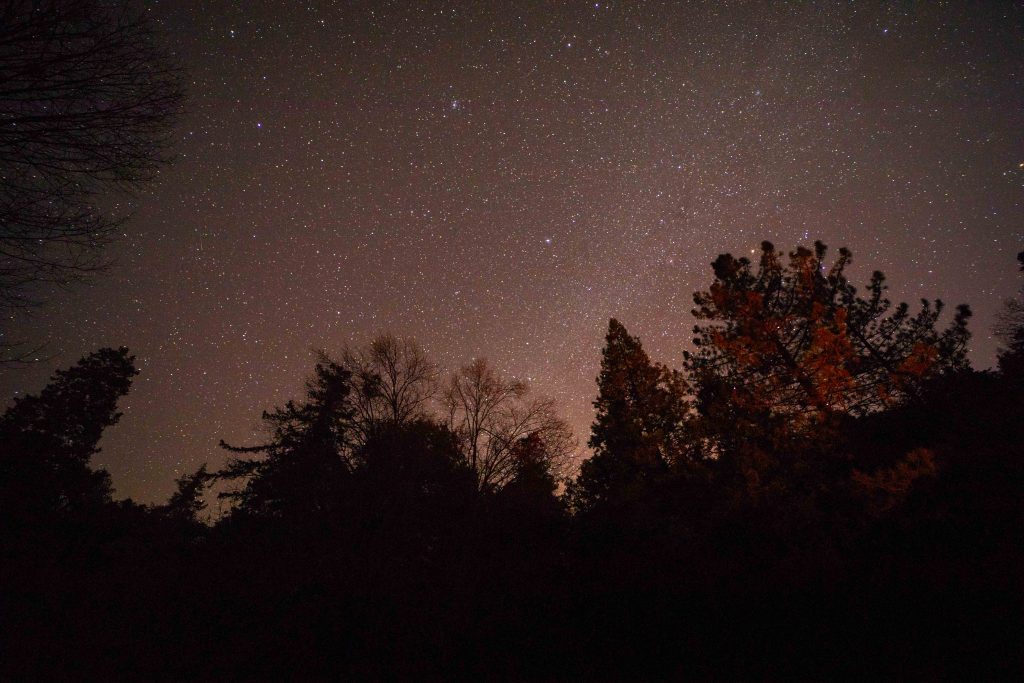
 After dinner it was time to start the camp fire and get ready to look at some stars. I did say I was here for the stars, right? Well I was not to be disappointed, at least not by the stars, because out they came!
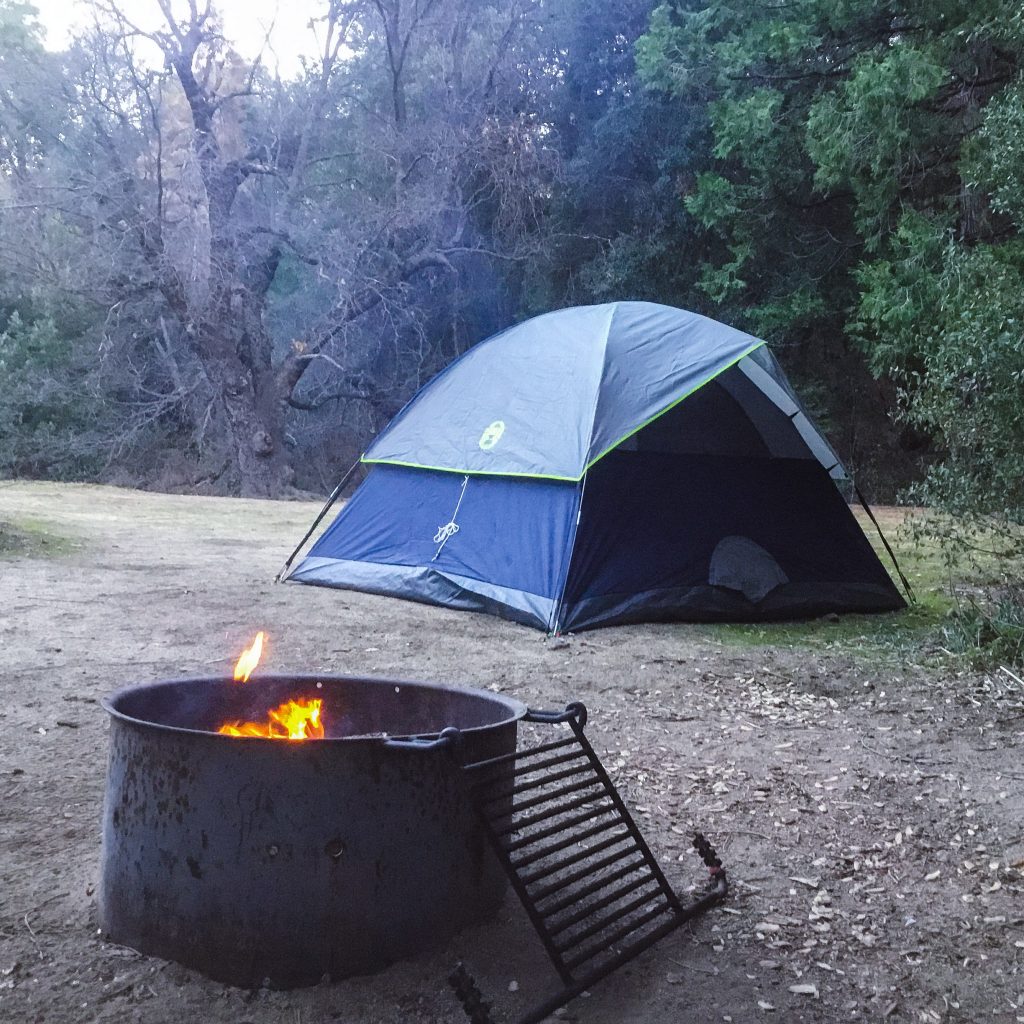

 I should also note, that one of biggest things to get used to was the amount of quiet! Coming from Korea, where there is always so much going on around you 24 /7. When you suddenly find yourself in a place where the only thing you hear is the chirping of birds, the occasional scurrying of animals, and the creek running behind your campsite, it is both wonderful, and disconcerting all at the same time!

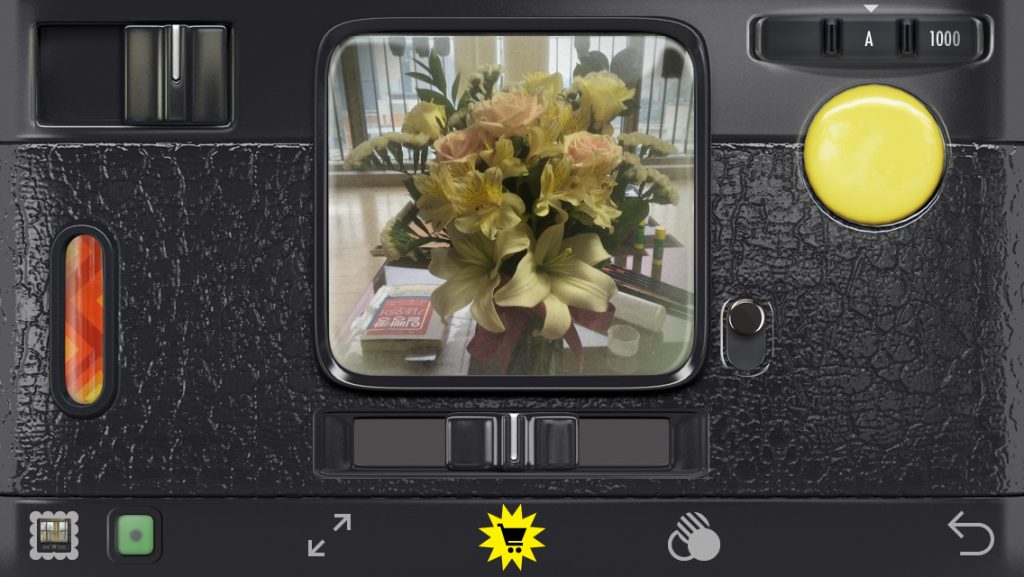
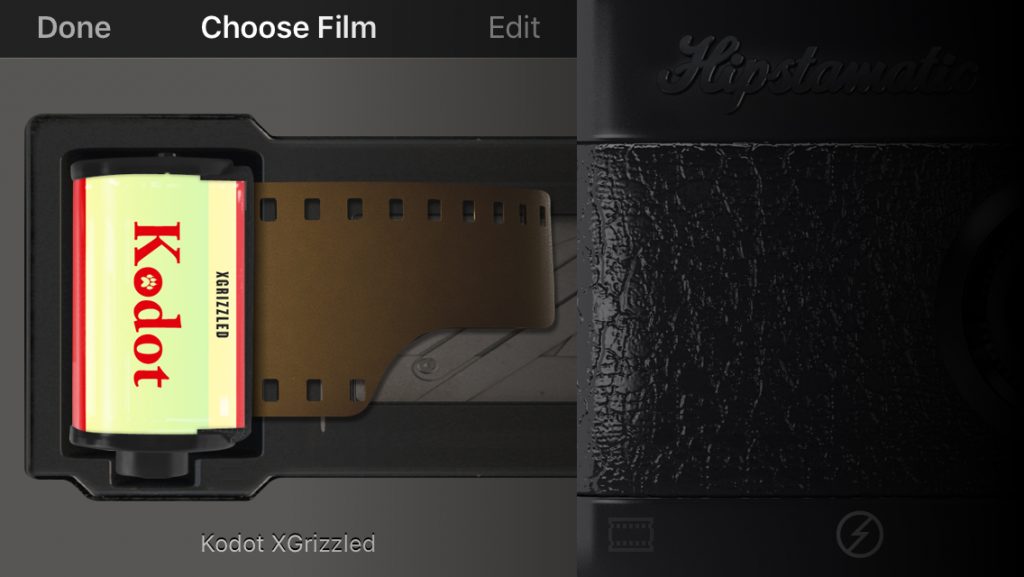
 Hipstamatic saves 2 versions of the file, the one seen here with the filter applied and the original photo with no filter applied.
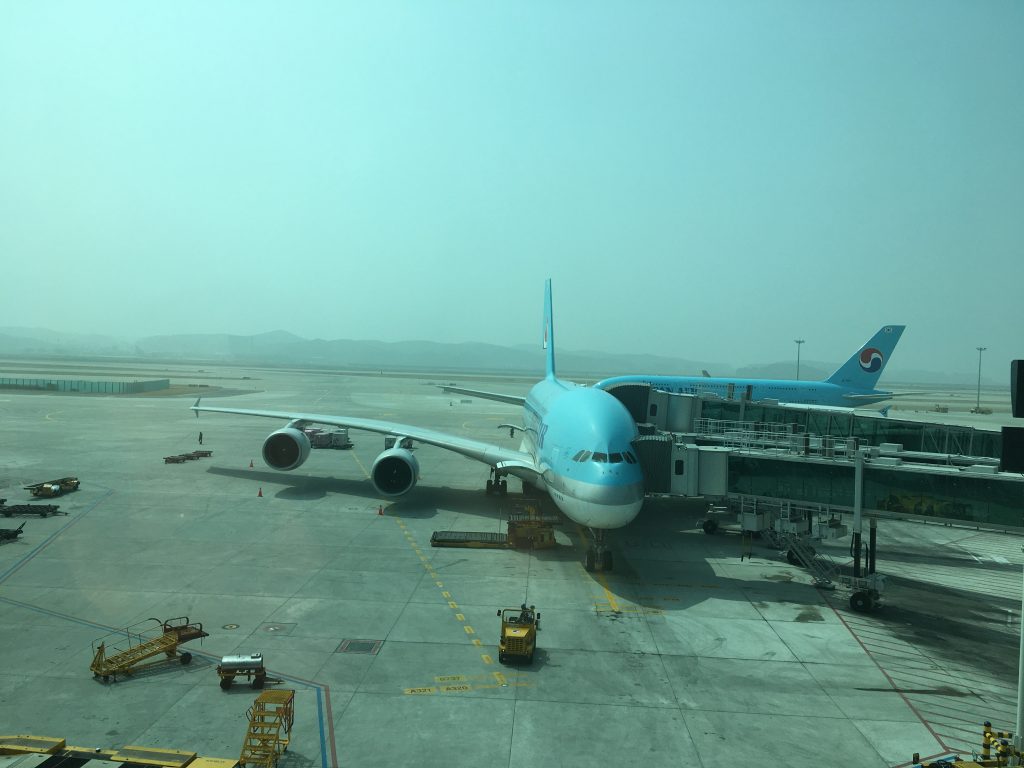


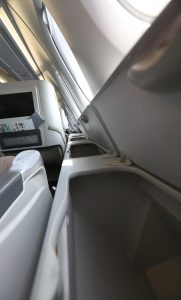
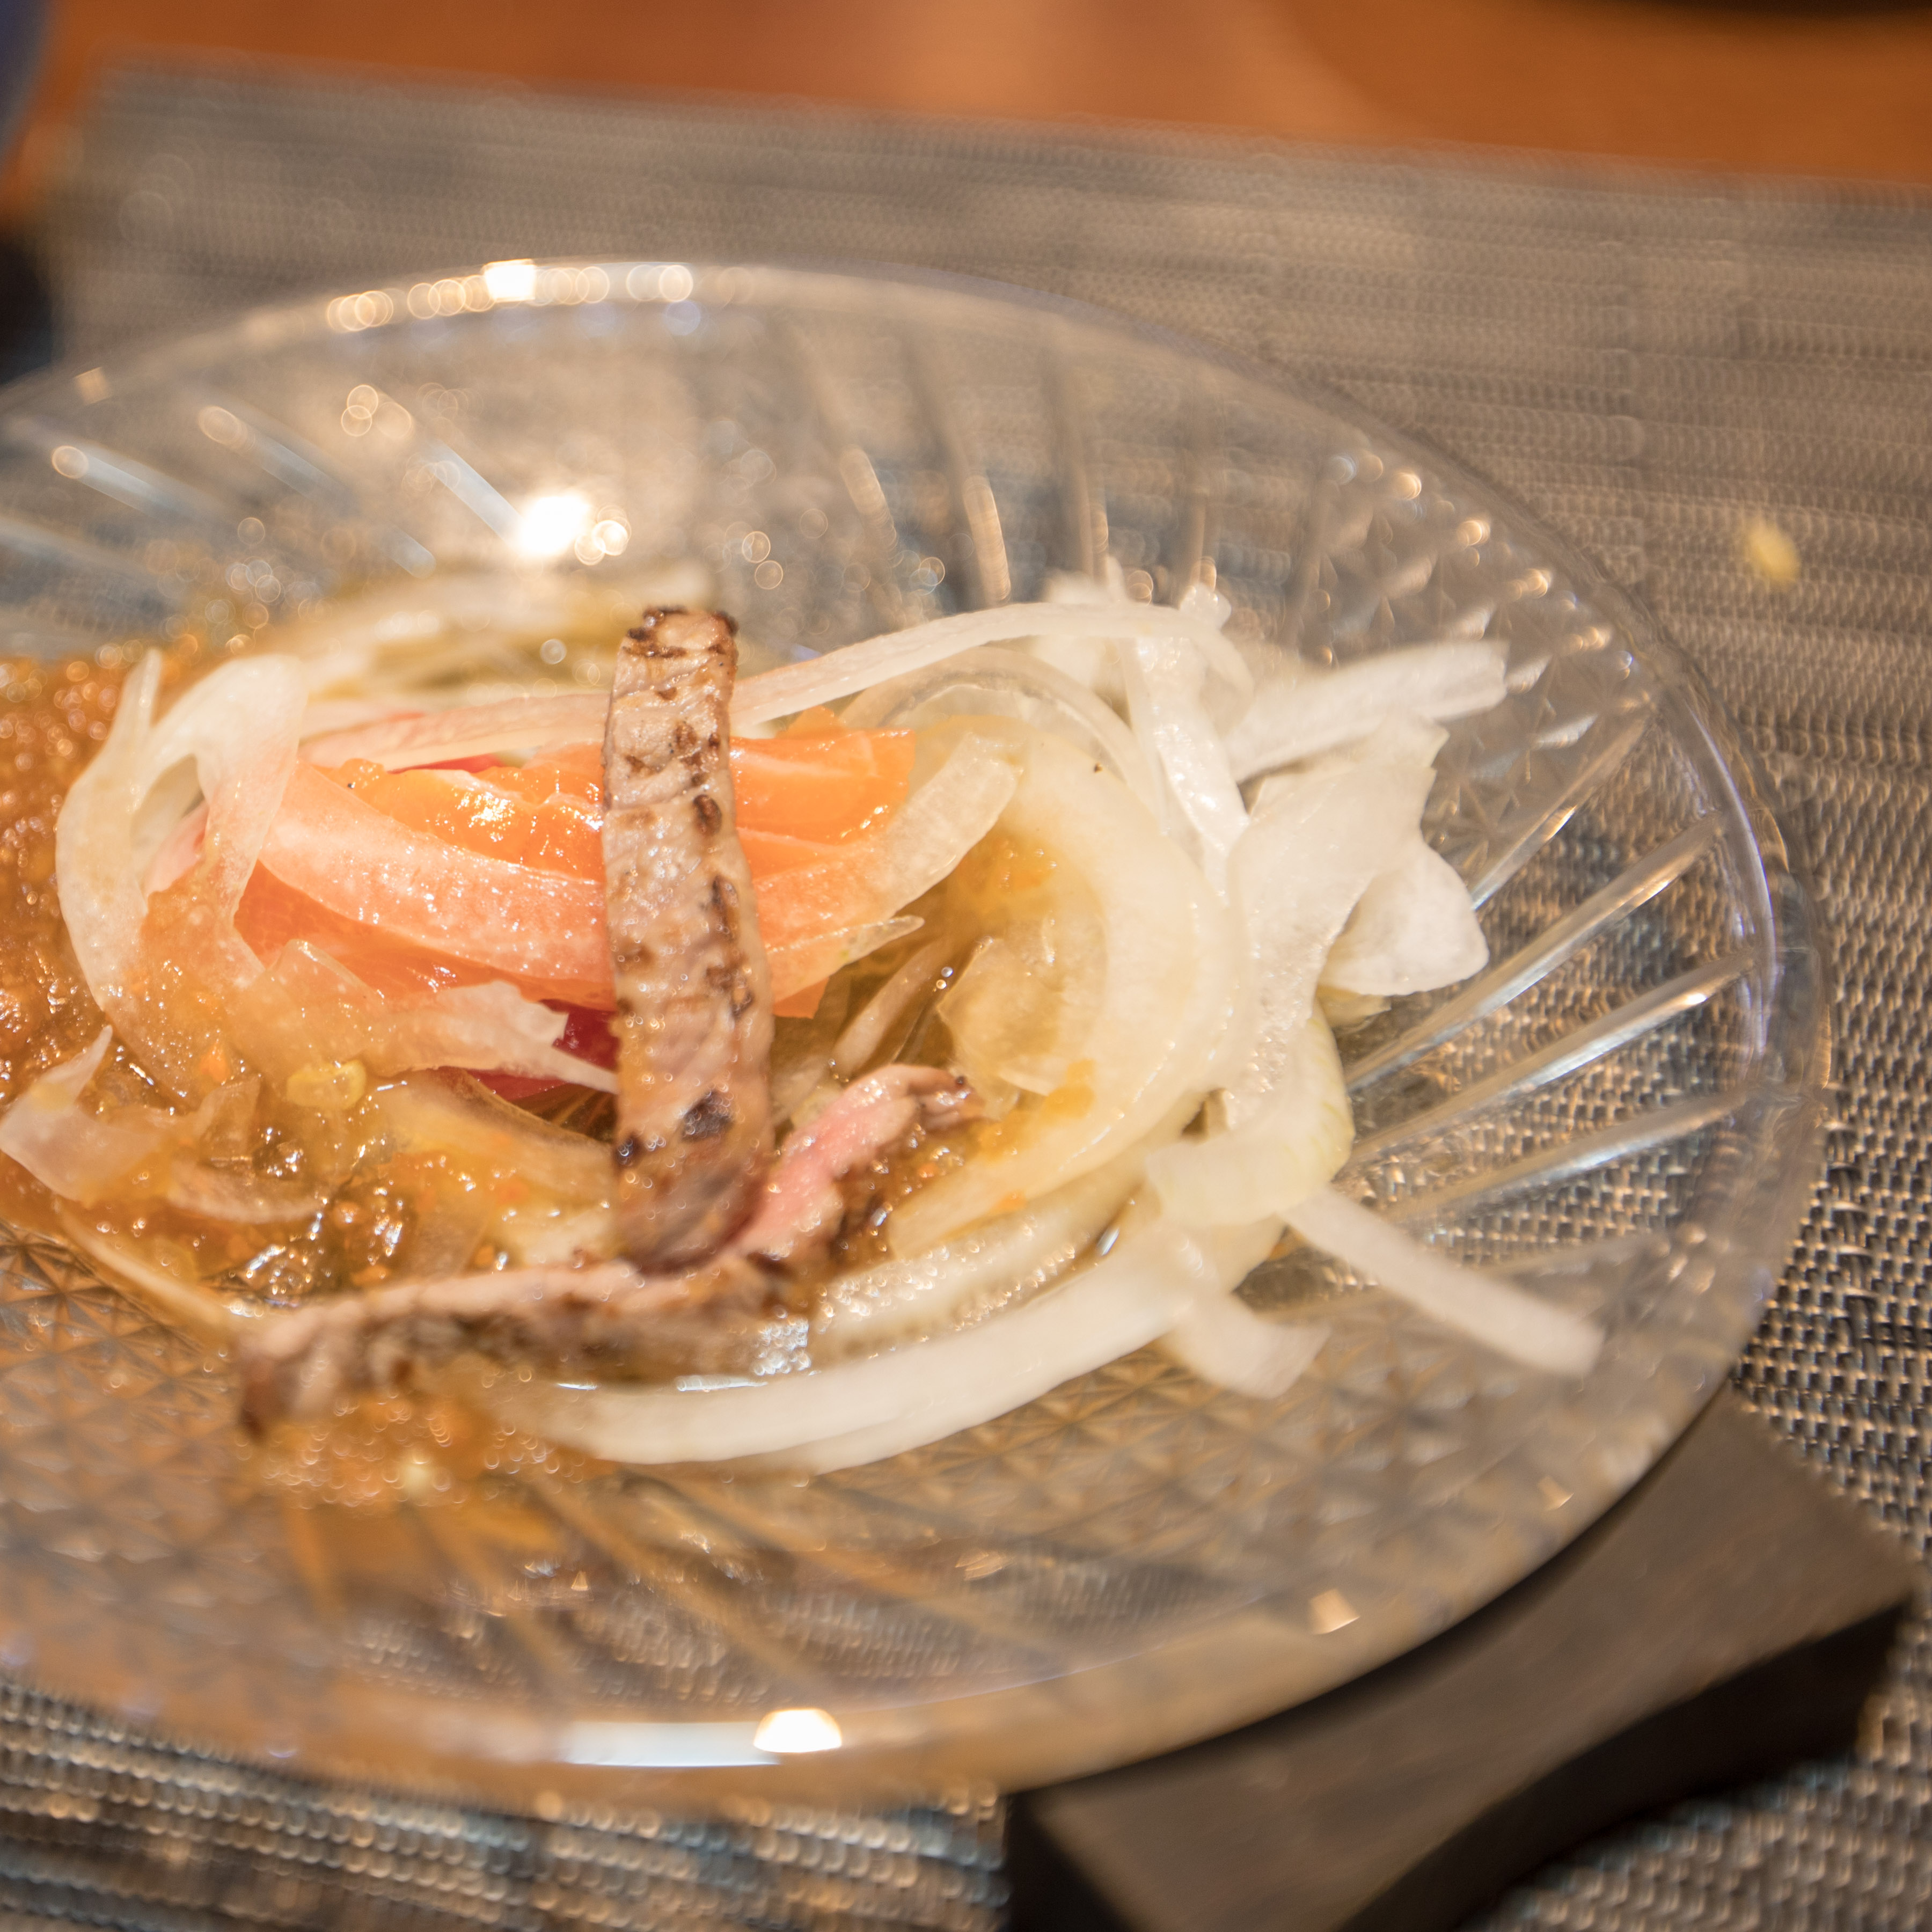
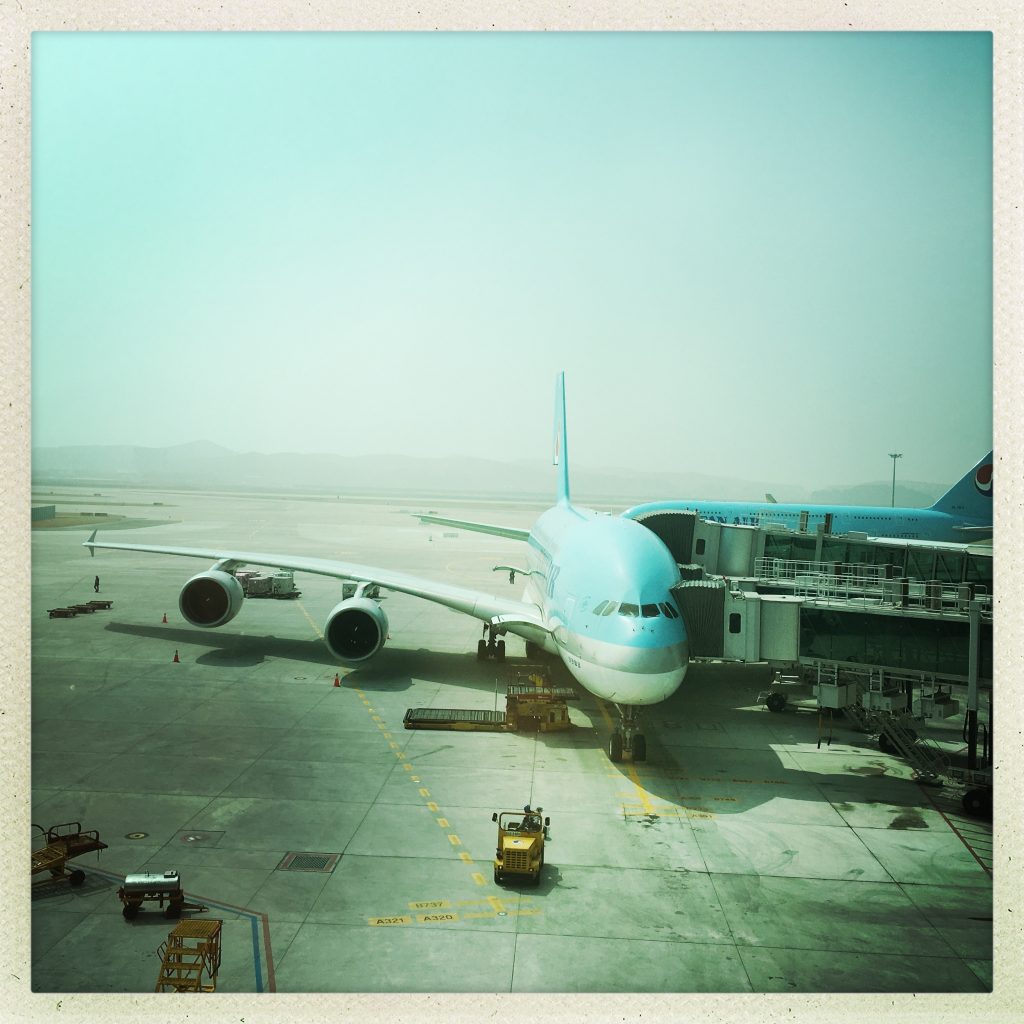
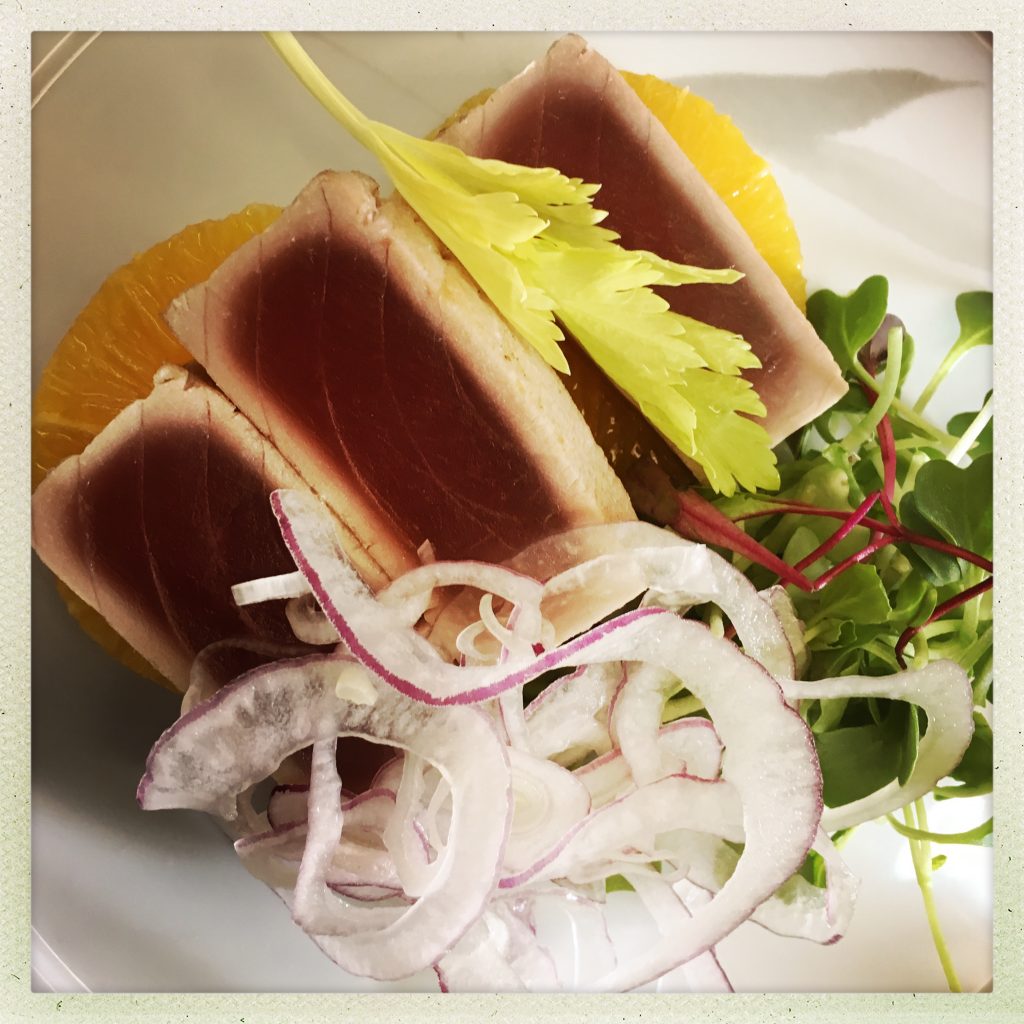
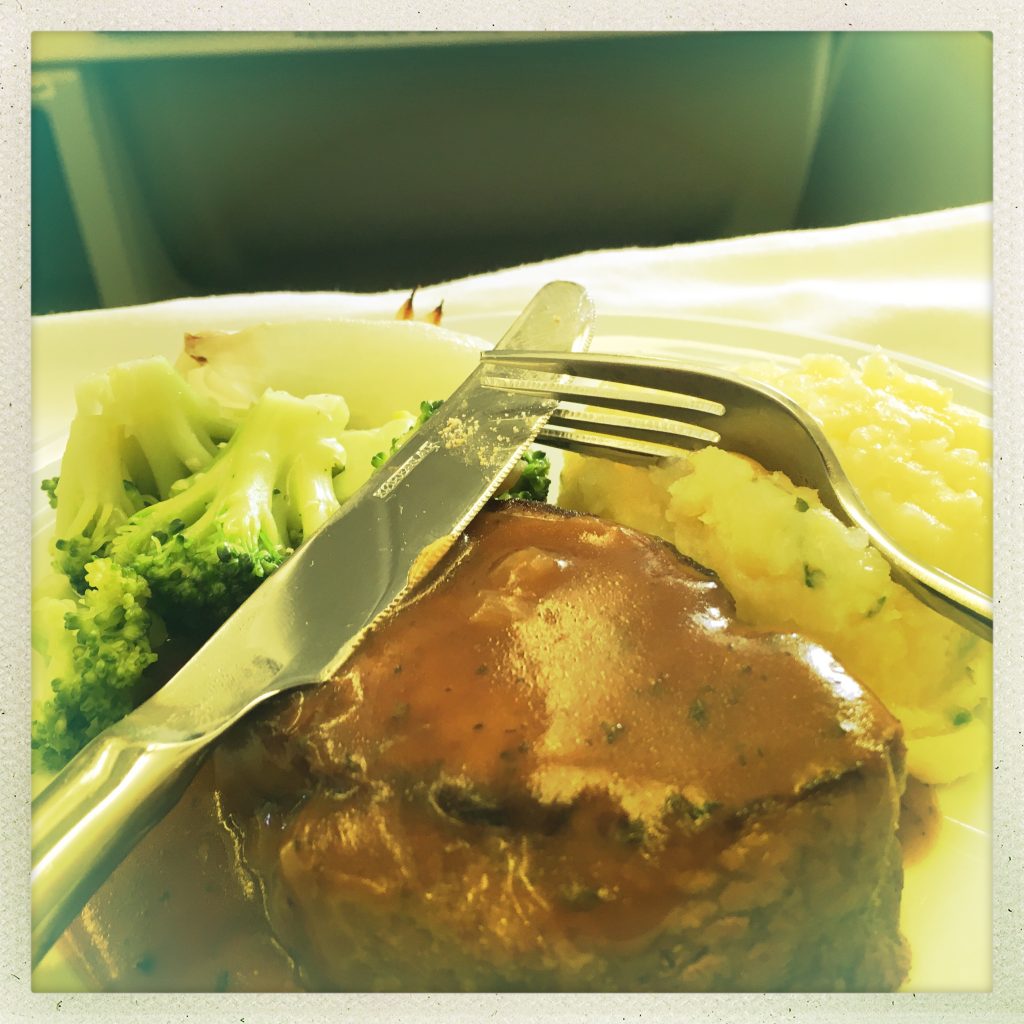
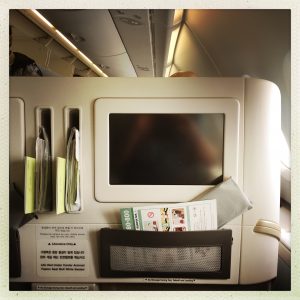 About an hour after takeoff they begun the dinner service, which consisted of seasoned shrimp and a hard stale piece of bread, followed by seared tuna with onions, and a stale baequet. I am not sure what is going on with Korea Air’s bread but it was terrible!
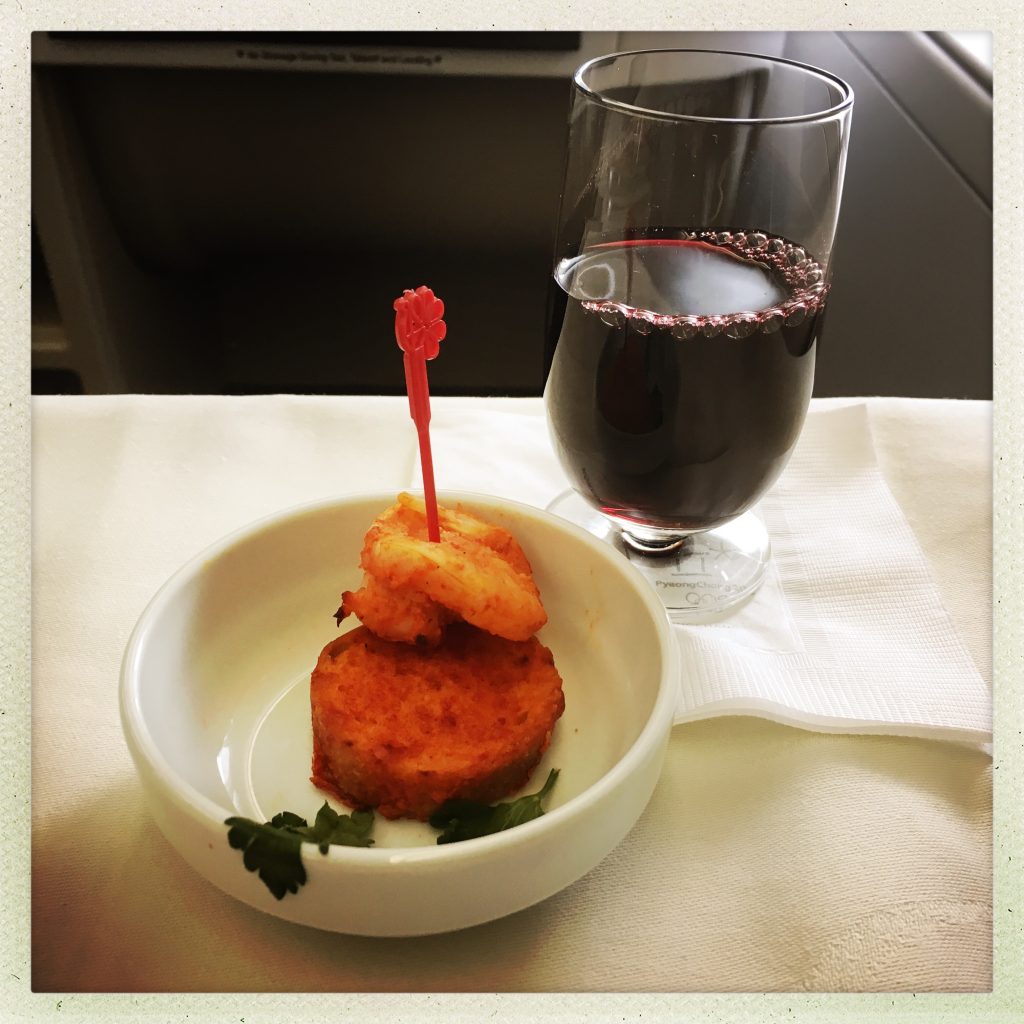
 The next course was a pumpkin soup that was okay, but not one of favorites.
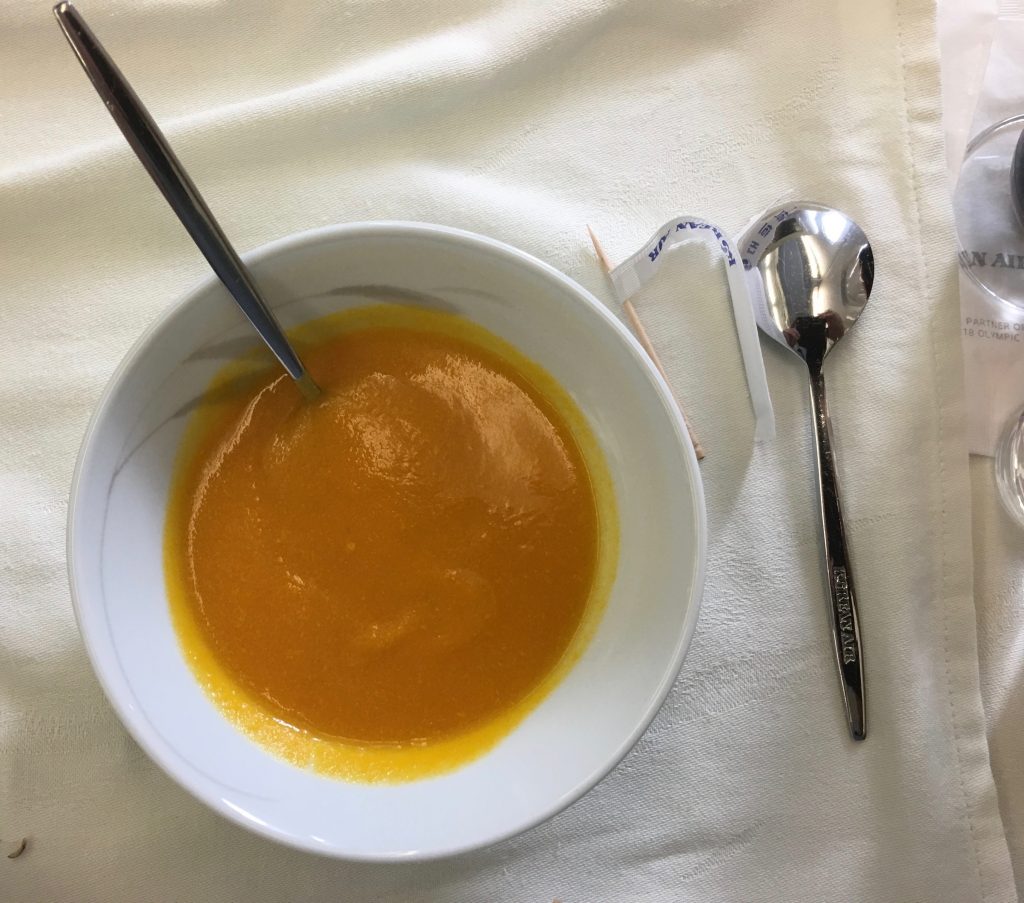

 Technical blogs, oh how I loathe thee. While one hand they are fun to research, and I do enjoy delving more and more into the inner workings of macOS X, To me these posts feel the most like actual work. I do not get the enjoyment of taking photographs like I do for travel articles. Or put myself in a well deserved food coma after reviewing a resturant. It’s just mostly research, typing, and the screen shots that go with the article
 I was feeling a little guilty pushing back the normally scheduled technical blog by a couple of weeks, (which I promise will be worth the wait!) until I realized that is has been almost a year since I published my last review on 2 books The Devil Dragon Pilot, and Defector