In The Kitchen – Cooking With Sourdough
One of my favorite types of bread’s s sourdough. I love the drier crumb and slightly bitter taste that comes from the lactobacillus. A lot of people shy away from using sourdough due to the extra time required to start and maintain a good starter, but once you have a system down the care and feeding become second nature.
What is a sourdough starter? Sourdough is a maintained culture of both yeast and lactobacillus bacteria. The yeast feeds off the starches in your flour, and the lactobacillus bacterium feed off the yeast and keep the yeast growth in check. The lactobacillus is acidic and gives the resulting dough a tangy sour flavor. This flavor can be distinctive depending on the region. Some famously so, such as San Francisco. This is due to the different strains of yeast and lactobacillus.
There are two ways you can begin a sourdough starter. You can start growing a yeast culture with the yeast naturally already in your flour and spores in the air. Or you can use commercial yeast to get your start going, your starter will over time acquire more and more natural yeast and take on a flavor of its own. For the purpose of this blog we will use the commercial yeast assisted method.
I will also present 2 Sourdough recopies. One a Sourdough Honey Wheat stand mixer recipie, which is also commercial yeast assisted. This makes a great start for those baking with a sourdough starter for the first time!
I will also provide a recipe for Sourdough Pancakes, which has served me well over the years both at home and while camping!
So, without further a-do! Let’s roll up our sleeves and get into it!
Sourdough Starter
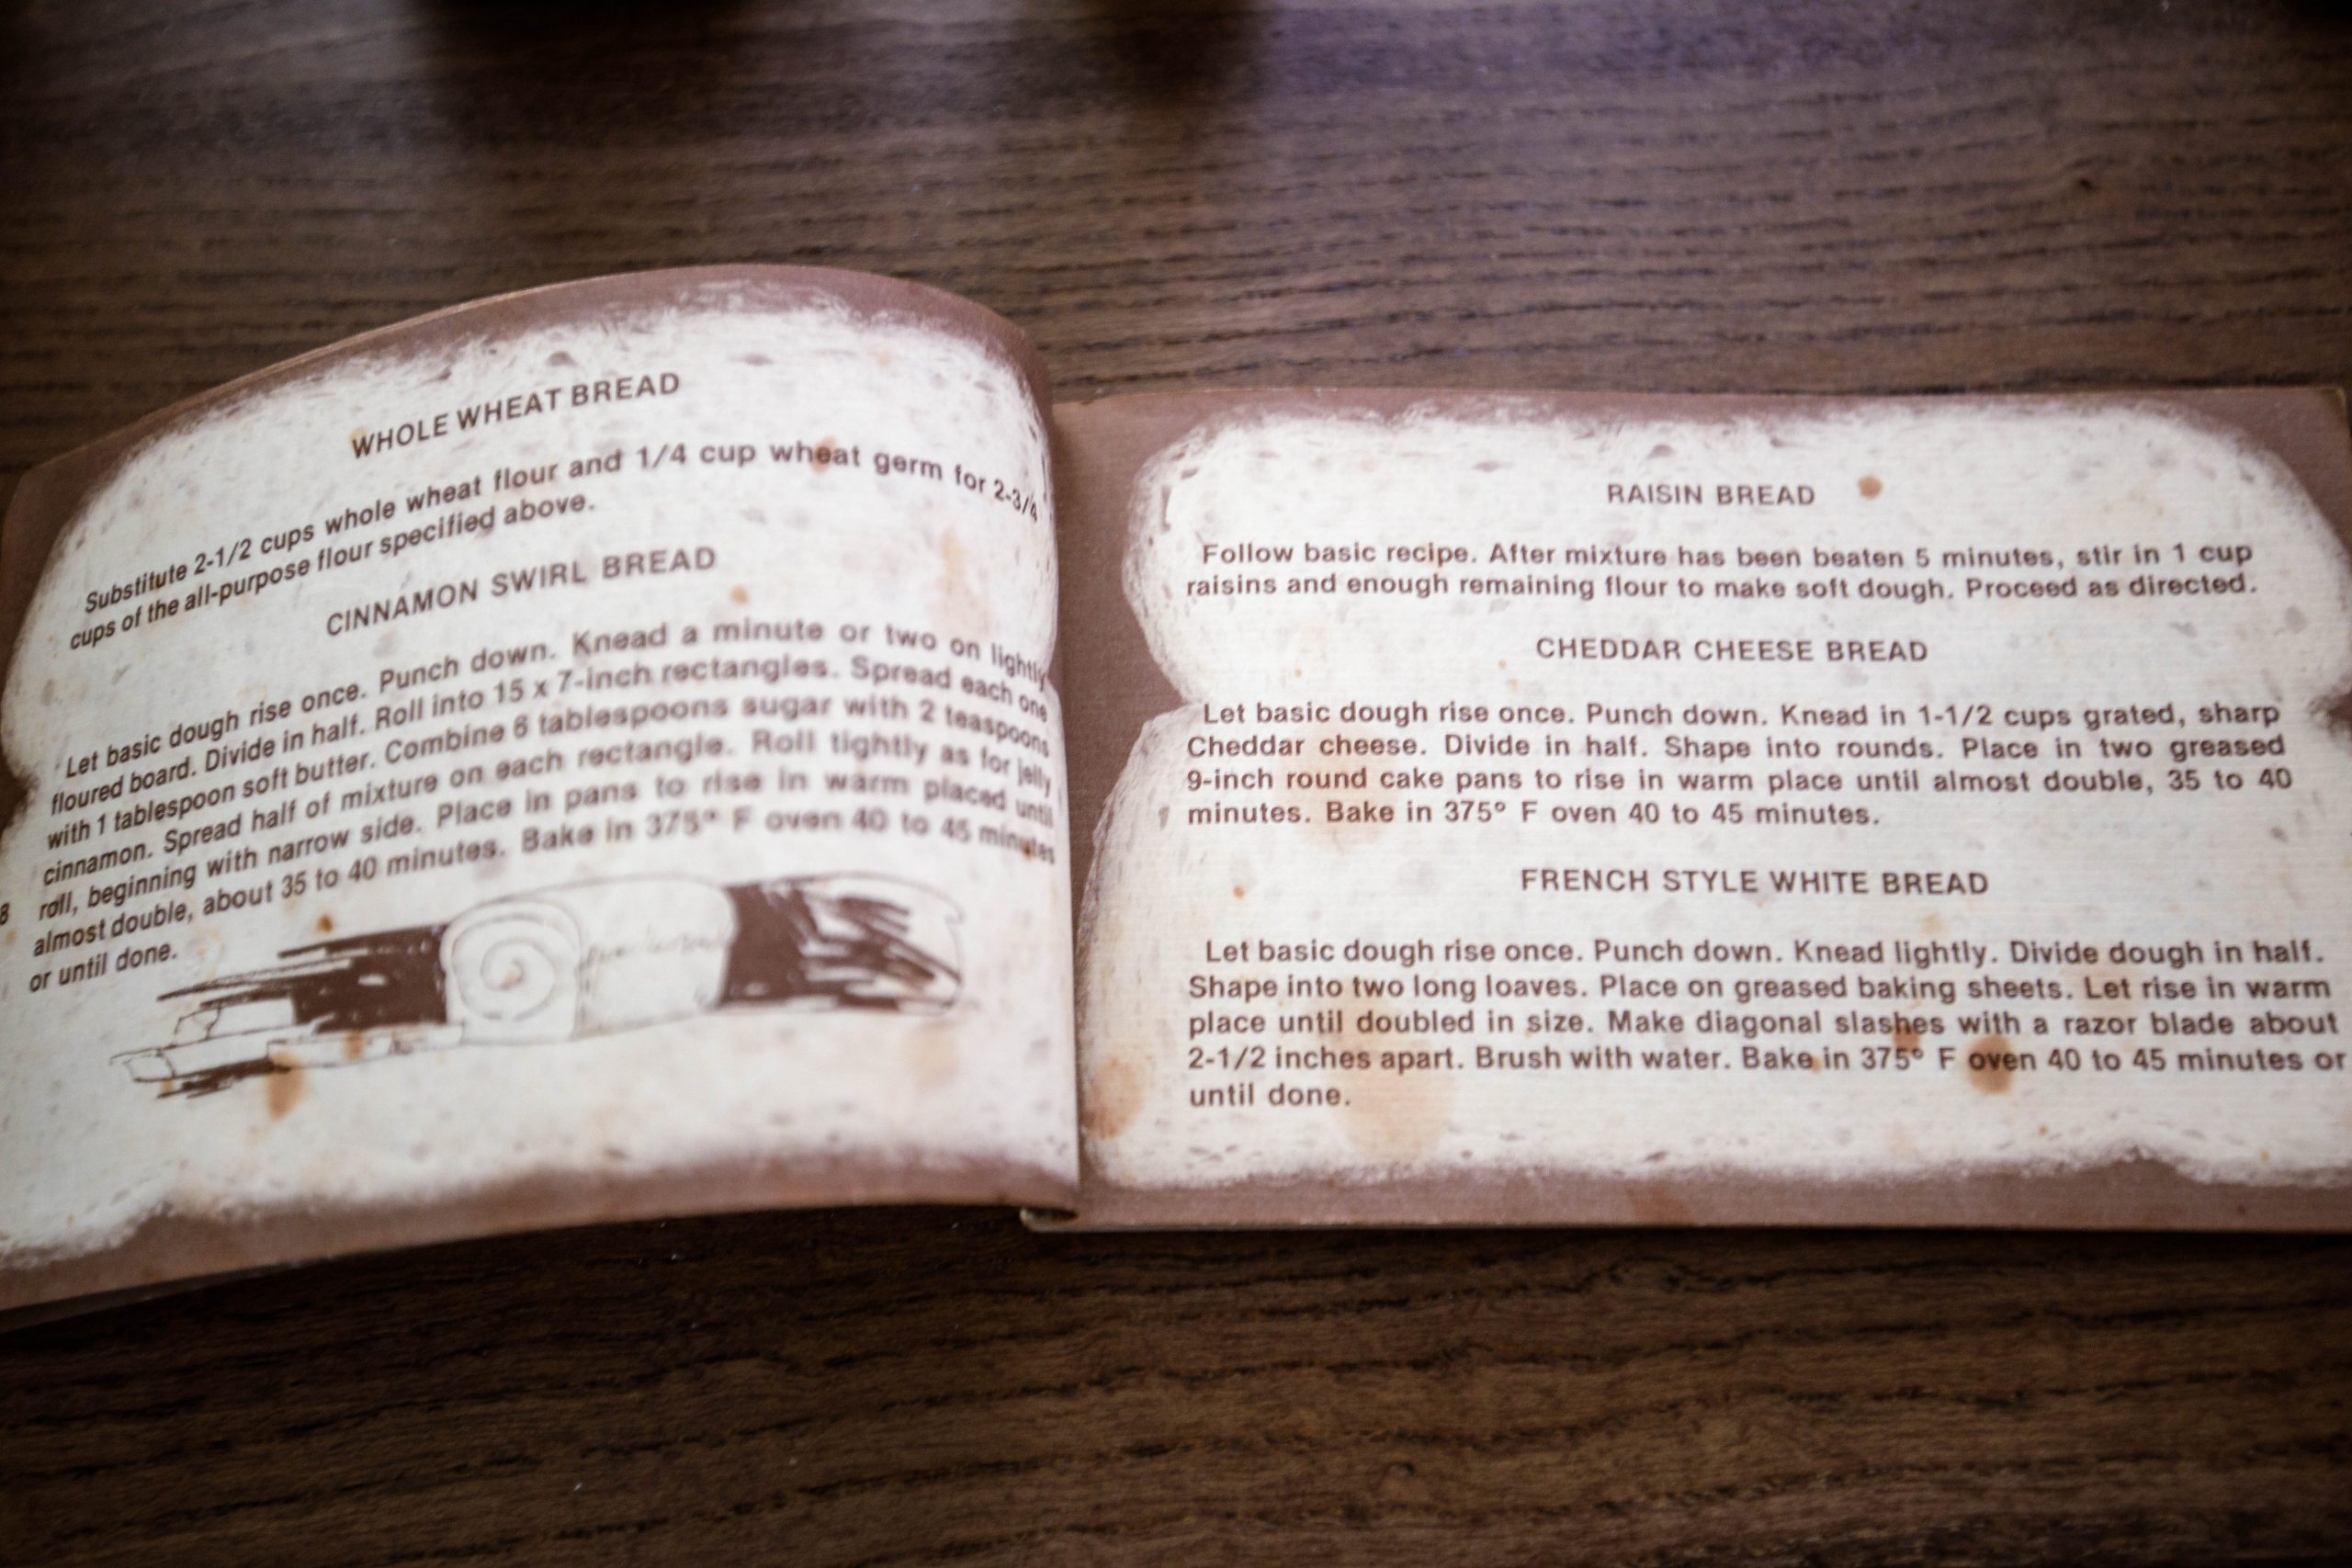
One of the key ingredients to any sourdough recipe is a starter. This is a mixture of flour and water that is used as a culture for your leavening yeast and lactobacillus, that gives it its flavor. This is an easy method of getting a starter going using commercial baker’s yeast. I have taken it from Nitty Gritty Books Bread Baking by Lou Siebert Pappas.
Ingredients
2 Cups lukewarm water (110f)
1 pkg. active dry yeast (2-1/4 tsp.)
2 Cups all purpose flour
½ tsp. salt.
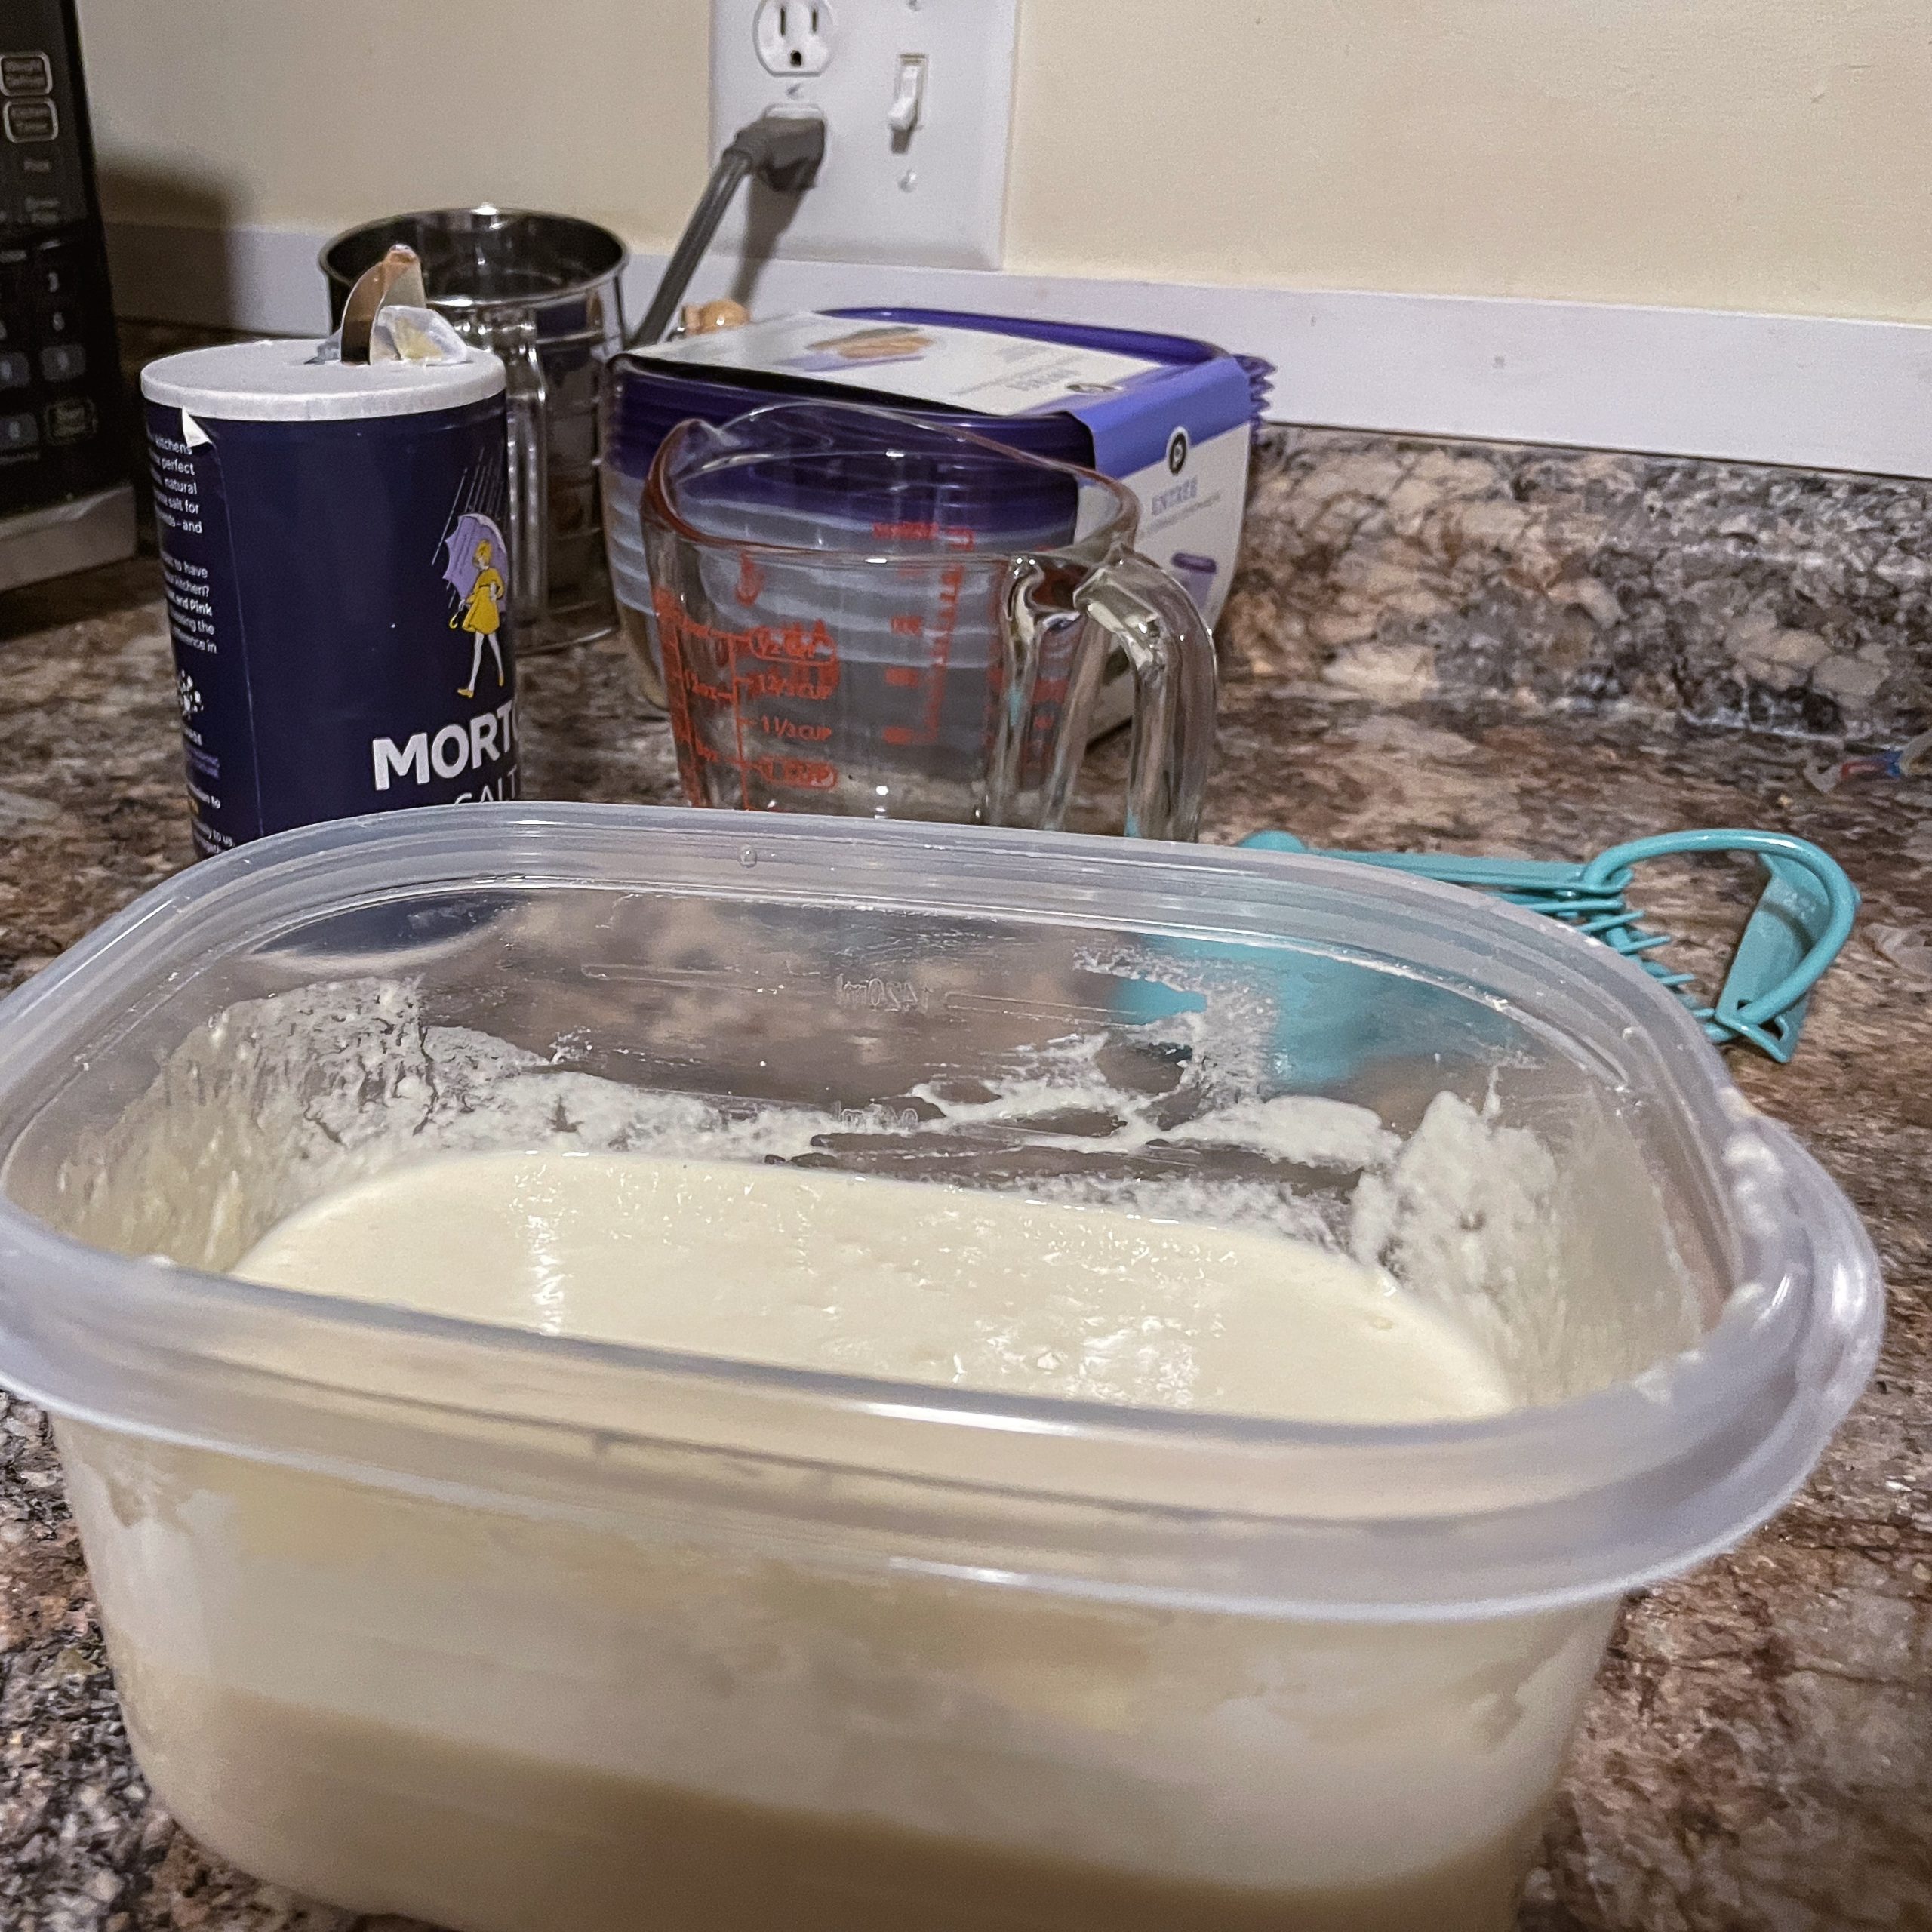
In a medium sized crock, or bowl (I use a large plastic ZipLock container) combine the water and yeast. Let stand until yeast is dissolved. About 5 minutes. Mix in the flour and salt.
Cover loosely with cheesecloth (Using the ZipLock container I simply cover with the lid loosely in place.) in a warm location (Preferably 80f). Each day for 4 days add ½ cup lukewarm water and ½ cup flour (You can discard ½ cup starter if needed before adding additional flour/water.). At the end of 4 – 6 days, you should start to notice the familiar sour smell associated with sourdough. You can now use to in a recipe or cover tightly and refrigerate.
To use after refrigeration,, remove from refrigerator the night before, in the morning once the starter has come to room temperature feed with ½ cup flour and ½ cup lukewarm water. It should be nice and bubbly and ready for use within an hour. As you use the starter, replace with equal amounts flour / water. If you use a cup or more, I like to feed the starter over the period of a couple of days, with ½ cup water / ½ cup flour a day. Then cover and return to the refrigerator.
If you will be unable to care and feed the starter for several weeks, consider placing in the freezer!
Yeast Assisted Whole Wheat Sourdough Sandwich Bread
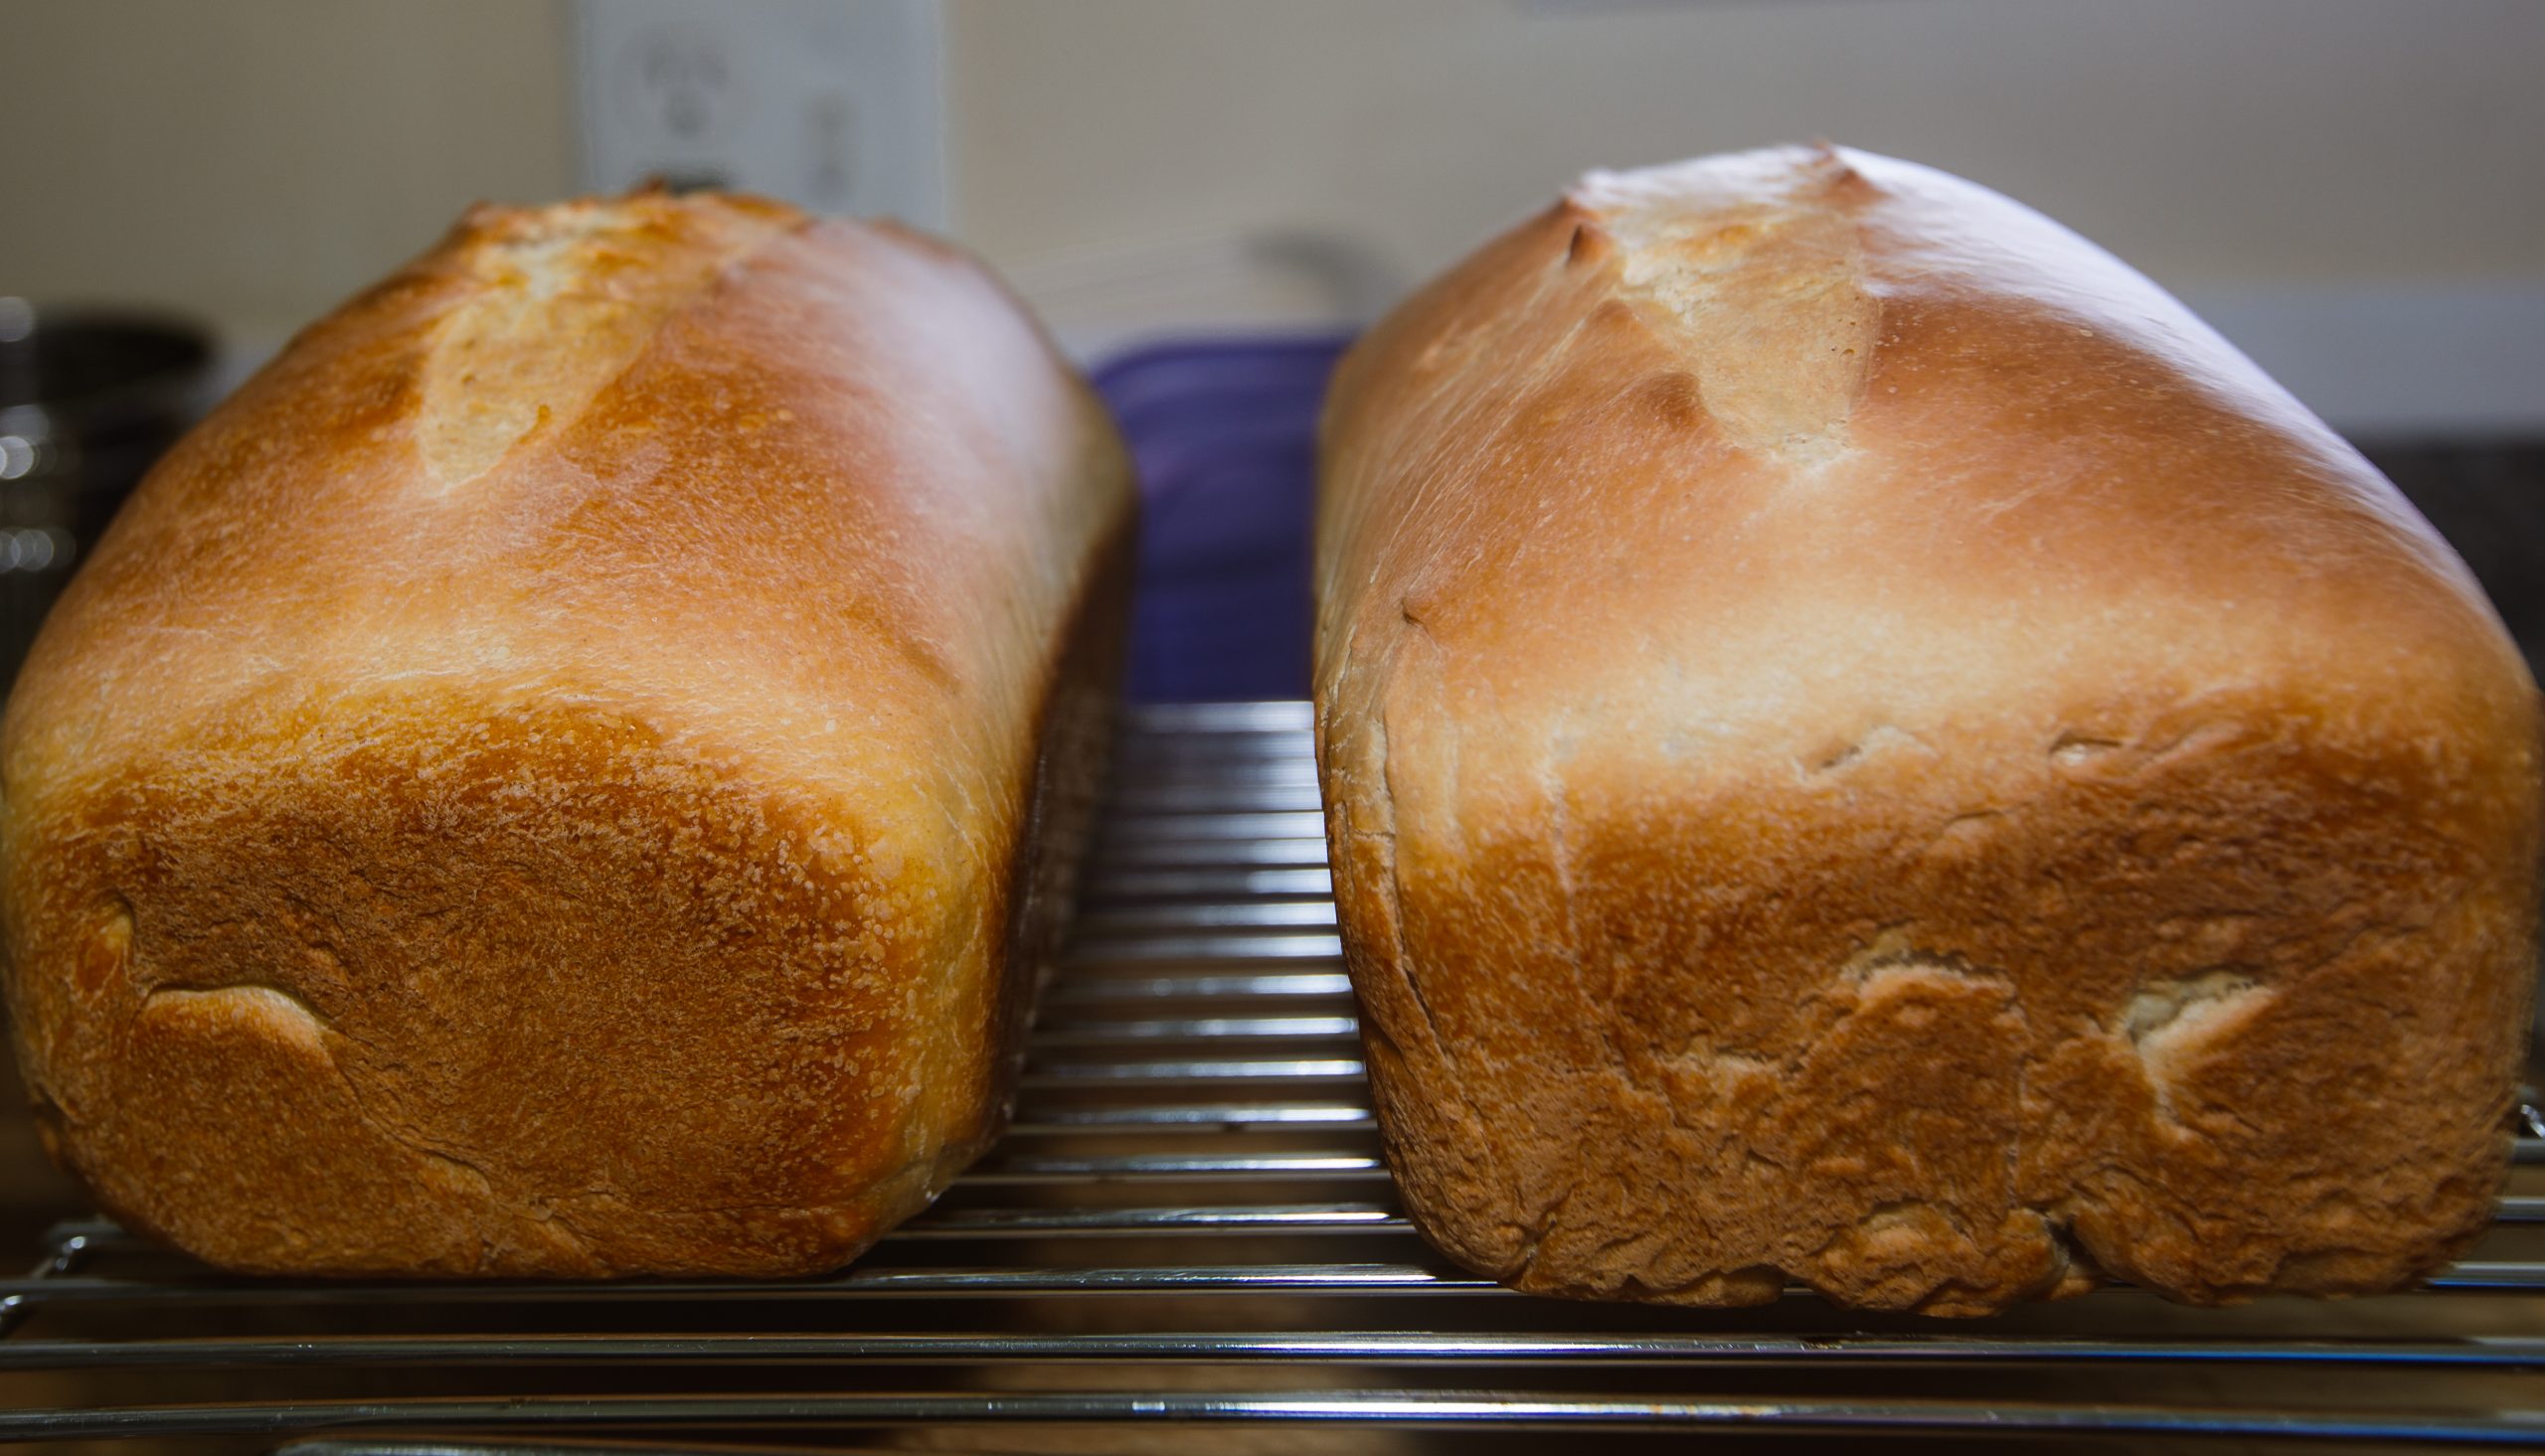 One of my go to recipes for a delicious Whole Wheat Sourdough Bread uses commercial yeast in conjunction with our sourdough starter for an extra light and fluffy crumb! This is a great recipe for lunch, picnic, and camping! This is a great recipie to start with because you do not need to prepare a sponge the night before. This recipe was also taken from Nitty Gritty Books Bread Baking by Lou Siebert Pappas.
Ingredients
1 pkg active dry year (2 ¼ tsp)
2 cups unsifted whole wheat flour
4 cups all-purpose flour
1 cup each mil and water (Luke warm 125f)
¾ cup Sourdough Starter
¼ cup honey
1 tbs. salt
3 tbs. softened butter
1 tsp baking soda
Baking Instructions
Place the yeast, 1 cup whole wheat flour and 1 cup all-purpose flour in a large mixing bowl or stand mixer. Heat milk and water to 125 degrees F. Add to dry ingredients and stir until blended. Add the sourdough starter and mix for 5 minutes. Cover bowl with plastic film wrap. If using a *stand mixer, remove mixing paddles and cover bowl with plastic film wrap. Leave bowl in a warm place for 90 – 120 minutes.
* I use a Bosch Universal Mixer. I use the plasic lids on the mixing bowl, and before placing the smaller center lid, cover the hole with the plastic film, and twist the smaller lid on top of the film. (Do NOT forget to remove your mixing paddles or dough hook!)
Place honey, butter, and soda in the mixer and replace dough hook. Mix until blended. Add the remaining cup of whole wheat flour and 1 cup of all-purpose flour and add the salt. Slowly add the reaming flour until your dough has reached the desired consistency. The sides of the bowl should be clean, and the dough should not be sticky. This should take an additional 10 – 15 minutes.
Turn dough out on a lightly floured bread bord and finish kneading until smooth.
Place dough in a greased bowl, cover with a damp kitchen towel and allow to rise in a warm place until doubled in size, approx. 90 – 120 minutes.).
Punch down and again turn out on a lightly floured breadboard and knead lightly. Form dough into a ball and cut in half. Shape each half into a loaf and place into 2 9 x 5in. bread pans. Cover the pans with the damp kitchen towel and allow to rise until doubled in size, approx. 45 – 60 minutes.
While the bread is rising preheat your oven to 375 degrees F.
Bake the bread at 375 degrees F for 35 – 40 minutes or until the loaves sound hollow when tapped.
Remove from baking pans and allow to cool before slicing.
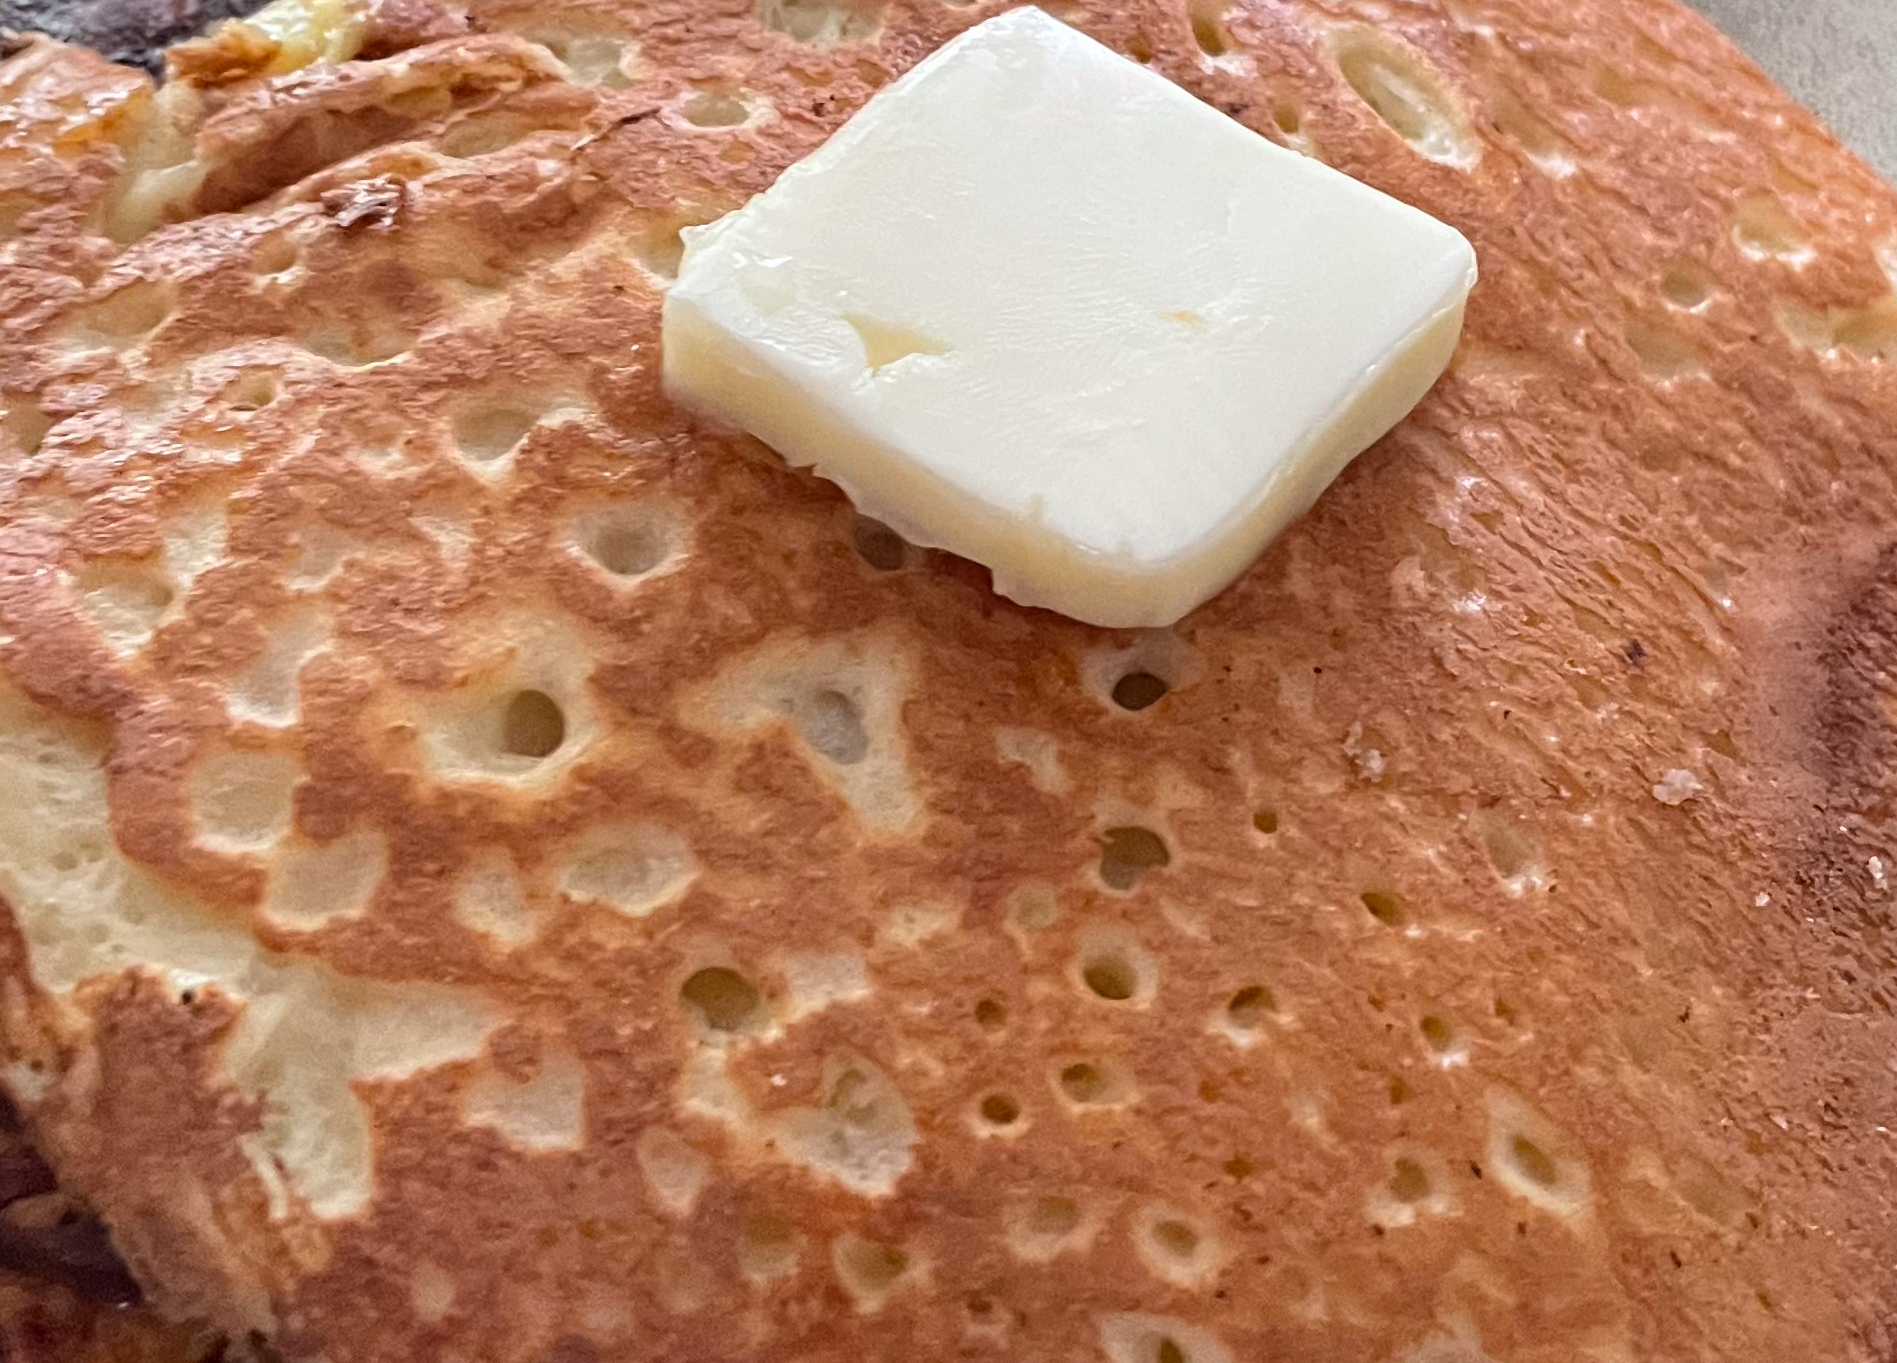
Sourdough Pancakes
 Let’s switch gears here for a second! One of my other favorite recipes that uses our sourdough starter is this great recipe for Sourdough Pancakes! If anyone wants to hazard a guess as to where I got the recipe from, yes.. Nitty Gritty Books Bread Baking by Lou Siebert Pappas! It really is too bad this book is out of print! If Nitty Gritty Books is still publishing, perhaps you can write them and ask that they publish it again! You can find the book on E-Bay and Amazon used if you keep looking!
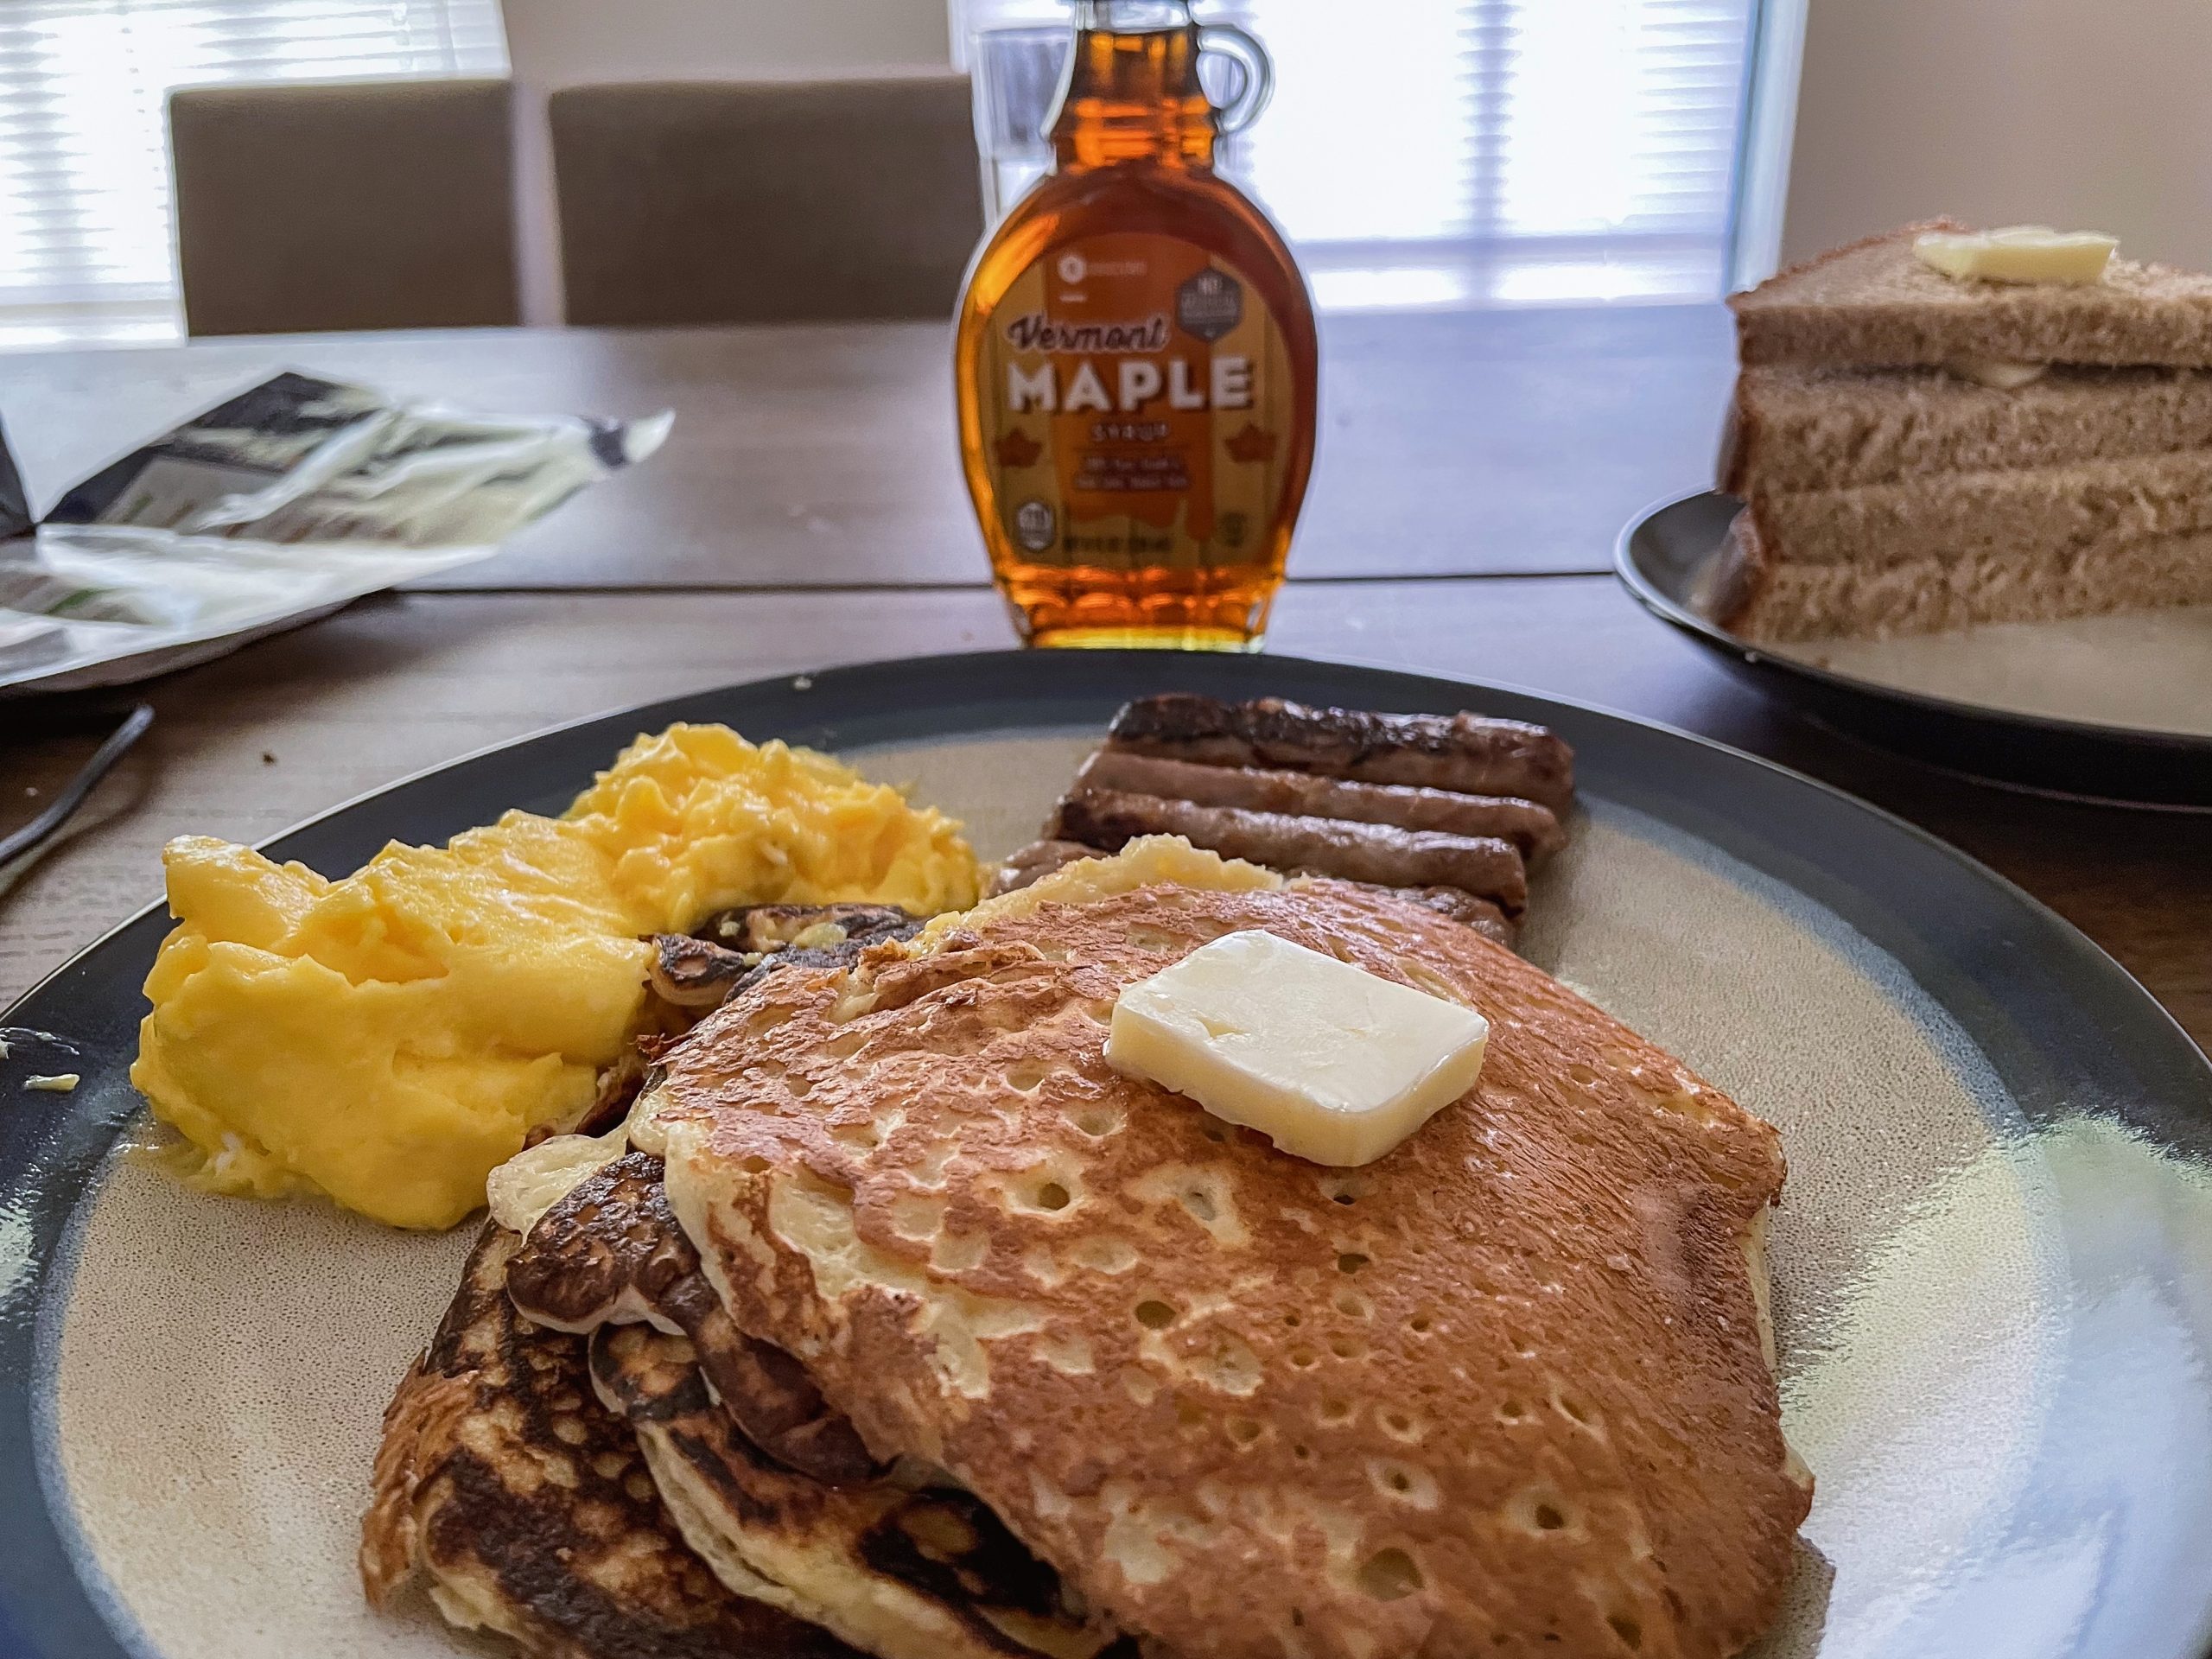
This recipe will definitely become a favorite with your family and is great for both home and camping! A bit of a Brent’s tip here! If you use it camping, you can separate the recipe (One ZipLock containing the sugar, salt, and soda. The other bag containing the flour. I do hope you try these pancakes, you won’t be disappointed!
Ingredients
½ Cup sourdough starter
2 Cups Milk
2 Cups unbleached all-purpose flour
2 eggs
2 tbs sugar
½ tsp salt
1 tsp baking soda
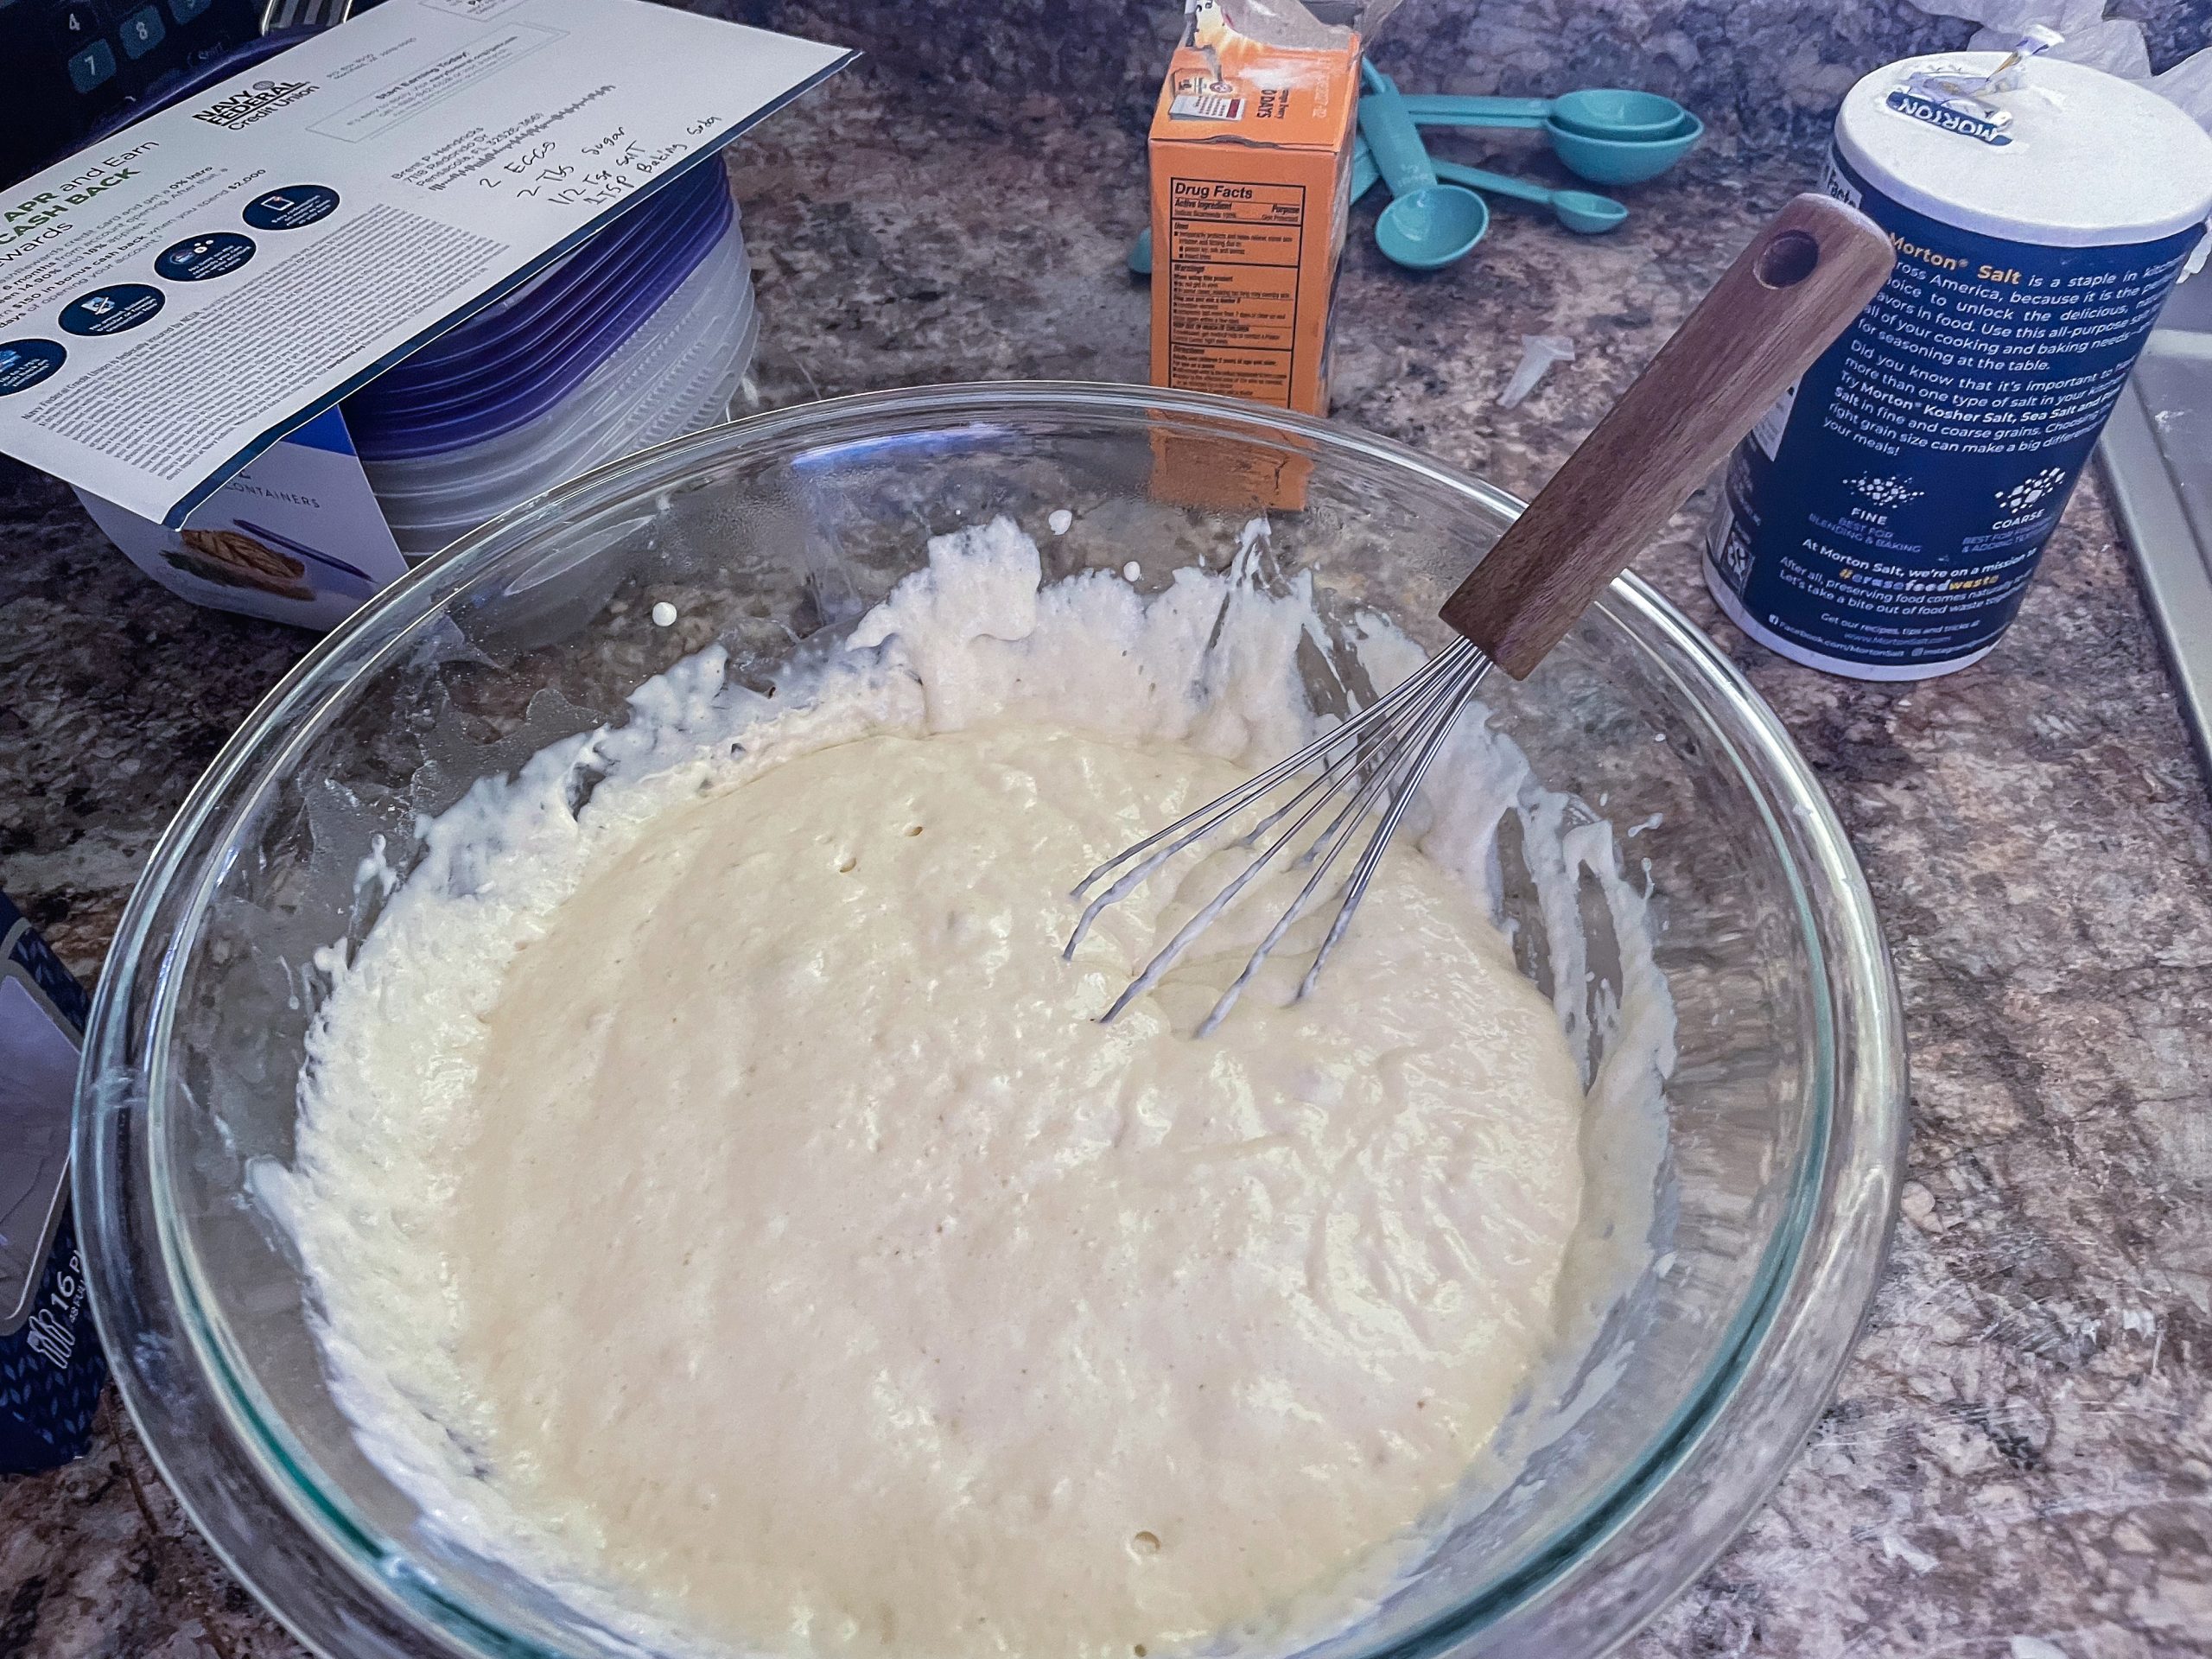
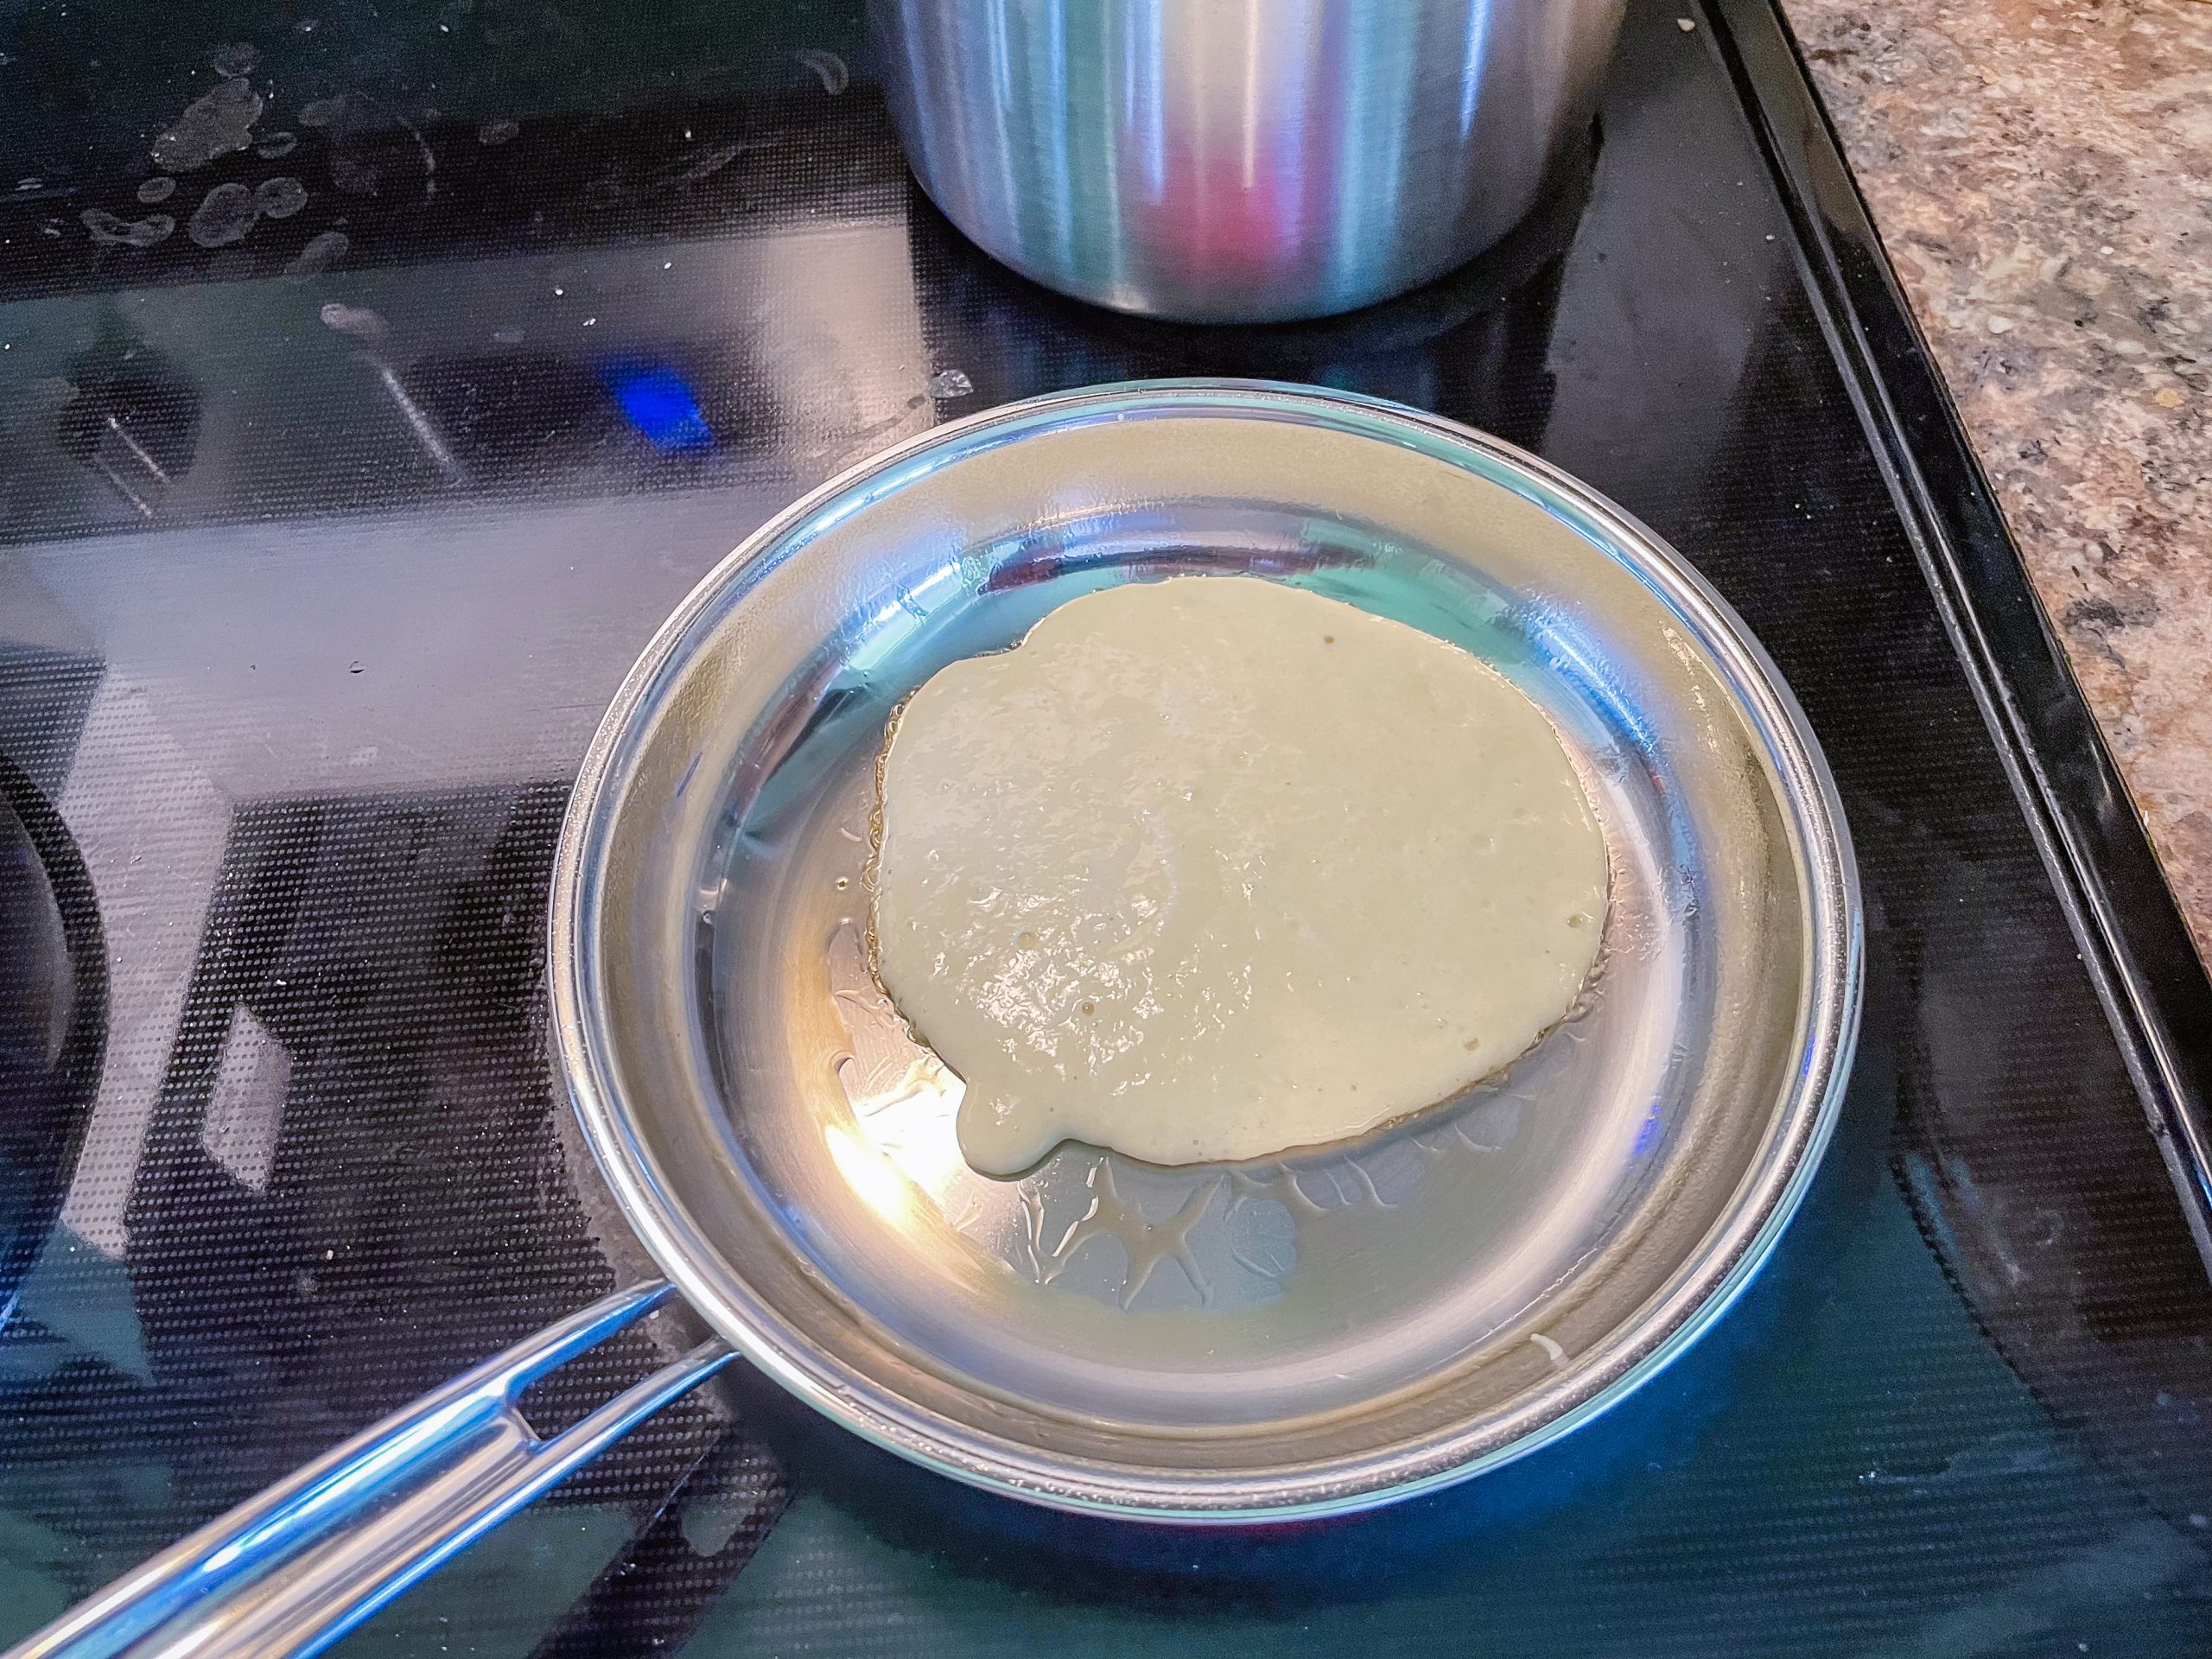
The night before: Combine starter, milk and flour in a large mixing bowl. Mix until blended, cover with plastic wrap and let stand in a warm place 8 hours, or overnight.
The Next morning: Add eggs, sugar, salt, and soda. Beat until blended. Pour batter into 3 inch cakes on a lightly greased hot girdle. Cook until golden brown on both sides.
 If you enjoy our content and wish to support Brent’s World, please consider purchasing the following recommended kitchen products! All proceeds from Associates programs will be used to keep Brent’s world going and towards getting new content.
BOSCH Universal Mixer Plus – Purchase from Amazon.com
Bob’s Red Mill WHole Wheat Flour (5lbs). – Ships from Amazon.com
Bob’s Red Mill All Purpose Flour (5lbs). – Ships from Amazon.com
Fleischmann’s Active Dry Yeast (4oz Jar). – Ships from Amazon.com
Thank you for stopping by Brent’s World, for this months edition of “In The Kitchen”. Come back next week for more new and exciting content!
If you wish to be notified when new content is posted, consider registering by clicking HERE!