
macOS X – Creating a High Sierra 10.13 USB Install Disk
 MacOS X – Creating Bootable Install Media For High Sierra
We all know how to get to the OS X recovery partition, in the event we need to reinstall Mac OS X High Sierra. In case you don’t know or have forgotten, you simply power up or restart your Mac and hold down the Command and the R keys at the same time. This tells the operating system to boot into a special hidden recovery partitions giving you access to a limited (And powerful set of utilities). What do you do if your recovery partition has become corrupted, or you have replaced your existing hard drive with a new hard drive? Such would be the case if your hard drive failed, or you found it necessary to upgrade your existing drive.
Today I am going to show you how to create a bootable USB installer for OS X 10.13 (High Sierra), as well as “useful utility” partition. The only thing you will need is a USB thumb drive with a capacity of at least 8 GB of storage, however I would recommend getting one with 32 or even 64 GB, so you can have a bootable partition with your favorite utilities for emergencies.
So, let’s get crackin!
The first thing we want to do, Erase the USB thumb drive, and reformat it with the “GUID” partition scheme, 9 times out of 10 your thumb drive will come either formatted with the “Master Boot Record” scheme with a single “ExFAT or “NTFS” to work on Windows computers. We will want to reformat the device to be used and bootable from your macOS computer.
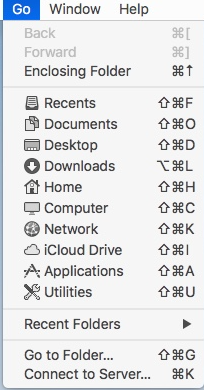 Open your utilities folder by selecting Go > Utilities, or pressing SHIFT – COMMAND – U.
Open Disk Utility
NOTE: By default Disk Utility will only show disk volumes.
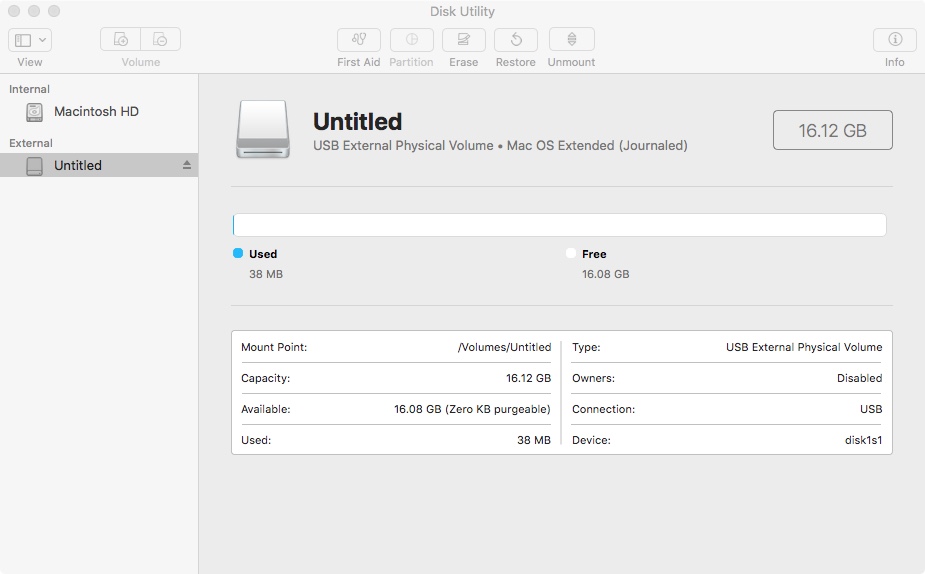
I find it much more useful to display them in a hierarchical fashion, displaying the Volume and Partitions. It provides additional visual references that make it easier to know exactly which device I am manipulating. Very important when we may potentially lose data. It would be a very bad day if I accidently erased my hard drive containing over 2GB of photo’s.
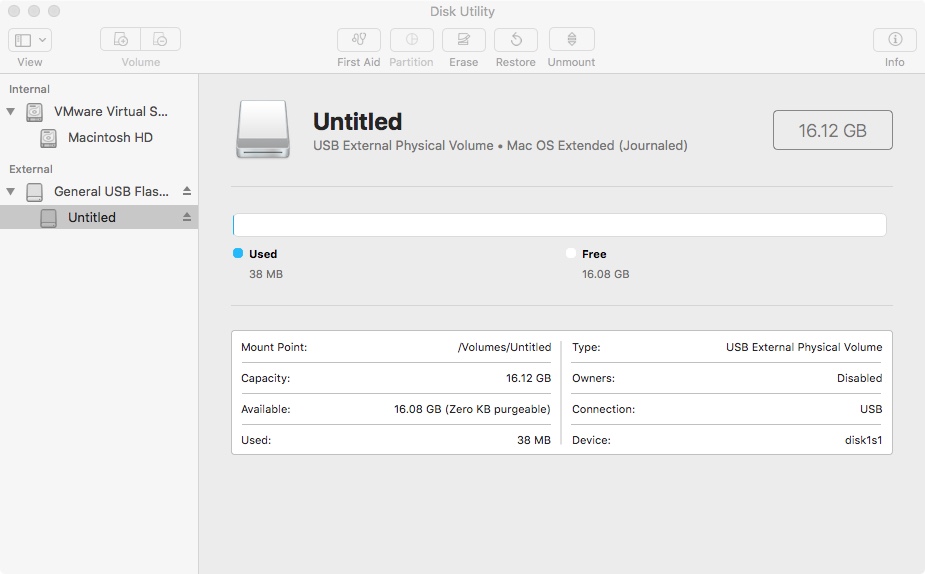
First we want to Erase the USB stick, and format it with the GUID Partition Scheme.
Select your USB Device, in this case it is named ‘General USB Flash Disk Media’
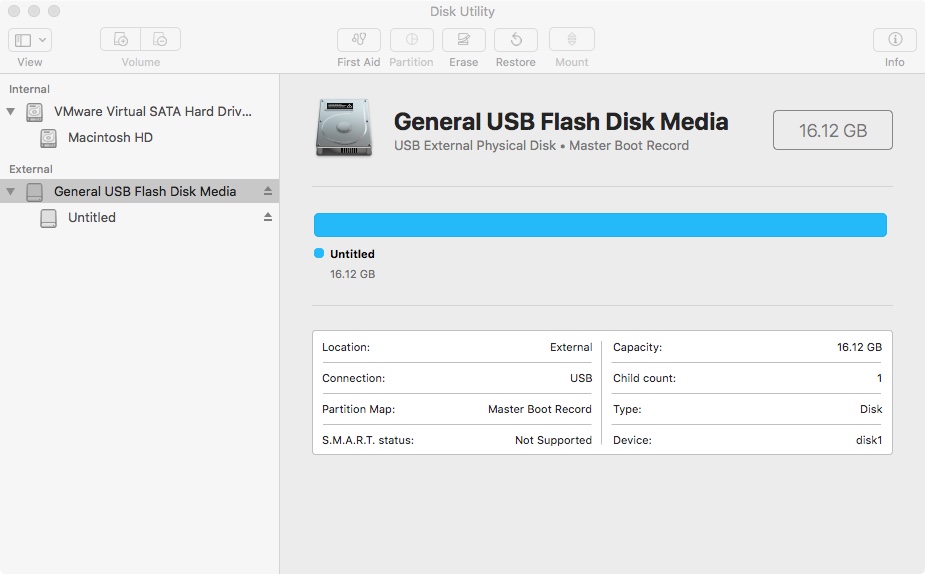
Click Erase
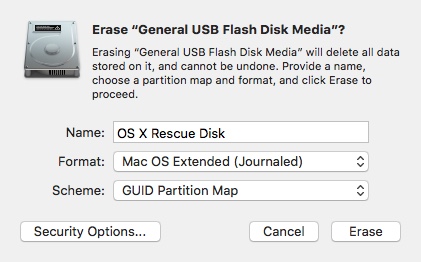
When Erase “<Disk Name>” dialog box appears.
Name the disk whatever you want, I will name it “OS X Rescue Disk”
Click the Format selection arrows and select “Mac OS Extended (Case-sensitive, Journaled)
Click the Scheme: selection arrows and select GUID Partition Map
Click Erase
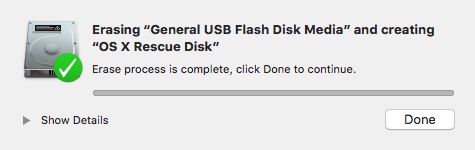
When the formatting is completed, click Done.
Next, we will split the disk into 2 partitions., The Mac OS X install disk needs at least 8GB, as this is a 16GB drive we will create a new partition of equal size. One will contain the Mac OS X High Sierra install media, the other will contain a bootable partition that we will keep useful utilities and documentation.
Click on the drive, again this is the “General USB Flash Disk Media”
Click on the Partition Icon.

Click the + Icon.
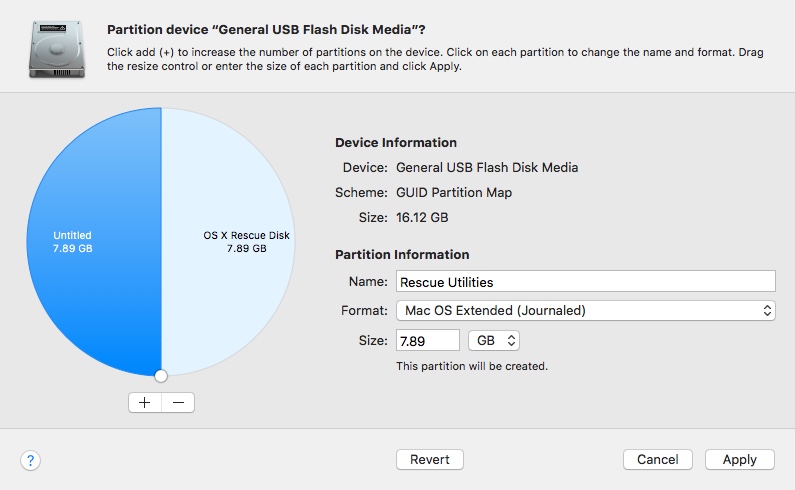
You will now see the drive broken into 2 equal partitions of 7.89 GB. You can increase or decrease the size, but for this demonstration we will leave things as is. Only changing the name of the new partition.
Change the name of the new partition to “Rescue Utilities”
Leave everything else unchanged, and click the ‘Apply’ button.
\You will now see a dialog box outlining the changes to be made to the drives structure, and are informed that No partitions will be erased. This should NOT erase any data already present on your device.
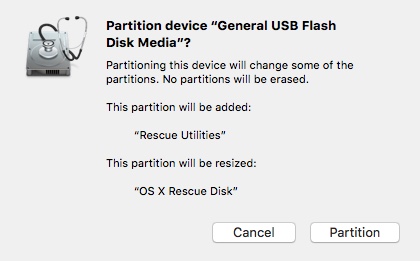
DISCLAIMER! This demonstration assumes you are using new media, or media that has already been erased. As a precaution if you are performing these steps on a device that already has data on it, I HIGHLY recommend that you stop and take the time to back up the partition that has data. I will NOT be held legally responsible for ANY data loss from you following these instructions. By pressing the ‘Partition’ button as outlined in the demonstration you assume all risks of intended, or unintended loss of that data!
Click on the ‘Partition’ button.
Click the ‘Done’ button.
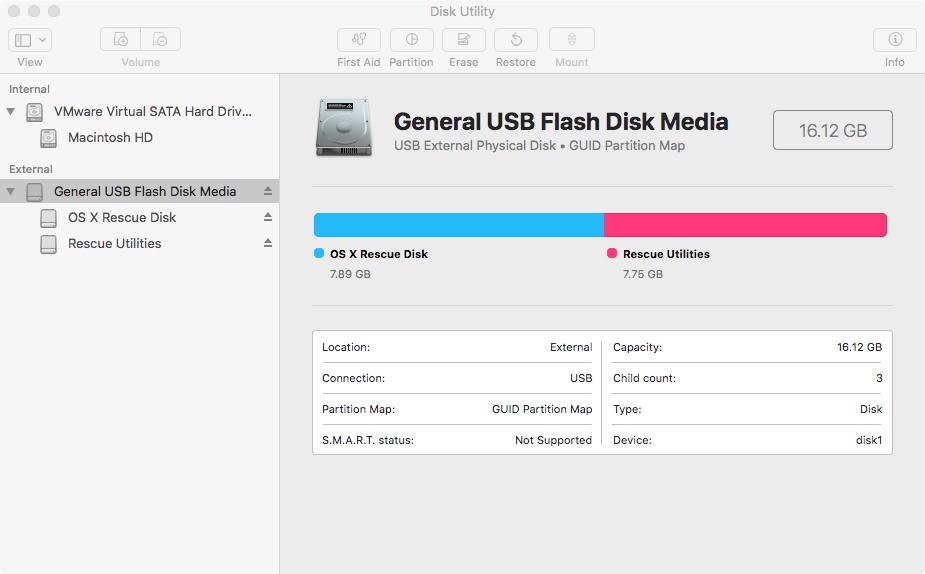
You should now see the two newly created partitions.
Quit Disk Utility.
Now we must download the Mac OS 10.3 (High Sierra) installation utility. This is done through the App Store.
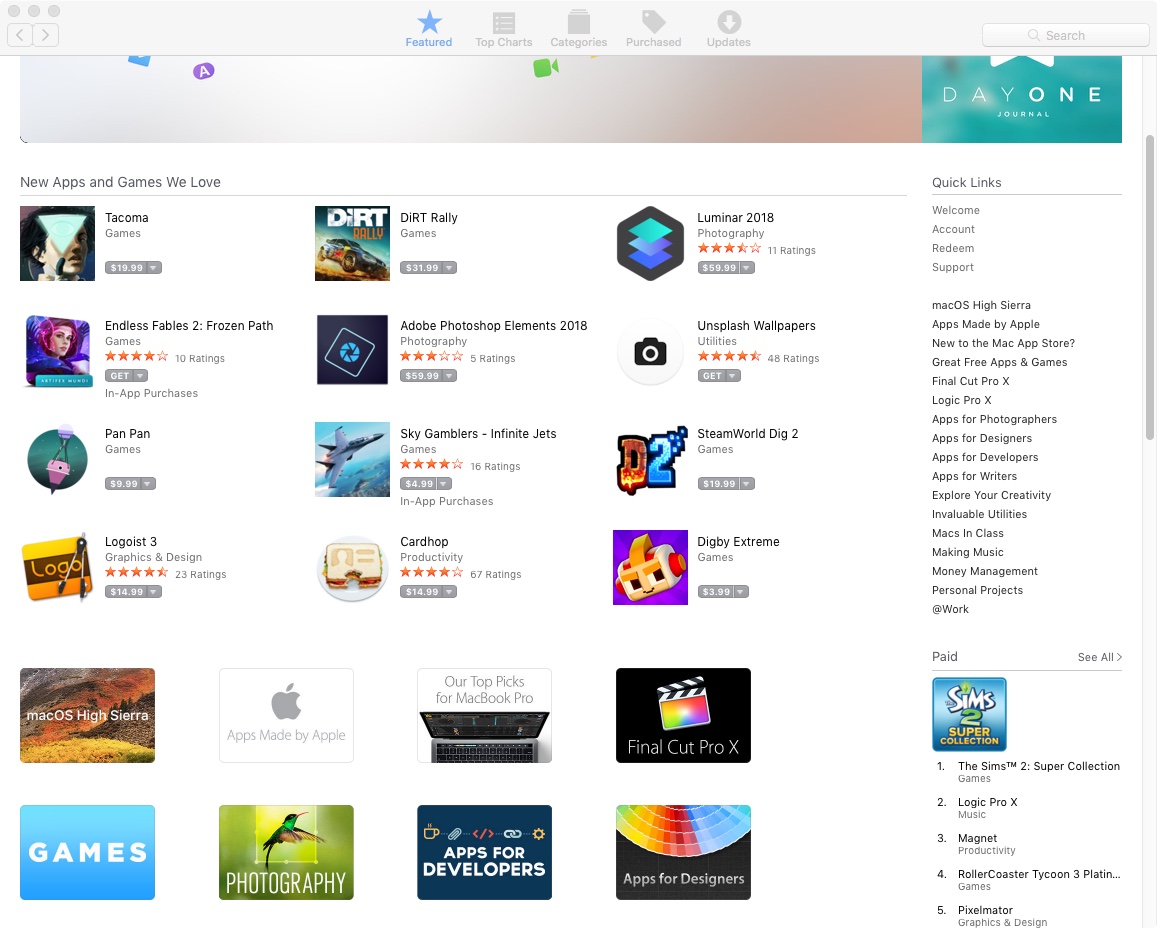
Launch the App Store.
Click on the macOS High Sierra icon.
Click on the ‘Download’ button.
Depending on your internet connection speed, go grab a cup of coffee, or get lunch, or use the time to read some of the other great articles on Brent’s World.
Once the installer has downloaded, we can now create the install media. Verify that the installer has been downloaded it will be located in your /Applications directory.
Note: You need to be using an account the has permissions to administer the macOS X computer, or has been added to the sudoers file. Open terminal.app by going to to /Applications/Utilities/Terminal.app or Command-Shift-U then double clicking terminal.app
Type the following at your shell $ prompt.
$ sudo /Applications/Install\ macOS\ High \Sierra.app/Contents/Resources/createinstallmedia –volume /Volumes/OS\ X\ Rescue\ Disk

The \ is used in Unix/Linux paths when you need to add a space. You may also surround the entire path in quotes. Like this.
$ sudo “/Applicatons/Install macOS High Sierra.app/Contents/Resouces/createinstallmedia” –volume “/Volumes/OS X Rescue Disk”
Press Enter.
You will now be prompted to re-enter your password to run the installer with elevated privileges.
WARNING: Creating an install disk will erase the volume you are using the create the install disk, answer Y to the next prompt ONLY if you are sure there is no data you wish to save on this volume.
Type ‘Y’ then ‘Return’ to continue.
The install disk is now being created on the OS X Rescue Disk partition.

Once the process is complete, we can now test our newly created install disk.

Restart your Mac, and after the startup chime, hold down the option key (Alt – If you are using a standard PC Keyboard).
You will now see the following screen where you may select a bootable device.
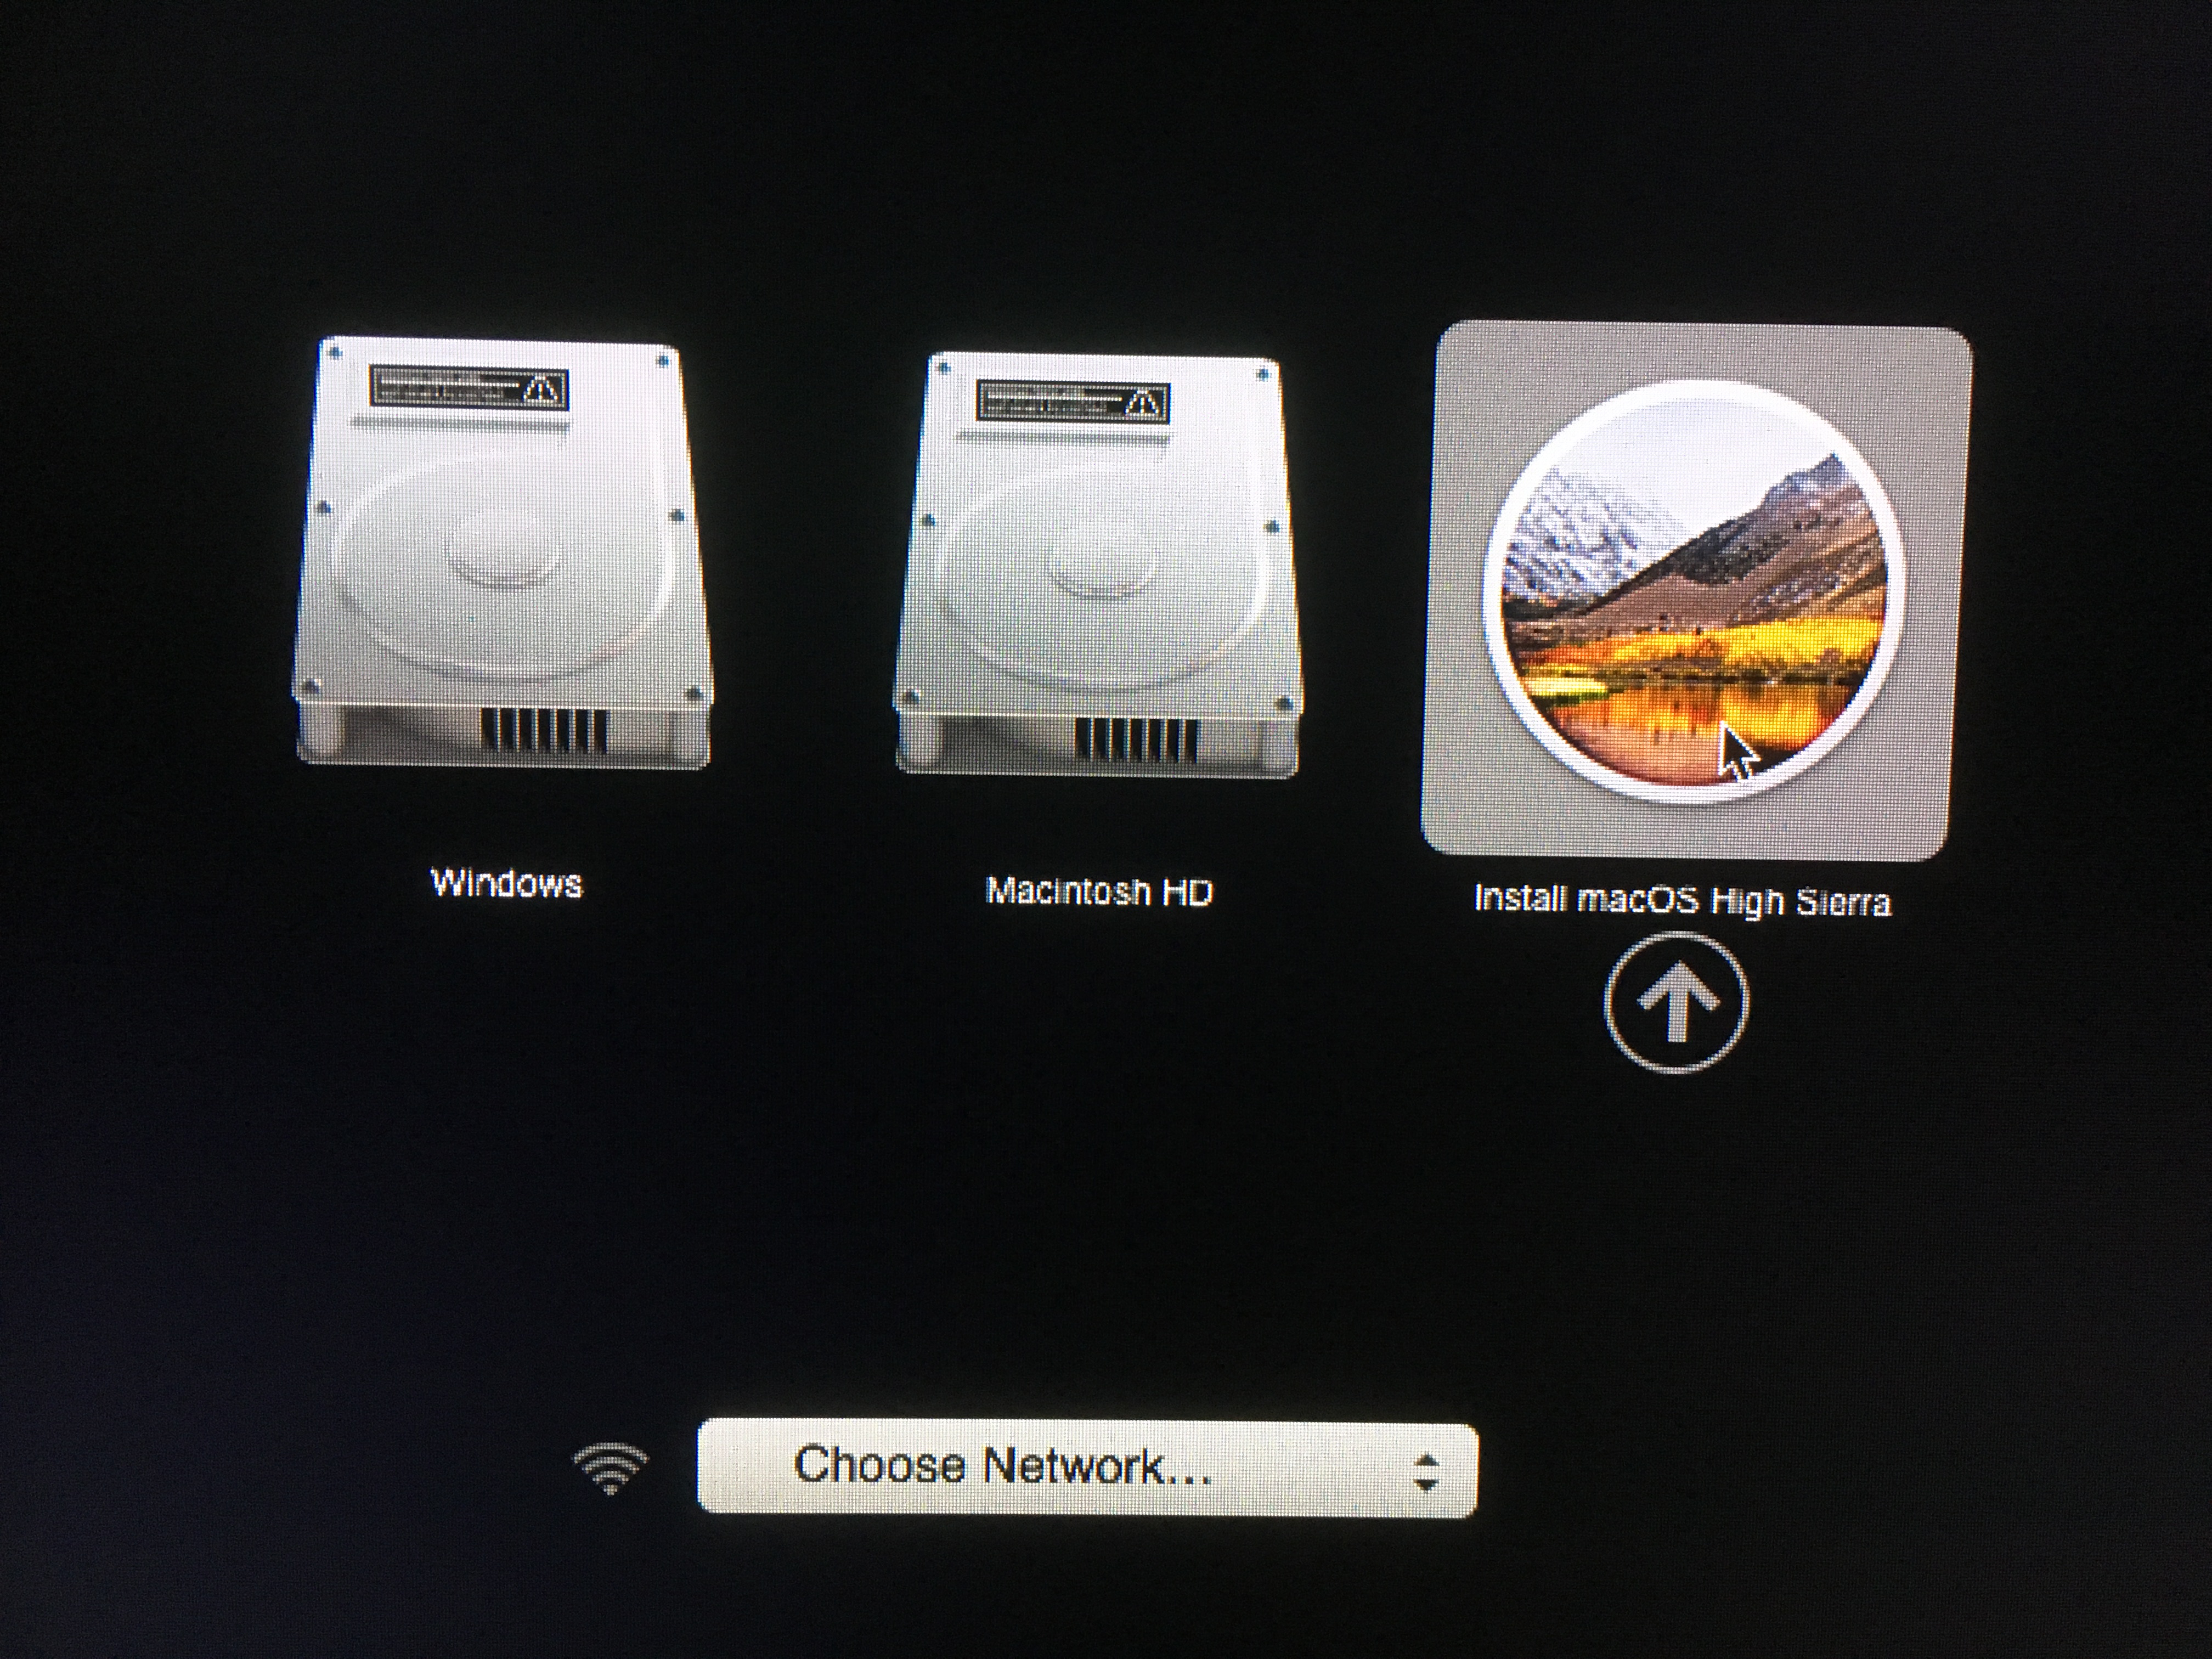
Click on ‘Install macOS High Sierra’ and click the up-arrow icon below it. You should now be booting off your OS X Install partition. Once the installer loads you will see a screen similar to the one below.
Once verified the disk is working, you can quit the installer, and your Mac will reboot.
Keep the USB stick in a safe place where you may use when needed. In a later article we will install a fully working OS X High Sierra insall on the second partition ‘Rescue Utilities’ with some useful utitilites to Image, Restore, or repair a broken macOS X volume.
Thank you for visiting Brent’s World, and please stop by again for more great articles!
You may also join our forums and discuss macOS X and other topics at www.catracing.org/hendrb/forum.
Never miss a new post, register today at, https://www.catracing.org/hendrb/wp-login.php
Comments
macOS X – Creating a High Sierra 10.13 USB Install Disk — No Comments
HTML tags allowed in your comment: <a href="" title=""> <abbr title=""> <acronym title=""> <b> <blockquote cite=""> <cite> <code> <del datetime=""> <em> <i> <q cite=""> <s> <strike> <strong>