
Mac OS X – Compiling CG Term To Connect To Commodore BBSs via Telnet Using Commodore Color Graphics
MAC OS X
Compiling CG Term To Connect To Commodore BBSs via Telnet using Commodore Color Graphics.
UPDATE!! – I am keeping this blog for instructional purposes on compiling source code in Mac OSX. There is a pre-compiled version 1.9 in an app package available at the following link https://roxburysoftware.com/Blog/cgterm-for-os-x-10-9/ that supersedes the need for these instructions.
Time sure does fly! Getting the inspiration to write this month’s technical blog I reflected on the exclusive article I wrong back in November of 2014. It seems like only yesterday that I put that article together. If you have not had a chance to read NO CARRIER! The Lost World Of The BBS, you may do so by clicking here. The terminal program that I recommended, CG Term 1.7 unfortunately no longer works on Mac OS X versions later then 10.10 (Yosemite). You may download and try SyncTerm, but I have found that it does not properly decode the PETSCII (C/G) graphics correctly.
So what are us Mac users to do? We could either use a Windows virtual machine, or boot into boot camp. However that kind of rubs the wrong way, especially since CGTerm worked in previous versions of Mac OS. There is a third option, and that is to take the freely available source code and compile it in a later version of the OS. I have compiled it on my OS X Sierra desktop and 2010 MacBook Pro running Yosemite.
This is a 4 step process.
- If you are not already using the Homebrew repositiory and installed brew, follow the instructions by Clicking Here.
- Download and extract the source code for CGTerm 1.7b2 beta (Version 1.6 also has C/G translation errors.) Click here to download.
-
- If you do no not already have one, I would create a dev directory in your home directory.
- $ cd ~
- $ mkdir dev
- Move the downloaded files to the directory you just created.
- $ mv ~/Downloads/cgterm-1.7b2.tar ~/dev
- Extract the files
- $ cd ~/dev
- $ tar -xvf cgterm-1.7b2.tar
- If you do no not already have one, I would create a dev directory in your home directory.
-

3. Install sdl headers (SDL.h) from the brew repository if not already installed.
a. $ brew install sdl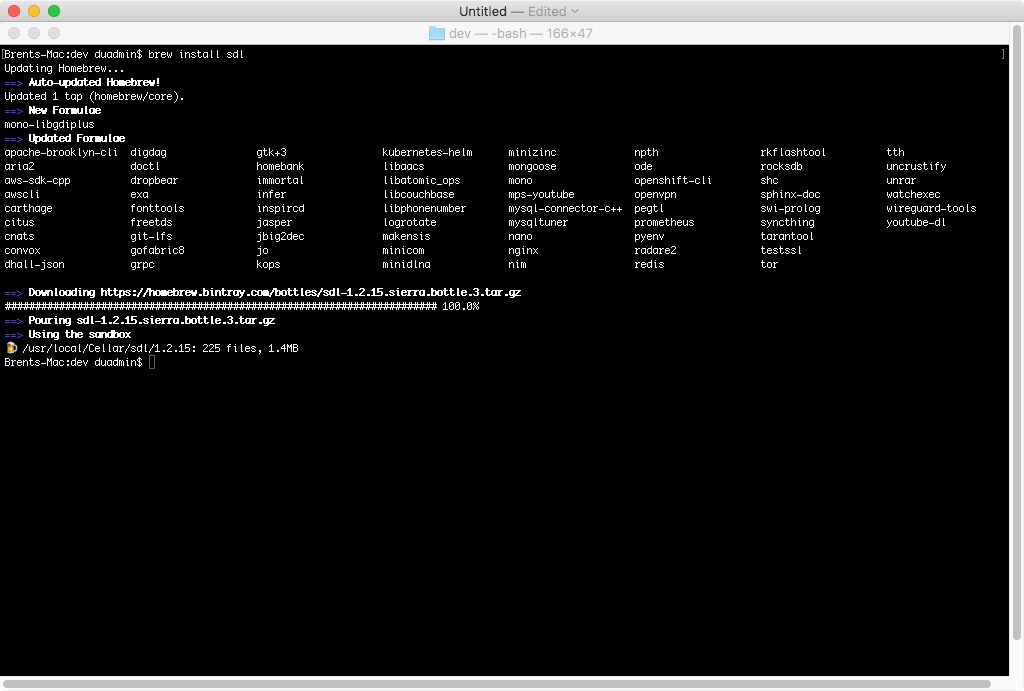 4. Compile the software.
Normally we need to run 3 commands to compile source code, however I only had to do two for CGTerm. These commands are
1) ./configure (Not needed for this install.)
2) make
3) make install
There is no configure script for this source code, so if you try and execute it you will receive an error, so let’s move on to step 2.
Make sure you are in your ~/dev/cgterm-1.7b2 directory by typing at the shell prompt
$ pwd
If you are not, type.
$ cd ~/dev/cgterm-1.7b2
Now we will create the make file. Type
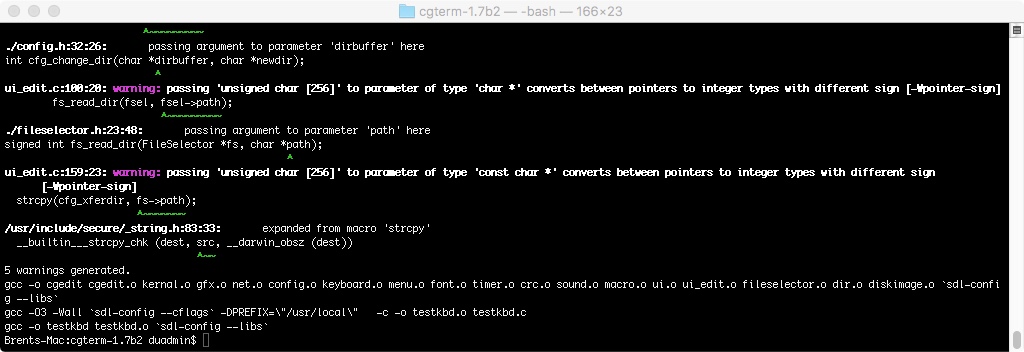
$ make
If all goes well, you will see a screen that looks like this. Ignore any warnings.
now lets compile the .app files.
$ make install
You will see the following output if successful.

Lets now perform a directory listing specifically to check if we now have the 3 CGTerm executable files. (NOTE: Without configuring your shell to colorize the output, it can be difficult to find the executables in the listing. I recommend following the link at the bottom of this blog, which will walk you through how to get colorized directory listings like Linux.)
ls -l cgchat cgedit cgterm testkbd

Finally let’s perform some housekeeping tasks, since we do not need to keep the source files around.
First lets create a new directory in the /Applications folder, then we will copy the newly compiled executables to that directory
$ sudo mkdir Applications/CGTerm-1.7
$ sudo mv cgchat cgedit cgterm testkbd /Applications/CGTerm-1.7
It is up to you if you want to keep the source files around, in this example I do not, however I will keep the compressed .tar file
$ rm –r ~/dev/cgterm-1.7b2
Perform a final test by either changing working directories in the terminal to /Applications and launching CGTerm, or launch from the finder.
$ cd /Applications
$ cgterm
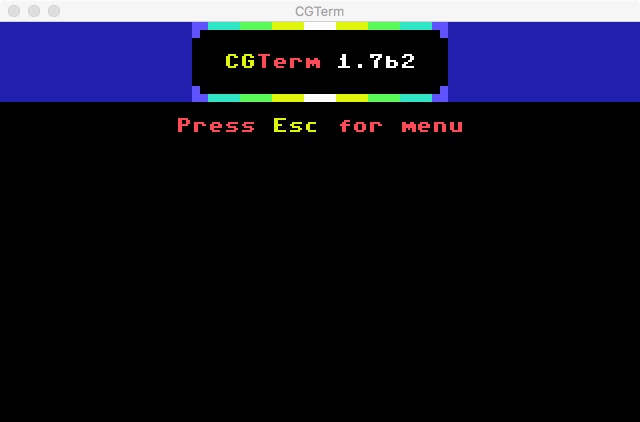 Once your newly compiled CGTerm opens and you see this screen let’s connect to a BBS.
Type ESC
Type D
When you get the Connect to host [port]: box, type
cib.dyns.org 6400 <ENTER>
You should now be connected to the Commodore Image BBS

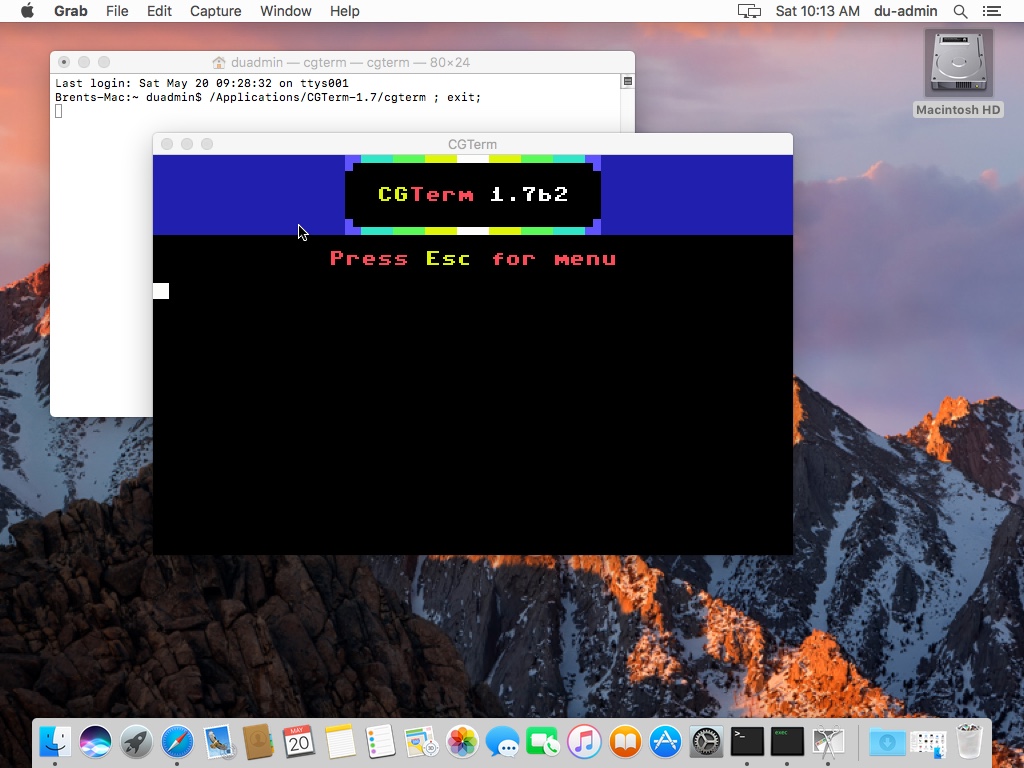
When launching from the finder, Mac OS will launch a terminal session, this is normal.
I hope you have enjoyed another Mac OS tutorial, and compiling your first application from source code! Please try connecting to the following BBS’s running on a Commodore 64 using your newly compiled app.
Commodore Image – cib.dyndns.org:6400
Lowdown BBS – lowdown.servebbs dot net:6401
** I highly recommend coloring your directory output, it makes differentiating between Directories, Text files, and applications allot simpler. To enable colorized directory output in Mac OS X, please CLICK HERE.
*** PLEASE NOTE! All traffic sent via TELNET is sent in plain text, when connecting to BBSs using CGTerm or other telnet applications, DO NOT use passwords that you use for any other services. Such as financial institutions or online shopping!
Has this been tested using Mac OS Mojave? The installation works fine but the window just shows up blank.
I am running it on OS X Mojave. If you want to set up an hour or 2 this weekend to troubleshoot (My Sunday / Your Saturday), as I live and work over the seas that would be ok with me. Off the top of my head without getting a listing of your CGTERM directory, make sure you have the fonts located in the directory.
As I said that was just a guess, the files that look like they have to do with fonts, are just BMPs, removing them had no effect, and it still worked as normal on my Mac. Send me an email with your messenger information and we can look at some things.