
Camping on Mt. Palomar (A vacation within a vacation.)
Camping on Mt. Palomar
(A vacation within a vacation)
How long has it been since I have been camping? Not since I came to Korea, so about 8 years! So one of the things I wanted while back in the states would be to go out and do some sleeping under the stars! What better place to do that than Mt. Palomar? Home of the world famous Hale telescope.
The first problem is that I have never been able to reserve a camp site in the past, every time I have tried the campgrounds have been booked solid. I was in luck this year, as there were plenty of spots available at the Observatory campground. The other problem was that all my gear is in Korea. No worries! I just ordered a new tent, stove, and lantern from Amazon about 2 weeks prior to departure. I can either have the new equipment shipped later or donate it to a family member. Being that Mt. Palomar is known for its stars, the main road from Interstate 15 to Palomar Mountain SR-76 is known as “Highway to the stars” I bought the brand new Rokinon 14mm f2.8 AF just for star photography, but more on that later!
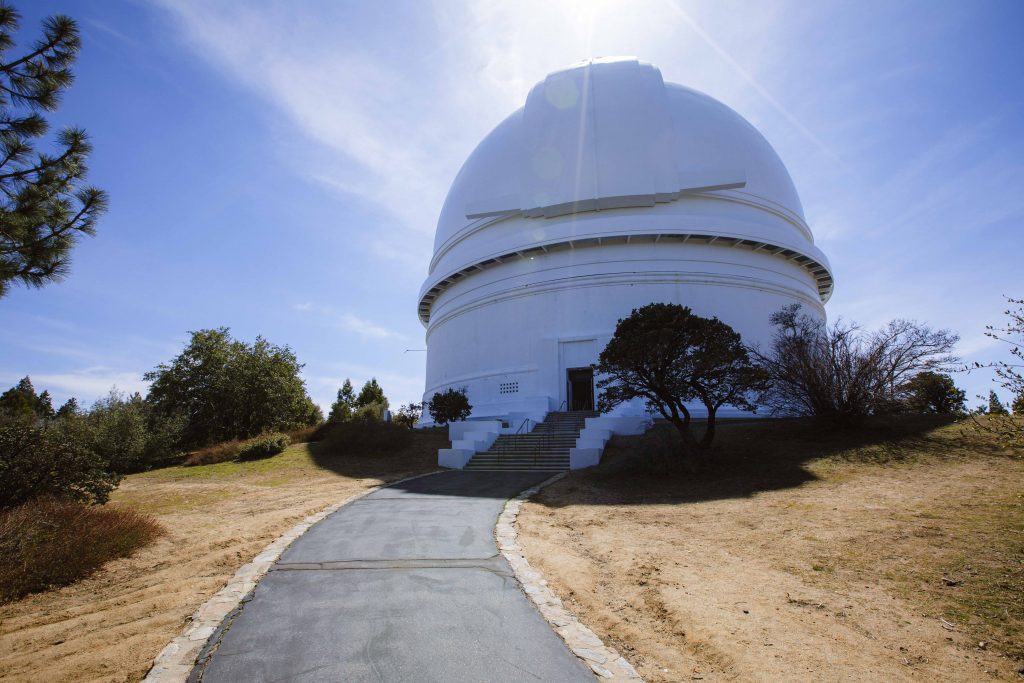
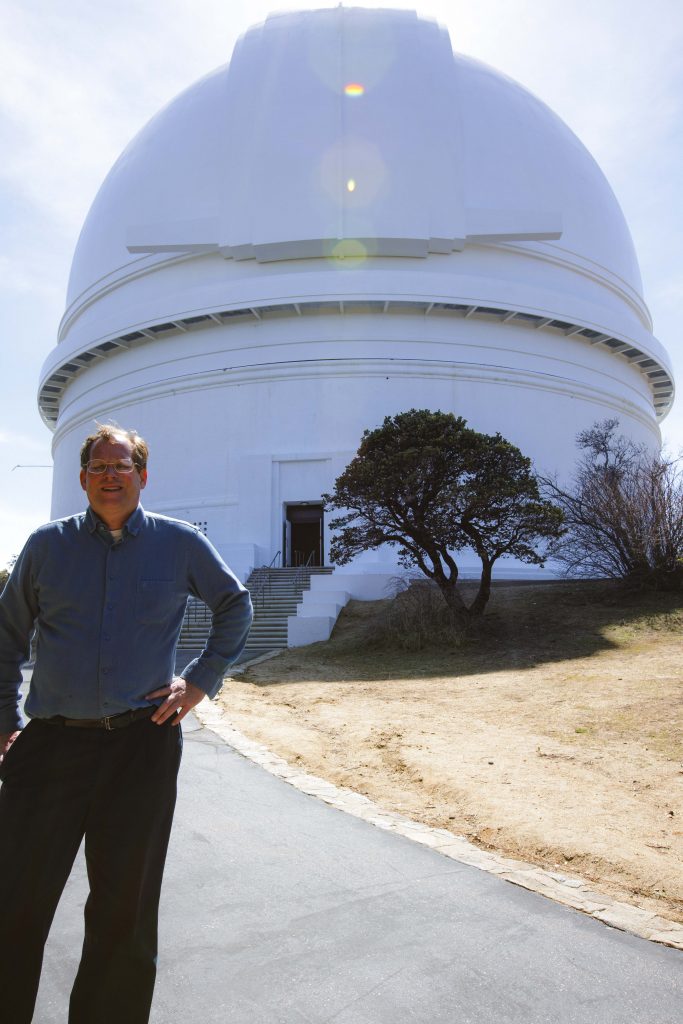
The big day finally arrived, and of course I ended up waking up late, than dragging my feet getting my gear ready and packed. I had intended to leave early, take my time on the drive up taking photos along the way, I did not get on the road until about 1pm, which means I got up to Mt. Palomar aroundt 2:30 in the afternoon. This wasn’t really a big real since the checkin time for the camp site was 2pm, I decided to drive up to the Palomar Observatory and have a look at what was once the world’s largest terrestrial telescope. The observatory was designed by George Ellery Hale in 1928, and was operational in 1948, it contains a 200 In. Pyrex mirror that at the time was the largest in the world and held that record for the next 45 years.
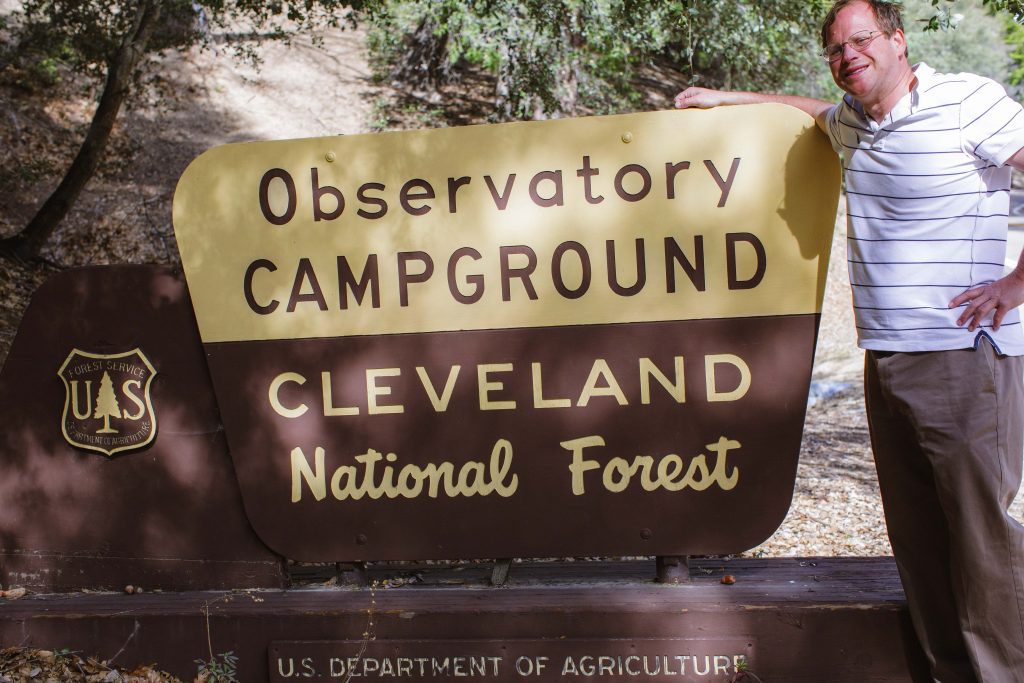
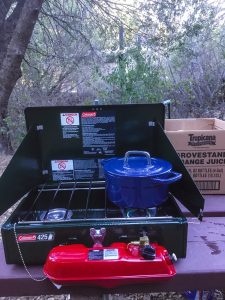
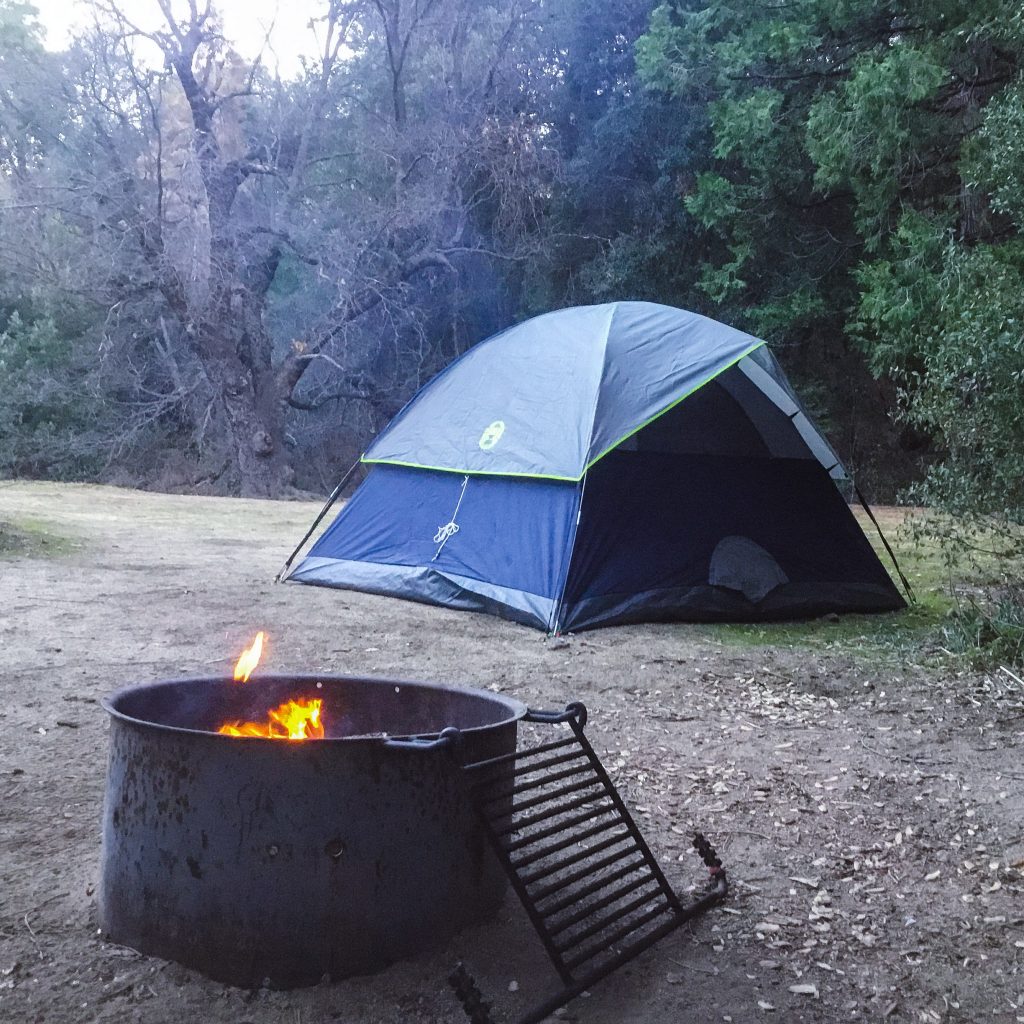
After checking out the observatory, it was time to check in at the camp site and setup camp. I made reservations online for site number 6 at the Observatory Campground.
The campground far exceeded my expectations! The site was set back from the vehicle parking space, had plenty of privacy and the picnic table area, and the spot where I setup my tent offered plenty of shade by oak trees. There was even a stream running behind the picnic table that offered some relaxing white noise during the night. Though it also meant the ground was saturated. So be sure to bring a ground cloth for your tent, as the bottom was quite damp and had to later be dried and cleaned at home.
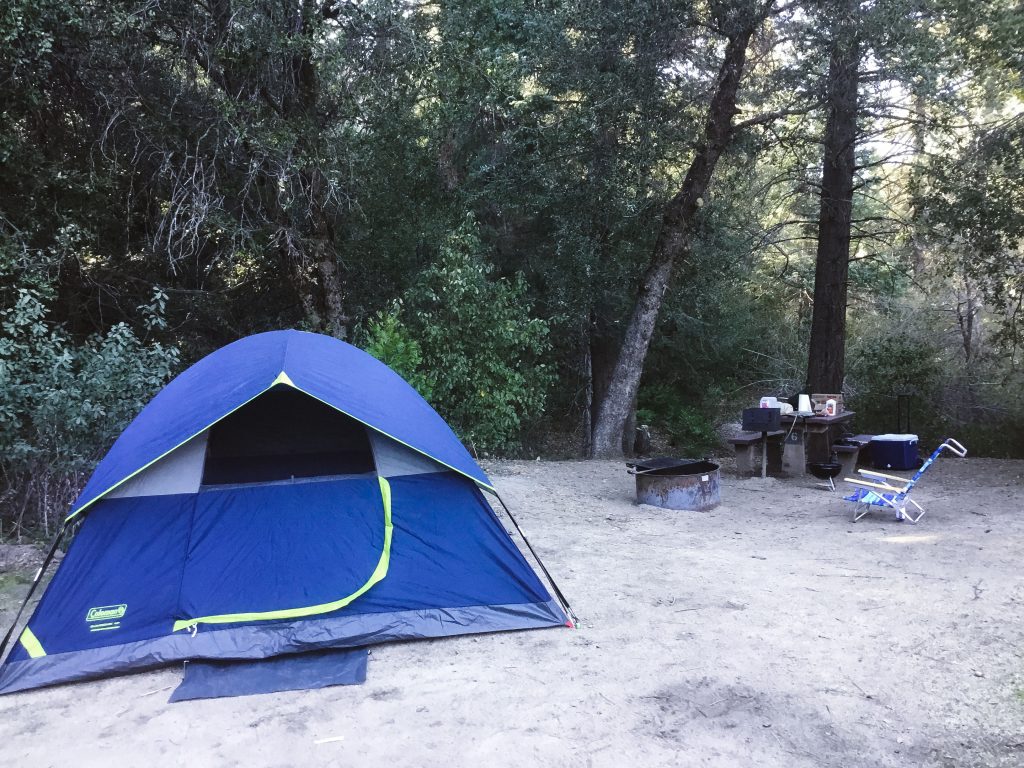
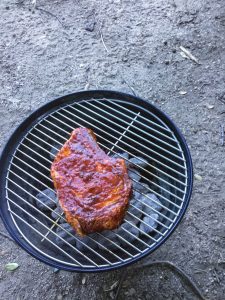
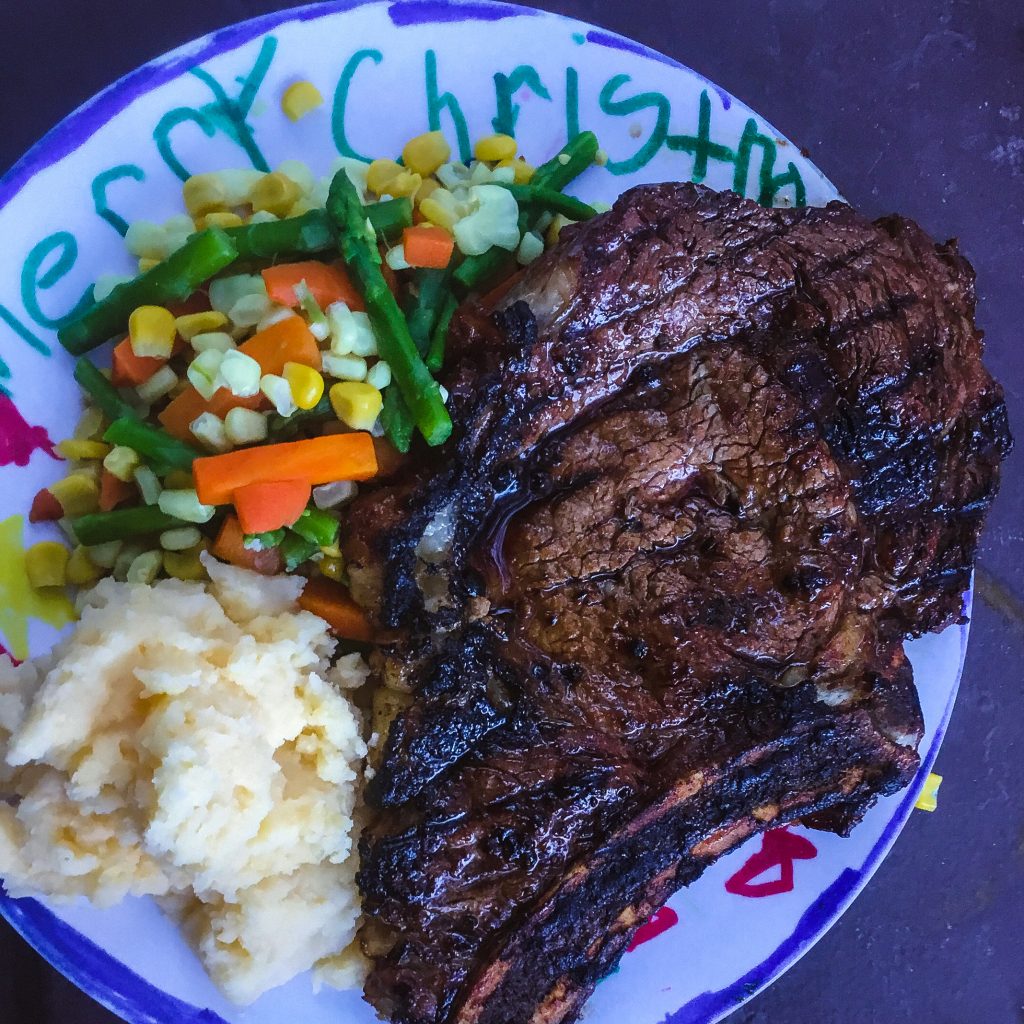
It took about an hour to get everything setup, then it was time to cook dinner. I BBQ’d a nice thick cut of steak marinated in a premade Jack Daniels sauce, served with mashed potatoes and mixed vegetables.
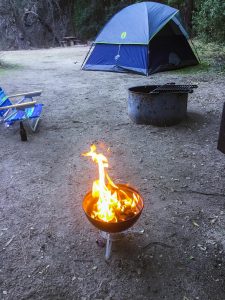
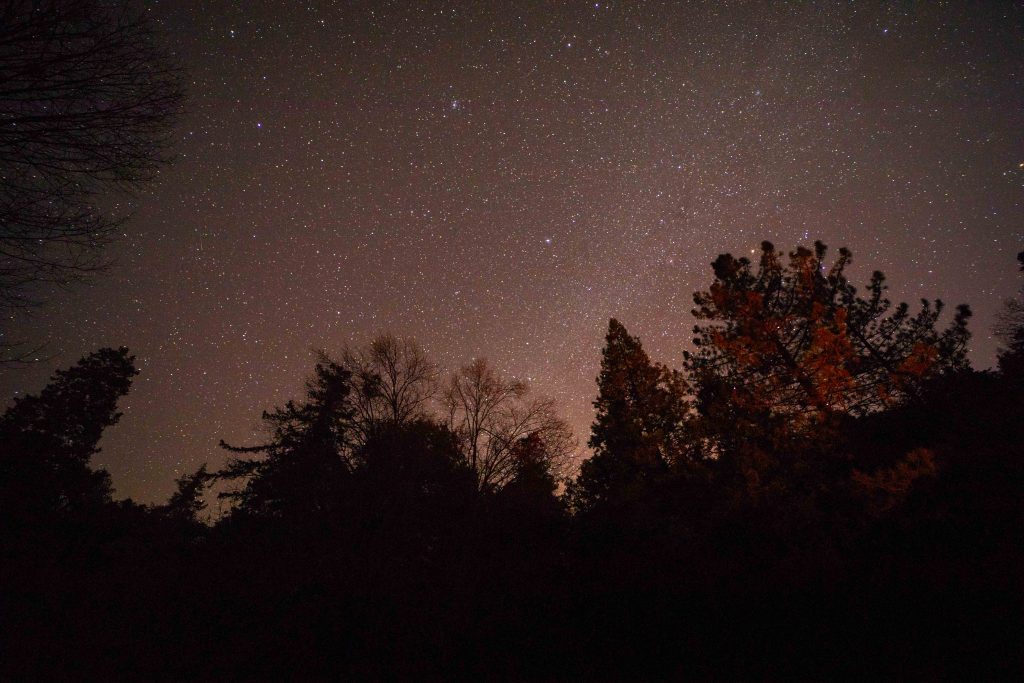
 After dinner it was time to start the camp fire and get ready to look at some stars. I did say I was here for the stars, right? Well I was not to be disappointed, at least not by the stars, because out they came!
I was disappointed with the performance of the new Rokinon lens for star photography, which I will do an in-depth review on later, let’s just say for the purpose of this blog that I was very frustrated just getting what I got here, and if you are looking for a lens to do star photography stick with the manual focus offering by Rokinon.

 I should also note, that one of biggest things to get used to was the amount of quiet! Coming from Korea, where there is always so much going on around you 24 /7. When you suddenly find yourself in a place where the only thing you hear is the chirping of birds, the occasional scurrying of animals, and the creek running behind your campsite, it is both wonderful, and disconcerting all at the same time!
I had intended to get up at 6am, and make breakfast, but for the first time on the trip my body decided to sleep in until 10am. No Time for breakfast! It was time to hit the trails. So off I drove to the actual Palomar Mountain State Park. Since I stayed in a Federal Campground, and Palomar is a state park, I was not sure if my camping fee’s also covered the park entrance. It was only an additional $10 so I decided to pay just to be safe. The plan was to hike out and get pictures at the weir Site. The weir was built to measure the waterflow on Doane creek as there were thoughts of building a hydro electic dam to power the mountain.
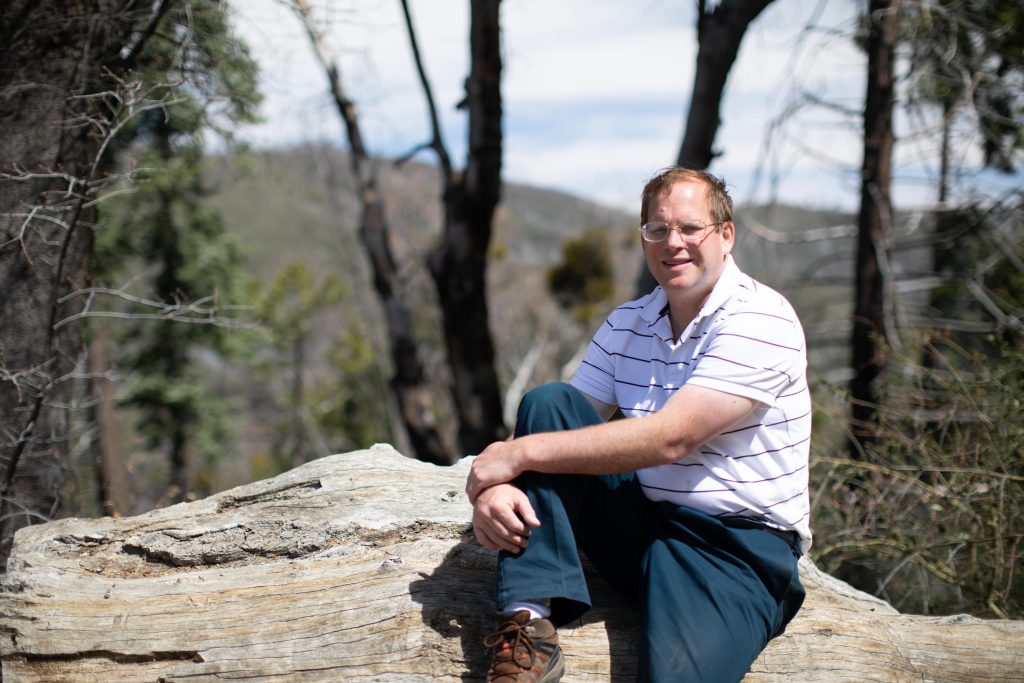
Even with a park map it was confusing at first to find the trail head, I ended up on a sketchy 1 lane dirt grade and took me out of the park. The side trip did have one upside! I was able to pull over at one place and get some selfies next to a fallen log.
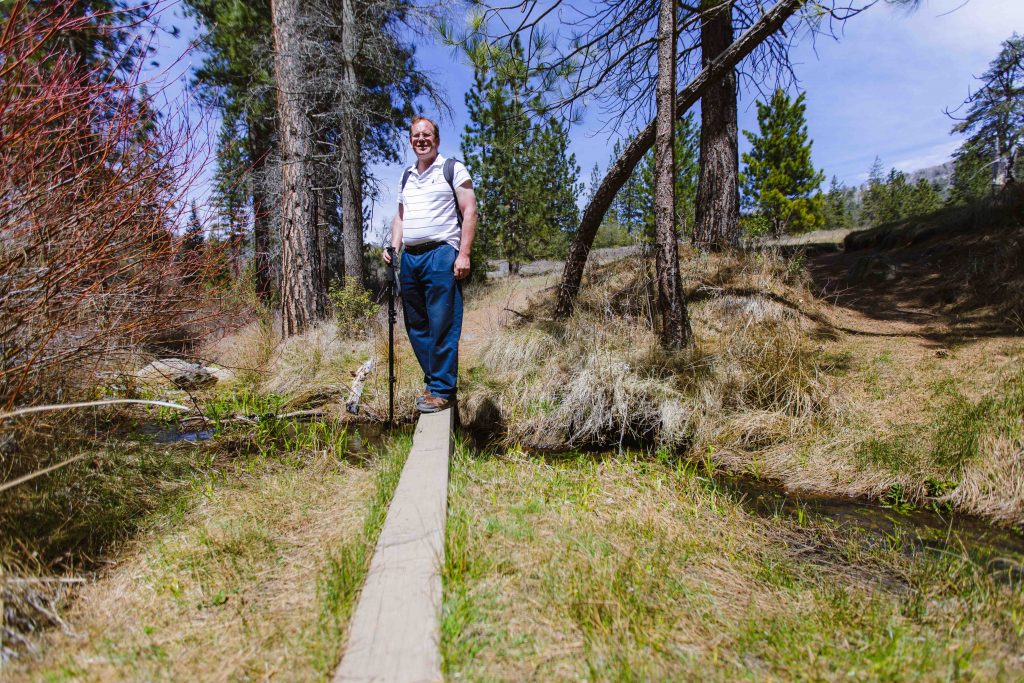
I was eventually able to find a place to turn around and get re-oriented and found the trail head at the Doane Pond parking (Just follow the signs to the School Camp.). The start of the weir trail is to the right of the parking lot. It is a little hard to see. You then cross the road you drove in on and are once more on the trail. It was a very relaxing high that keeps you in the shade of the most part. There are quite a few fallen timbers on the trail, but only one that the rangers have not sawed through to make a passage through. When your just about to the weir you will have to cross Doane creek on this narrow blank (In Asia we would call this a monkey bridge!), It is very stable and I had no problem crossing it (Several times in fact for selfies!), though the first time was a bit unnerving with all the camera equipment on my back!
Finally here I am at the weir site,

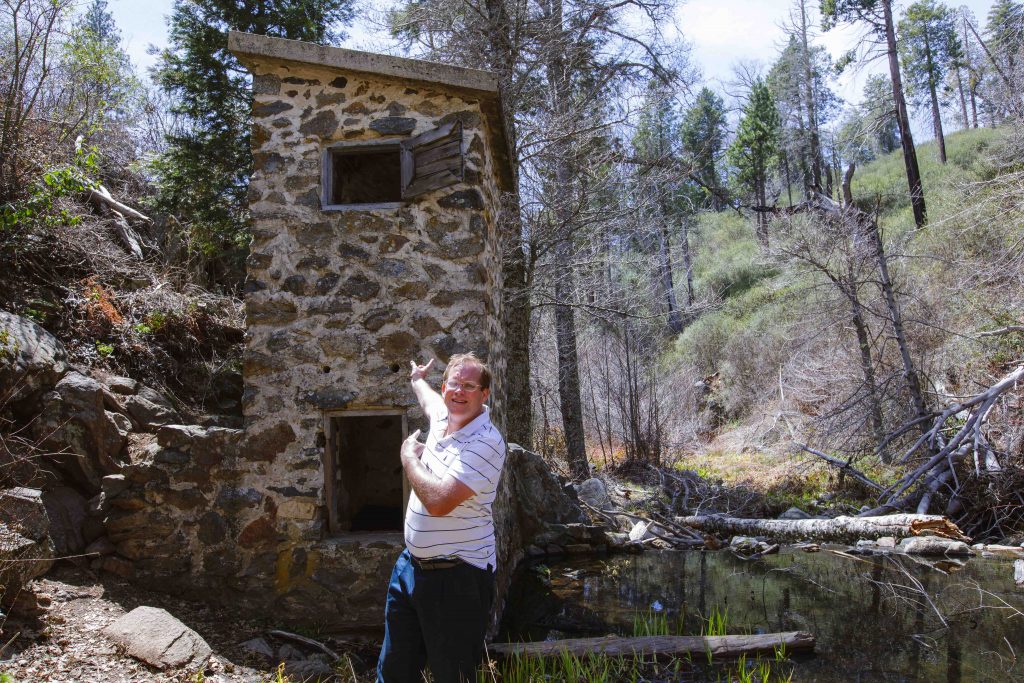
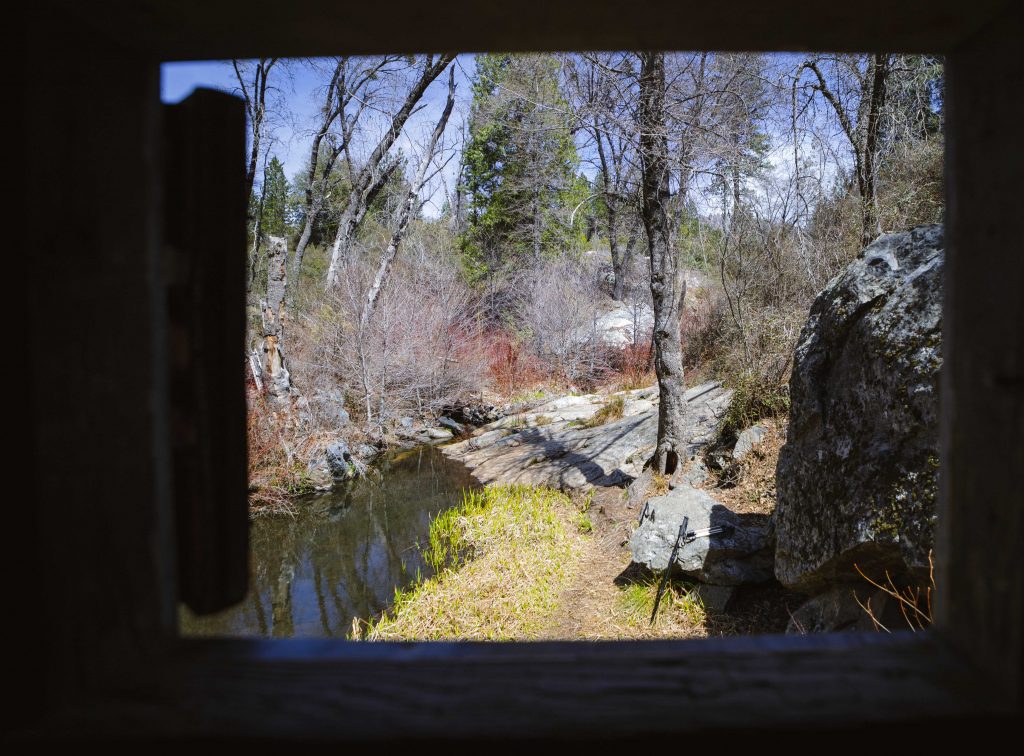
I had seen a picture on someone’s blog where they were framed in the upper story window that I was trying to duplicate. I was never able to scramble up there fast enough! The best I could do was get a picture of Doane creek using the window as a frame.
The joke turned out to be on my however, as when I climbed onto the little rock wall to the left of the weir. I am almost level with the second floor window, and there is an opening on the side. I could have avoided all of this however if I had just brought my iPhone and used the remote trigger feature via Wifi. The trail continued behind the wier, but was completely choked with poison oak, so I turned around and hiked out the way I came in. So if you wish to hike beyond this point, I recommend bringing a pair of gardening glove and a long sleeve shirt!
The hike was awesome! I really appreciated that it was not a very strenuous hike, and how shady it was , except the small stretch where you parallel lower Doane Valley and are exposed to the sun you stay relatively cool! It was time to head back to the camp site, take a shower and relax before dinner and the final camp fire!
I really enjoyed camping at Mt Palomar, and I highly recommend the Observatory Campground! If site 6 is available go ahead and reserve it. If you do come back here and tell me if you agree with my recommendation. It is close to one of the pit toilets (Which are well maintained and do not smell.), but far away from the main flush toilets and showers that you don’t have constant traffic coming by your site. It is also on the other side of the campground from the Observatory trail that you don’t have stray foot traffic either. The site is set back from the road with plenty of foliage for privacy and the picnic table area is shaded by tall oak trees. Please remember to walk your campsite on the day of departure and pick up any trash, even if it is not yours! Leave the site better than you found it!
How to get to Mt. Palomar
From San Diego.
Take I-15 North to East – 76, Then turn left on South Grade Road (County S6). You will follow S6 up the mountain then turn left to continue on S6/Canfield Road). Keep a look out for the campground ahead ¼ signs. They come up quickly. The observatory campground is the first one you will come to on your right.
GPS Coordinates
33°20’30.856″ N
116°52’41.748″ W
Closest Mappable Address (Within 2 miles)
35899Canfield Road, Palomar Mountain, California
Comments
Camping on Mt. Palomar (A vacation within a vacation.) — 1 Comment
HTML tags allowed in your comment: <a href="" title=""> <abbr title=""> <acronym title=""> <b> <blockquote cite=""> <cite> <code> <del datetime=""> <em> <i> <q cite=""> <s> <strike> <strong>